About the keyboard and displays
DiPro 1500 User Manual
52
Ch 3
1092000
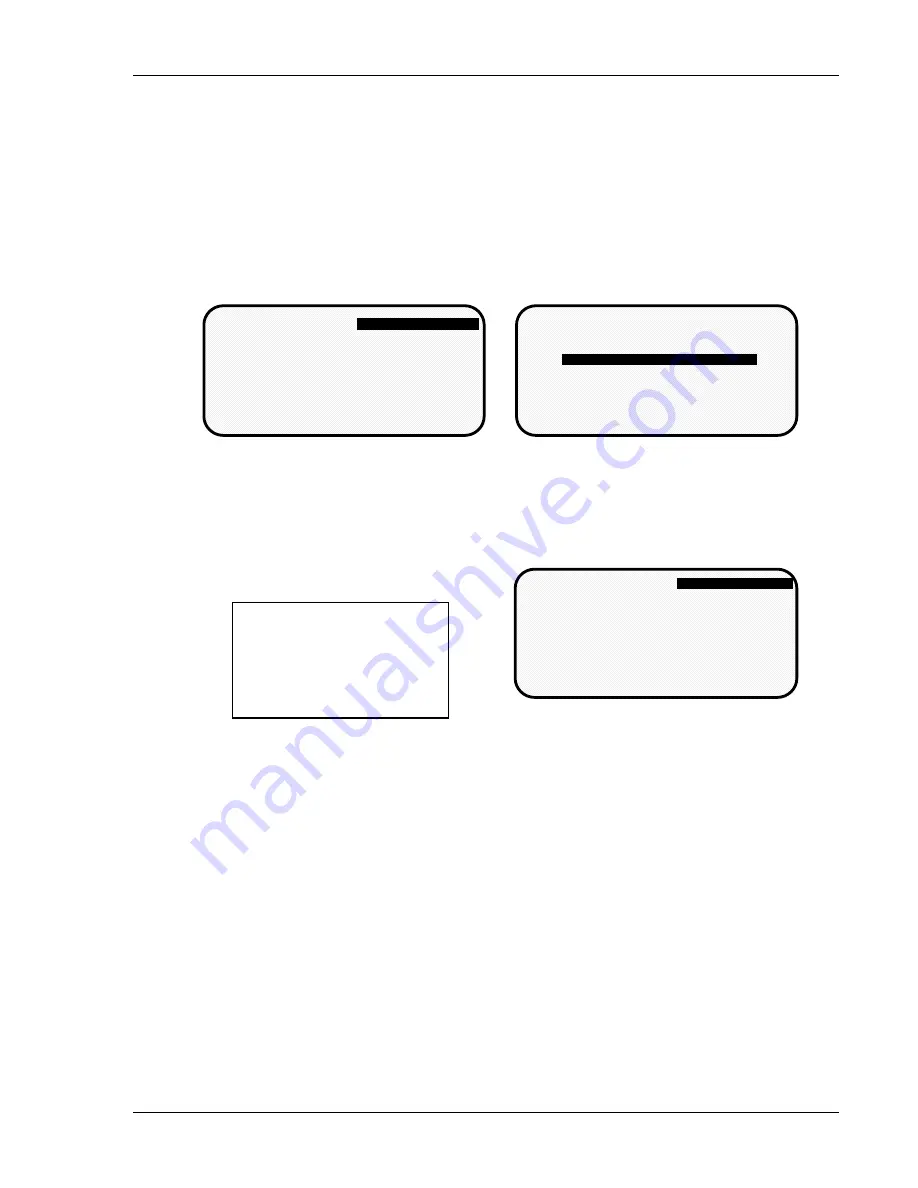
The first displays in each mode
When you switch to a mode, you will see a display. From this first display, you can
call up other displays you need to carry out your tasks (set sensors, set counters,
adjust settings, etc). Think of these displays as
menus
. You select from the menu
what you want to do. Then you will see another display for that task. Here are the
first displays–or menus–you see in each mode. (You will not see cam switch
functions if the cam is not installed.
INITIALIZATION
MENU
USE CURSOR KEYS TO SELECT, ENTER TO SET.
SWITCH TO RUN WHEN DONE.
(First display in Initialization mode)
Turn Prog/Run key to "Program". Then press
both the left and right "ANGLE OFF" keys
simultaneously for 1 second.
For older systems shipped prior to 10/91,
refer to Chapter 4 for alternate instructions.
Initialization menu
RESOLVER ZERO
POSITION SENSOR
COMMUNICATIONS
SELECT CAM NAMES
SECURITY ACCESS
To see this display, turn Prog/Run key to
"Run".
For older systems shipped prior to 10/91,
refer to Chapter 6.
(First display in Run mode)
Run menu
TOOL NUMBER 6800
SENSORS ARE ENABLED
USE CURSOR KEYS TO
MAKE SELECTIONS.
PRESS ENTER TO ACCESS
SELECTION.
DISABLE SENSORS
COUNTERS
SHOW SENSORS
ADJUST SENSORS
ADJUST CAMS
LOAD TOOL #
To see this display, turn Prog/Run key to
"Program".
For older systems shipped prior to 10/91,
refer to Chapter 5.
Programming menu
THE CURRENTLY LOADED TOOL # IS 6800
SENSORS ENABLED
USE CURSOR KEYS TO CHANGE SELECTIONS
PRESS ENTER TO ACCESS TOOL NUMBERS
PROGRAM/LOAD TOOL NUMBERS
DISABLE SENSORS
(First display in Programming mode)
Before you switch modes,
the first display of the
mode you are in must be
on your screen.
IMPORTANT
From the first display down
Now look at the flow charts for each mode on the next page. They show how you move
through the DiPro displays starting with the first display. Each box represents a choice
you can make or a task you can perform. Follow the black arrows that point down. See
how you work your way down, choosing the tasks you want to perform.
When you do this on DiPro, you will see a new display each time you make a selection.
You continue to select items from each new display until your task is complete. When
you complete a task (like making settings for a tool), you have to go back up to start
other tasks. You can go back just as easily as you go forward. See the gray arrows that
point up. That is the route back.Try tracing a path down from the first menu (use the chart
showing Program mode because it has the most things to do). Then go back up. Try
different routes. This will give you a good idea of how you carry out tasks using the
displays.
Summary of Contents for dipro 1500
Page 9: ...Table of Contents DiPro 1500 User Manual vi TOC 1092000 ...
Page 59: ...DiPro 1500 Installation DiPro 1500 User Manual 50 Ch 2 1092000 ...
Page 77: ...Using DiPro 1500 in Initialization mode DiPro 1500 User Manual 68 Ch 4 1092000 ...
Page 125: ......
Page 126: ......
Page 127: ......
Page 128: ......
Page 129: ......


