


Display
The programmed positions of the position pattern are shown as follows in the programming
graphic:
x
Position is activated = displayed (position is shown as a cross)
o
Position deactivated = hidden (position shown as a circle)
Selecting positions
You have the option of either displaying or hiding positions - by activating the checkbox in the
displayed position table either using the keyboard or mouse.
Procedure
1.
The part program or ShopMill program to be processed has been created
and you are in the editor.
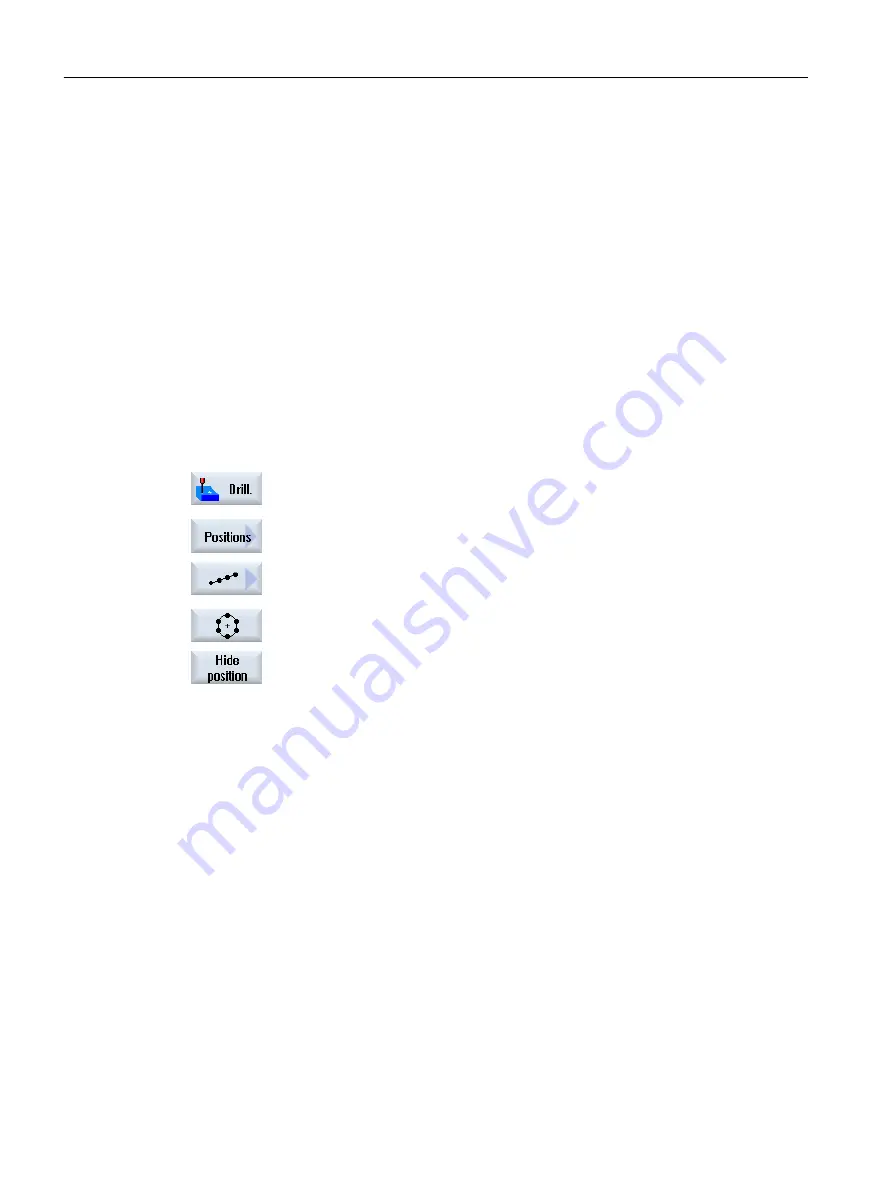
2.
Press the "Drilling" and "Positions" softkeys.
3.
Press the "Line/Grid/Frame" or "Full/Pitch Circle" softkeys.
4.
Press the "Hide position" softkey.
The "Hide position" window opens on top of the input form of the position
pattern. The positions are displayed in a table.
The numbers of the positions, their angle(α) as well as a checkbox with
the state (activated = check mark set / deactivated = no check mark set)
are displayed.
The selected position in the graphic is highlighted in color.
5.
Using the mouse, select the required position and deactivate or activate
the checkbox in order to hide the position or display it again.
In the diagram, skipped positions are shown in the form of a circle and
displayed (active) positions are shown in the form of a cross.
Note: You have the option of selecting individual positions using the
<Cursor up> or <Cursor down> keys – and hiding and displaying using
the <SELECT> key.
Programming technological functions (cycles)
10.1 Drilling
Milling
418
Operating Manual, 08/2018, 6FC5398-7CP41-0BA0


