


Maintenance, storage and disposal
R&S
®
SMM100A
1019
User Manual 1179.1341.02 ─ 05
3. Press a key on the front panel.
Check if the corresponding key in the "Check Front Panel" dialog turns green.
4. Press the same key a second time.
Check that the key in the dialog turns red.
Note:
Pressing the same key again has no further effect, except for the [Esc] key.
Pressing this key a third time, terminates the test procedure.
5. Continue with the next key on the front panel and repeat
to
until all
keys are tested.
The test is completed, when each key is verified successfully, confirmed by a "Test
passed" message.
Testing the LEDs
To perform the LED test, you operate the corresponding "
★
(User)" buttons in the
"Check Front Panel" dialog, and check the response of the connector LEDs on the
front panel. To perform this test properly, check each User connector. The test is only
completed, when you have verified [Setup] the functionality of all connector LEDs.
Proceed as follows:
1. Press the key.
2. Select "Maintenance > Check Front Panel"
The "Check Front Panel" dialog opens.
3. Select a "
★
(User)" button in the dialog.
The associated LED in the dialog changes its color.
Check that the LED of the corresponding User connector on the front blinks in the
same color.
4. Repeat
until all possible colors were displayed once. With the last step, the
associated LED in the dialog changes to gray and the "
★
(User)" button turns
green.
Check that the LED of the corresponding User connector on the front panel stops
blinking.
Note:
Selecting the same user connector again has no further effect.
5. Repeat
for the remaining "
★
(User)" buttons, until all connector
LEDs are tested.
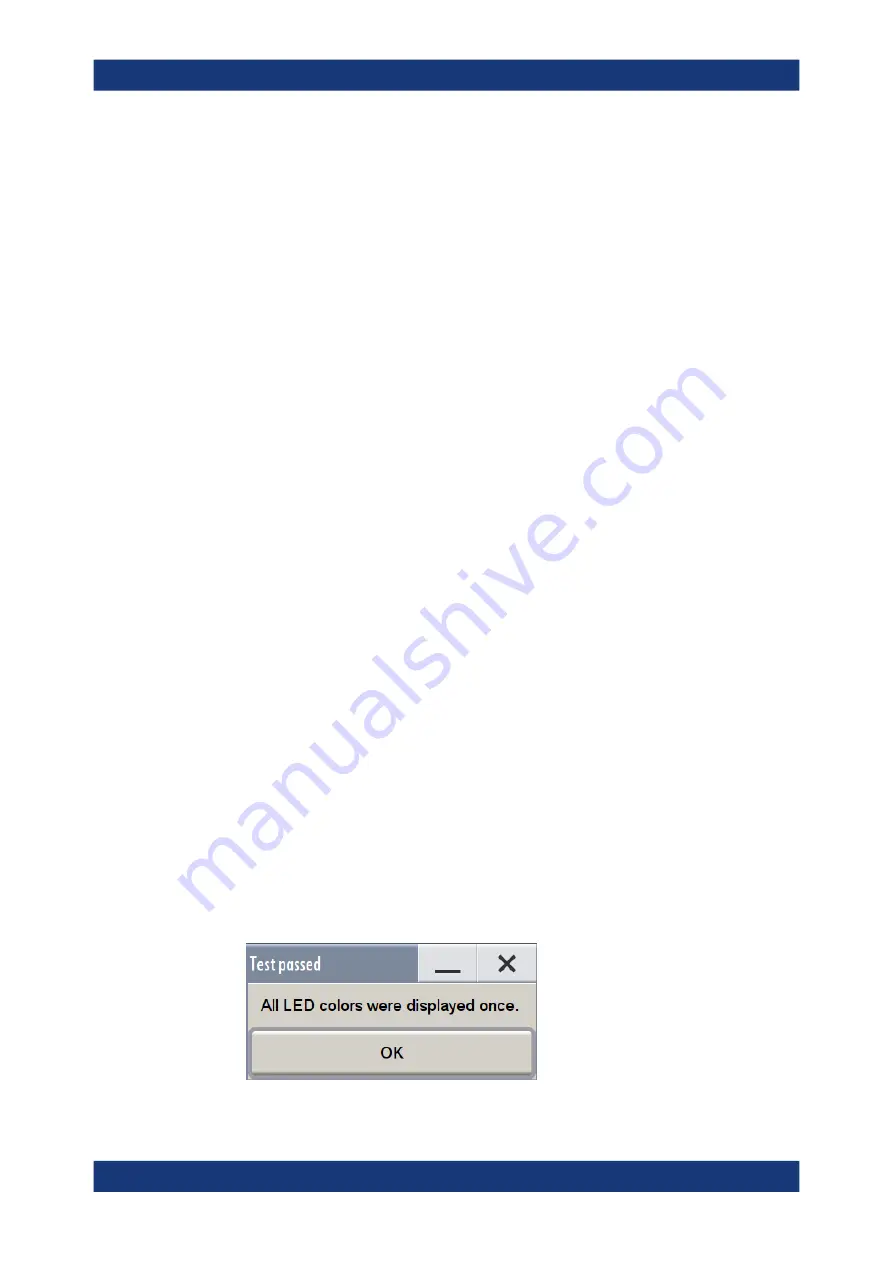
The test is completed, when each LED functionality is verified successfully.
Performing maintenance tasks


