


Getting Started
R&S
®
ZNA
54
User Manual 1178.6462.02 ─ 12
To set the sweep range using markers, use one of the following methods.
Set "Start" and "Stop" values in the diagram:
1. Create two normal markers, e.g. the markers "Mkr 1" (default label "M1") and "Mkr
2" (default label "M2").
See
Chapter 4.3.5.2, "Adding New Markers"
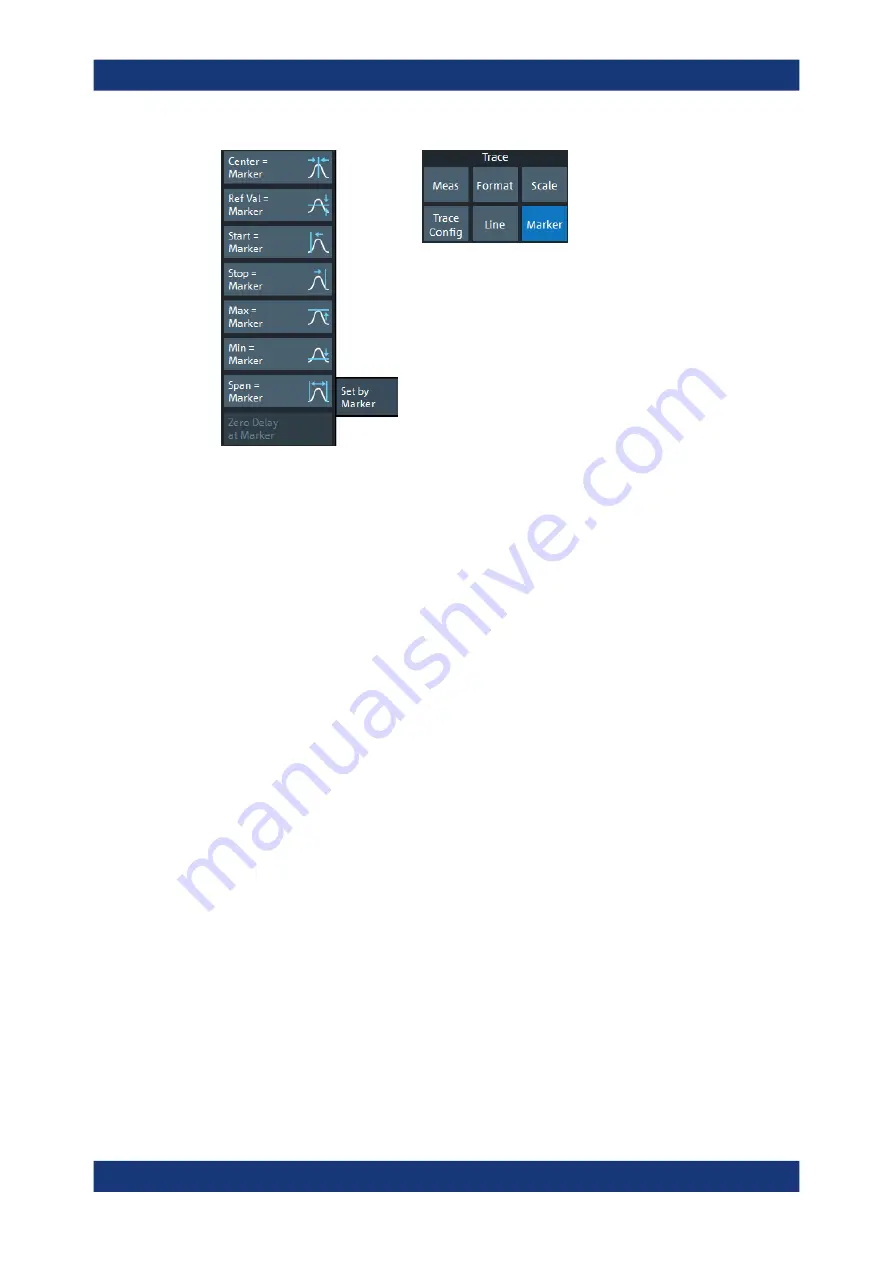
2. Place "M1" to the start value of the desired sweep range and tap Trace – [Marker]
> "Set by Marker" > "Start = Marker".
3. Place "M2" to the stop value of the desired sweep range and tap Trace – [Marker]
> "Set by Marker" > "Stop = Marker".
Use a definite "Span:"
1. Create a marker.
2. Enable "Delta Mode" for this marker.
The analyzer automatically creates an additional reference marker.
3. Place the reference marker to the start value of the desired sweep range.
4. Set the value of the delta marker to the desired sweep range and tap Trace –
[Marker] > "Set by Marker" > "Span = Marker".
To move the trace in vertical direction, proceed as follows:
1. Create a normal marker, e.g. the marker "Mkr 1" (default label "M1").
2. Place "M1" to a particular trace point, e.g. use the "Marker Search" functions to
locate a maximum or minimum on the trace.
3. Select Trace – [Marker] > "Set by Marker" > "Max = Marker" to move the trace
towards the upper diagram edge, leaving the values of the vertical divisions
("Scale/Div") and the overall vertical scale unchanged. Analogously, select "Min =
Operating the Instrument


