4-3
Manually Setting Data Links
4-3-11 Transferring the Data Link Table
4-39
8. Check the difference to be sure they are appropriate and then click the
OK
Button.
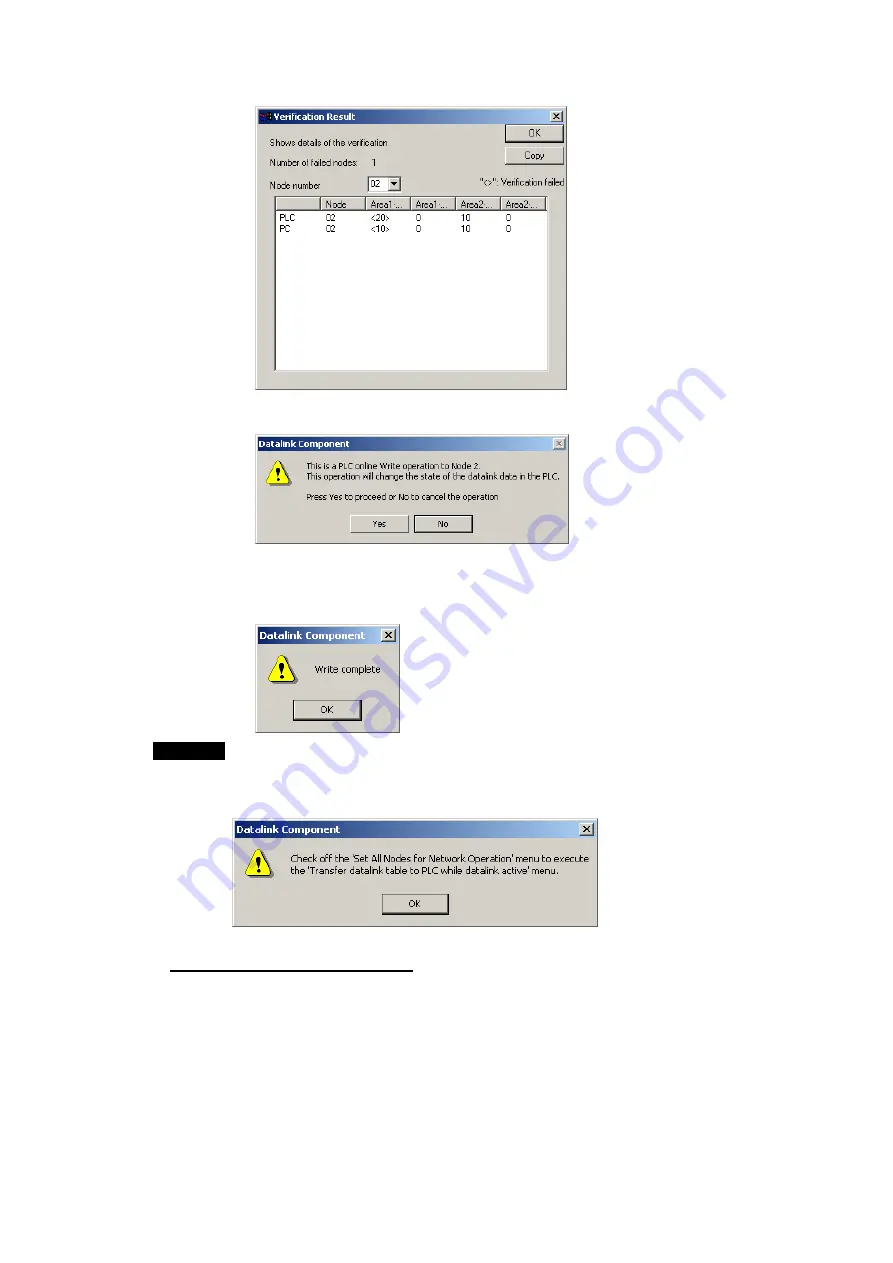
A dialog box will be display to confirm data link table transfer.
9. Click the
Yes
Button. The data link tables will be transferred.
If the
No
Button is clicked, the transfer will be canceled. (The data link tables
currently running will not be changed.
The following dialog box will be displayed if the transfer is completed normally.
Note
Transfer the data link tables for only one node at a time when the data links are
running.
If
Online - Transfer to PLC
has been selected, the following dialog box will be
displayed. Clear the selection and repeat the procedure.
Comparing Data Link Tables
1. In the node list in the Data Link Component, select the node address of the PLC for
which data link tables are to be compared with those in the computer.
2. Be sure that
Online - Set All Nodes for Network Operation
is not selected.
3. Select
Online - Verify Node.
The following dialog box will be displayed.
Summary of Contents for CJ Series
Page 2: ......
Page 3: ...CXONE AL C V3 CXONE AL D V3 CX Integrator Ver 2 3 Operation Manual Revised February 2009 ...
Page 4: ...iv ...
Page 6: ...vi ...
Page 18: ...xviii ...
Page 154: ...Communications Section 3 Routing Tables This section describes how to set the routing tables ...
Page 189: ...3 3 Maintenance after Network Configuration 3 3 2 Editing the FINS Local Network Tables 3 36 ...
Page 244: ...Communications Section 5 Ethernet This section describes the operations specific to Ethernet ...
Page 249: ...5 2 Ping Test 5 2 2 Procedure 5 6 ...
Page 353: ...7 8 Other CompoNet Functions 7 8 2 Installing Expansion Modules 7 32 ...
Page 404: ...Appendices ...
Page 407: ...A 1 CPS File Management A 1 1 Description of CPS Files A 4 ...
Page 413: ......
Page 414: ......
Page 415: ......


