


2-5
Creating Virtual Network Configurations Offline
2-5-3
Changing Node Addresses
2-44
To display the dialog box again, select
Options
from the Tools Menu, and select
Display the information message while inserting the Slave Device which cannot be used
on Mode 0
, and click the
OK
Button.
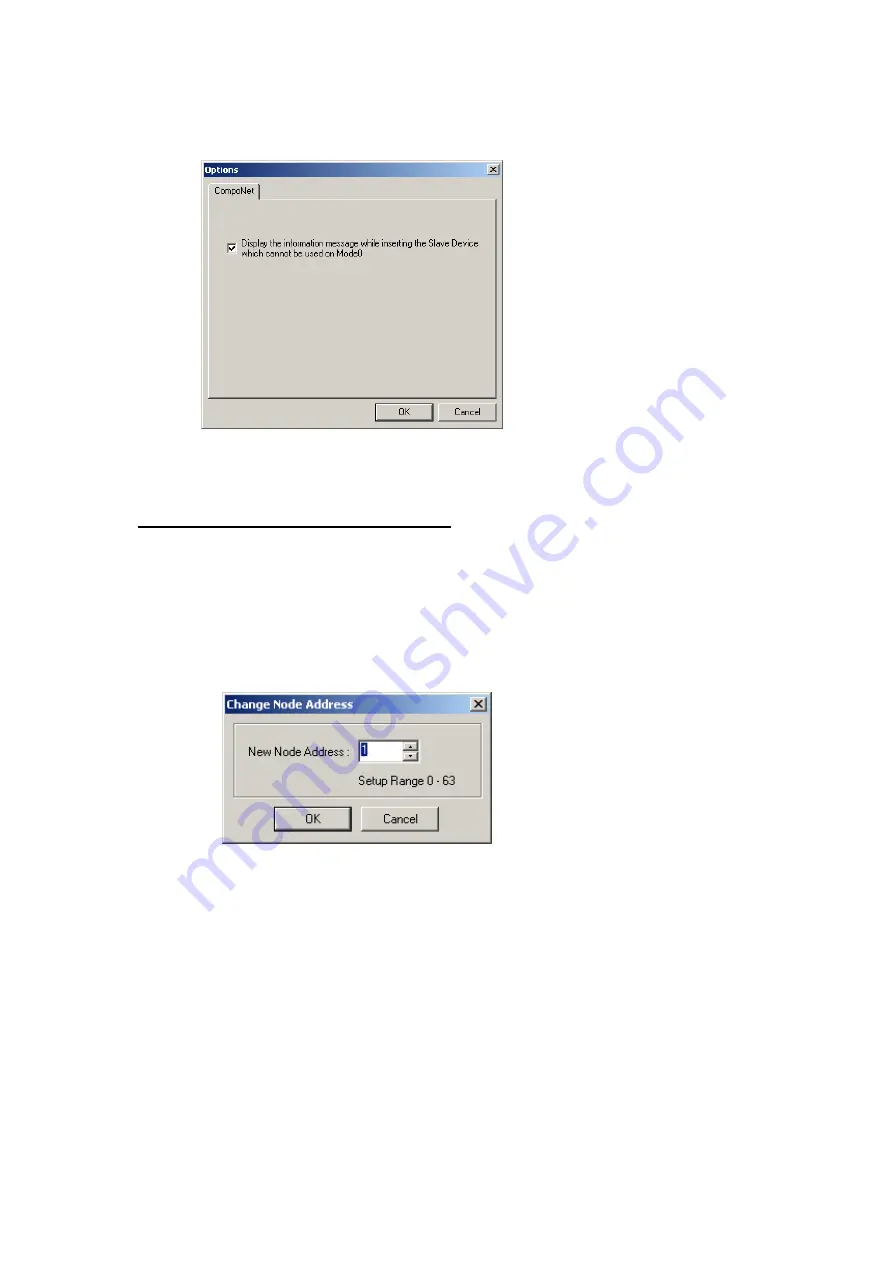
2-5-3 Changing
Node
Addresses
Component
−
Change Node Address
Node address between 0 and 63 will be automatically assigned to devices as they are
added to the network.
Use the following procedure to change a node address that has been assigned.
1 Select the device for which the node address is to be changed.
2 Select
Component
−
Change Node Address
from the menu bar. Alternately,
right-click the device and select
Change Node Address
from the pop-up menu.
The Change Node Address Dialog Box will be displayed.
3 Change the node address to a value between 0 and 63 and click the
OK
Button. The
node address will be changed.
Repeat this operation to change any other node address in the network that should
be different.
Summary of Contents for CJ Series
Page 2: ......
Page 3: ...CXONE AL C V3 CXONE AL D V3 CX Integrator Ver 2 3 Operation Manual Revised February 2009 ...
Page 4: ...iv ...
Page 6: ...vi ...
Page 18: ...xviii ...
Page 154: ...Communications Section 3 Routing Tables This section describes how to set the routing tables ...
Page 189: ...3 3 Maintenance after Network Configuration 3 3 2 Editing the FINS Local Network Tables 3 36 ...
Page 244: ...Communications Section 5 Ethernet This section describes the operations specific to Ethernet ...
Page 249: ...5 2 Ping Test 5 2 2 Procedure 5 6 ...
Page 353: ...7 8 Other CompoNet Functions 7 8 2 Installing Expansion Modules 7 32 ...
Page 404: ...Appendices ...
Page 407: ...A 1 CPS File Management A 1 1 Description of CPS Files A 4 ...
Page 413: ......
Page 414: ......
Page 415: ......


