NAVIS NavDP 4000. Operation Manual
H.3.3.2
Label Change
Automatic labels are assigned to the records on the control stations (see Section H.2, page 320).
To change/assign record label perform the following actions:
– select the record for which you want to change/assign a label (use arrow softkeys for navigation);
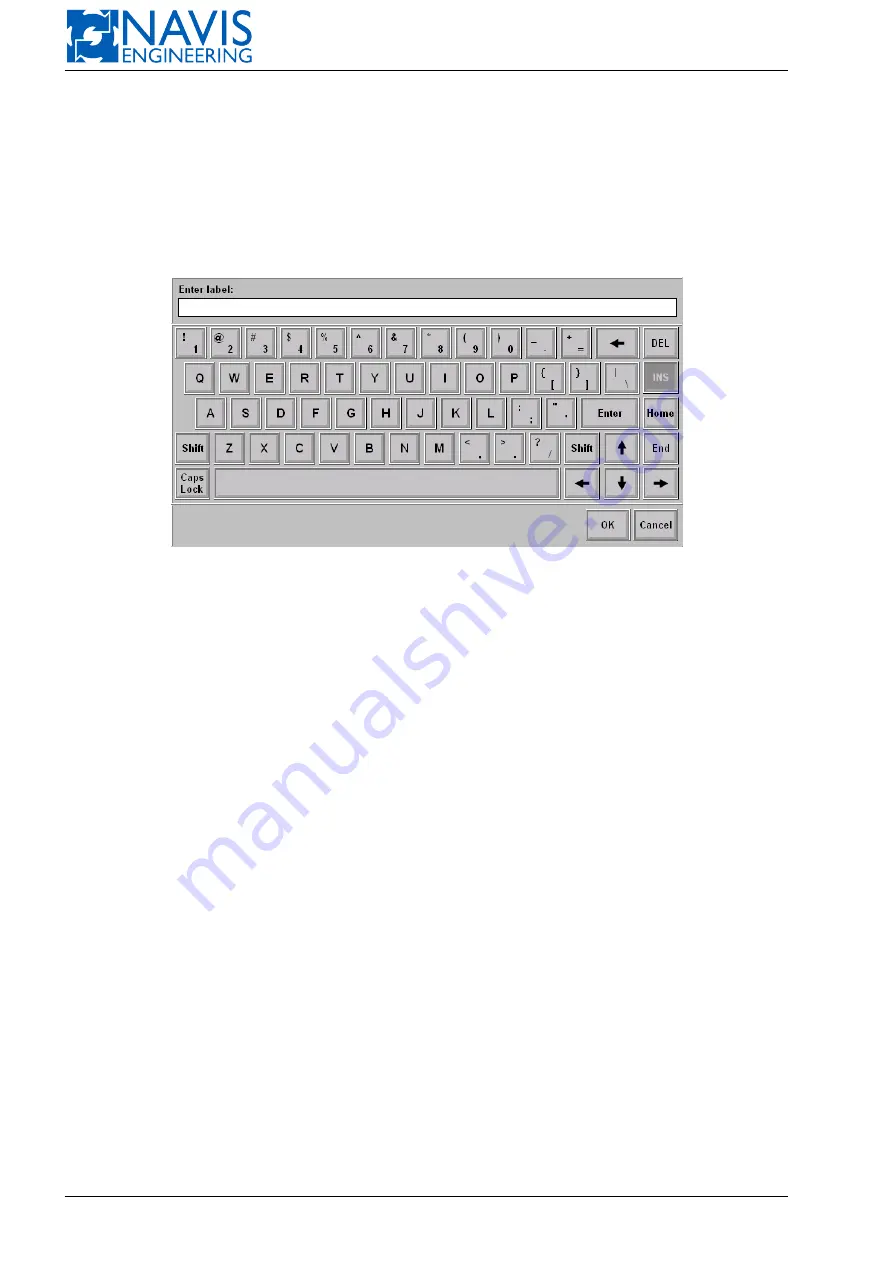
– press “Change Label” softkey and wait for a window with a screen keyboard will appear (see figure H.14);
– enter a new label name and press “OK” softkey;
– the label is changed/assigned.
Figure H.14: Change Label Window
H.3.3.3
Record Export
To export records to the external USB flash drive perform the following actions:
3.1. If you want to export a particular record:
– select it by using arrow softkeys for navigation;
– tick the box of the record by using “Select” softkey.
You can select one or more records.
3.2. Insert USB flash drive into DLS computer USB port.
3.3. Press “Export Selected” softkey.
If USB flash drive is connected incorrectly/not connected, “No mounted flash drive found, insert flash drive and try
export again” message will appear.
3.4. Select USB flash drive name from the list.
3.5. Wait for “Export finished successfully” message will appear.
This operation may take up to several minutes.
3.6. If the records were exported successfully DL console suggests you to unmount USB flash drive. Press “YES”
softkey if you want to unmount USB flash drive right now, otherwise press “NO”.
3.7. Your flash drive contains folder “SendToNavis”.
H.3.3.4
Record Analysis
To analyze data and view charts use Data Logger Analyzer (DLA) (see Section H.4):
– if you want to focus on a particular record, select it by using “Select” softkey;
– press “View” softkey to call DLA.
331
Doc. 000.JDP-10000-OME, rev.3.3.13/“2102.$–17A-Advanced”


