NAVIS NavDP 4000. Operation Manual
*
Item
Thus to choose the item operator should decide on a class, then decide on a goup, then decide on an item.
The class name of the trend is displayed in the field beside the
Class
button.
The group name of the trend is displayed in the field beside the
Group
button.
The list of selected items is displayed in the field beside the
Item
button.
In case all items have been selected the field contains the note
<
All
>
. To delete items from the list use the
Clear
Items
button. This action doesn’t make any changes to Class and Group.
Clicking on the
Class
button switches the settings console to the class selection one (see Figure 5.28). The button of
the current class is white indicated.
Figure 5.28: Class selection console
It is possible to choose another class or click on the
Cancel
button to switch back to the settings console. In case
the different class has been selected the class selection console switches to the settings one with the selected class name
displayed near the
Class
button (see Figure 5.29).
Figure 5.29: The current class name displayed on the settings console.
The same algorithm is for the group selection.
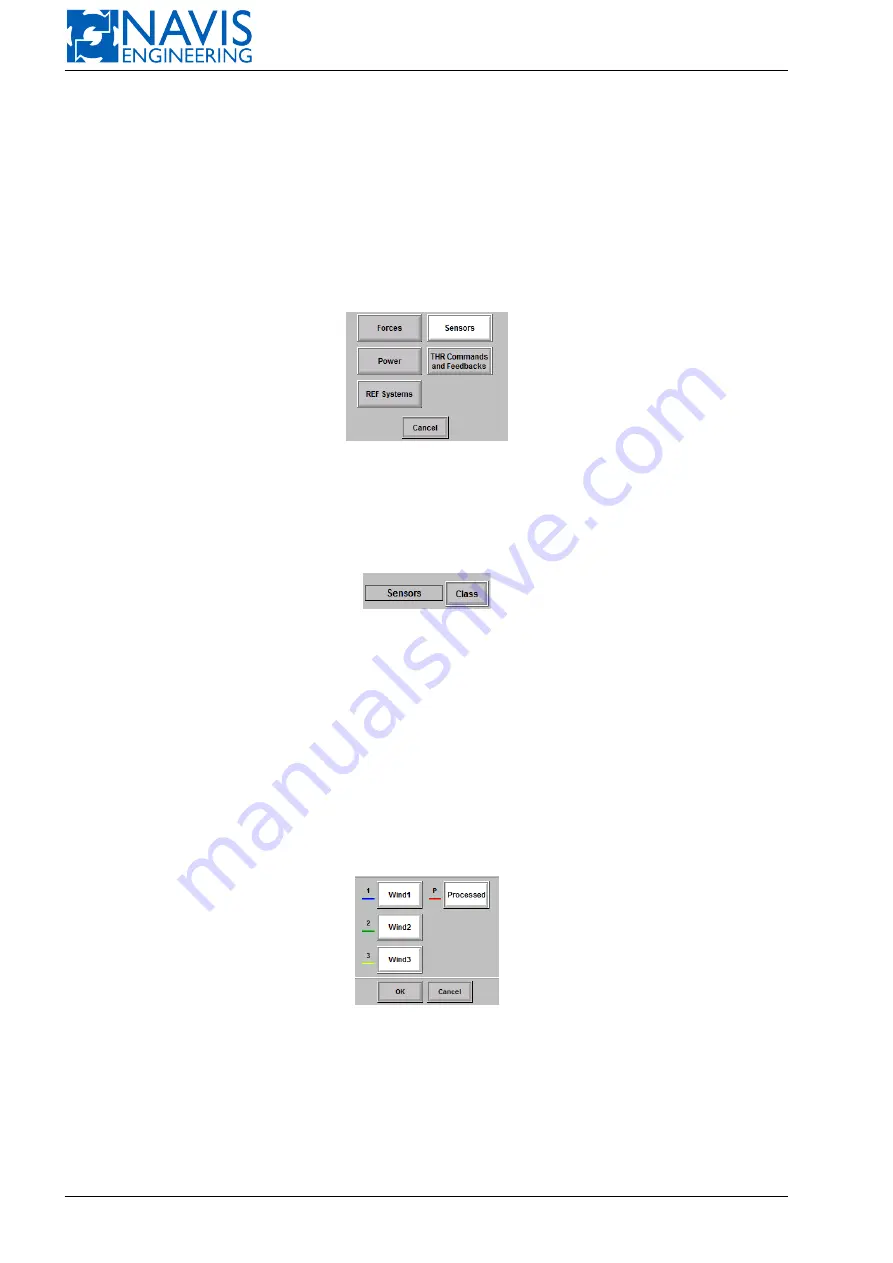
Items are selected from their console and the number of items can be different — from null till all of them (see Figure
5.30). It should be noted that different groups have different numbers of items.
The items console contains:
– item name buttons;
– item legend;
– OK and Cancel buttons.
Figure 5.30: Item consol
Selected buttons are white indicated, the nonselected ones stay gray. To deselect an item click on the selected item
name button. The button switches to gray.
After the choice has been done it’s necessary to push
OK
to apply the item list and to switch to the settings console.
Obviously, the only one class and group can be selected. At the same time the number of items can be any but no
more than the number of items of the group.
The full list of items see in Appendix ((K, page 345).
83
Doc. 000.JDP-10000-OME, rev.3.3.13/“2102.$–17A-Advanced”


