7. COMPUTER LINK CONNECTION
7.6 Precautions
7 - 31
1
P
R
EP
ARA
T
OR
Y
P
R
OCEDURES
FOR
MONIT
O
R
ING
2
D
E
VICE RA
NGE
T
H
A
T
CAN
B
E
SET
3
ACCESS
RA
N
G
E
F
O
R MONIT
O
R
ING
4
HOW T
O
MONIT
O
R
REDUNT
ANT
SYS
TEM
5
BUS CONNECTION
6
DIR
E
CT
CONNECTION T
O
CPU
7
COMP
UT
E
R
L
INK
CONNE
C
T
ION
8
E
T
HE
RN
E
T
CONN
E
C
T
ION
7.6 Precautions
Time taken until the PLC runs when
connected in the multiple CPU system
The following time is taken until the PLC runs.
QCPU (Q mode), motion controller CPU (Q series): 10
seconds or more
MELDAS C70: 18 seconds or more
When the GOT starts before the PLC runs, a system
alarm occurs.Adjust the opening screen time in the
GOT setup so that no system alarm occurs.
GT Designer3 Version Screen Design
Manual
Connection to LCPU
LCPU may diagnose (check file system, recovering
process, etc.) the SD memory card when turning on the
power or when resetting. Therefore, it takes time until
the SD memory card becomes available. When the
GOT starts before the SD card becomes available, a
system alarm occurs. Adjust the opening screen time in
the GOT setup so that no system alarm occurs.
GT Designer3 Version Screen Design
Manual
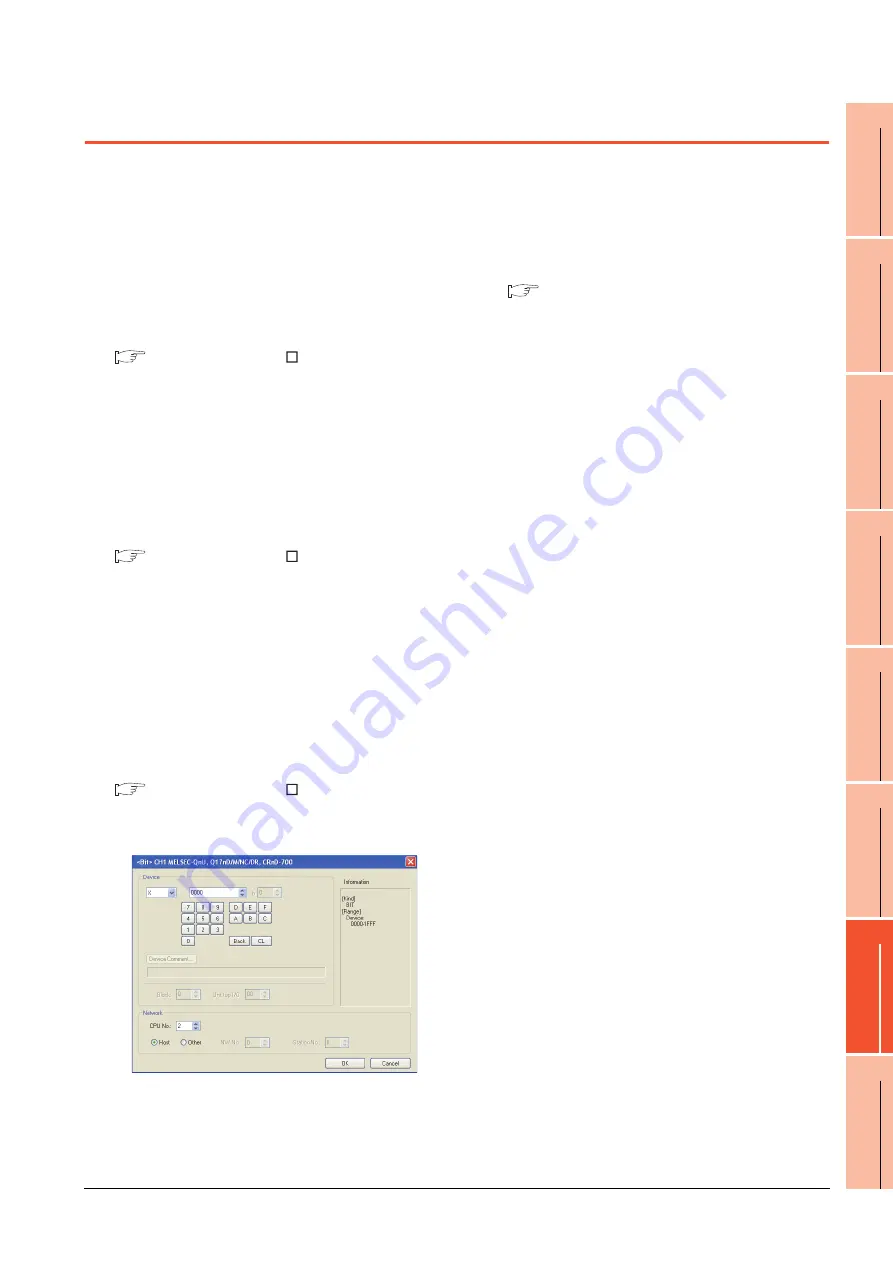
When monitoring the Q170MCPU
Set [CPU No.] to "2" in the device setting to monitor the
device of the Motion CPU area (CPU No.2).
When the CPU No. is set to "0" or "1", the device on the
PLC CPU area (CPU No.1) is monitored.
When the CPU No. is set to the number other than "0"
to "2", a communication error occurs and the monitoring
cannot be executed.
For setting the CPU No., refer to the following manual.
GT Designer3 Version Screen Design
Manual
Example) Setting dialog box of the bit device
Connection to RnSFCPU
The RnSFCPU takes 10 seconds or more to run.
If the GOT is started before the RnSFCPU runs, a
system alarm occurs.
To prevent a system alarm from occurring, adjust the
title display time in the [GOT Setup] dialog.
GT Designer3 (GOT2000) Help
Summary of Contents for GT15
Page 2: ......
Page 34: ...A 32 ...
Page 92: ......
Page 110: ...2 18 2 DEVICE RANGE THAT CAN BE SET 2 9 MELSEC WS ...
Page 186: ...5 10 5 BUS CONNECTION 5 2 System Configuration ...
Page 218: ...5 42 5 BUS CONNECTION 5 4 Precautions ...
Page 254: ...6 36 6 DIRECT CONNECTION TO CPU 6 6 Precautions ...
Page 286: ...7 32 7 COMPUTER LINK CONNECTION 7 6 Precautions ...
Page 350: ...8 64 8 ETHERNET CONNECTION 8 5 Precautions ...
Page 368: ...9 18 9 MELSECNET H CONNECTION PLC TO PLC NETWORK 9 5 Precautions ...
Page 420: ...11 26 11 CC Link IE CONTROLLER NETWORK CONNECTION 11 5 Precautions ...
Page 440: ...12 20 12 CC Link IE FIELD NETWORK CONNECTION 12 5 Precautions ...
Page 490: ...13 50 13 CC Link CONNECTION INTELLIGENT DEVICE STATION 13 5 Precautions ...
Page 510: ......
Page 564: ...15 54 15 INVERTER CONNECTION 15 7 Precautions ...
Page 668: ......
Page 712: ...21 12 21 MULTIPLE GT14 GT12 GT11 GT10 CONNECTION FUNCTION 21 5 Precautions ...
Page 713: ...MULTI CHANNEL FUNCTION 22 MULTI CHANNEL FUNCTION 22 1 ...
Page 714: ......
Page 760: ...22 46 22 MULTI CHANNEL FUNCTION 22 5 Multi channel Function Check Sheet ...
Page 761: ...FA TRANSPARENT FUNCTION 23 FA TRANSPARENT FUNCTION 23 1 ...
Page 762: ......
Page 860: ...REVISIONS 4 ...
Page 863: ......


