Chapter 1
1-22
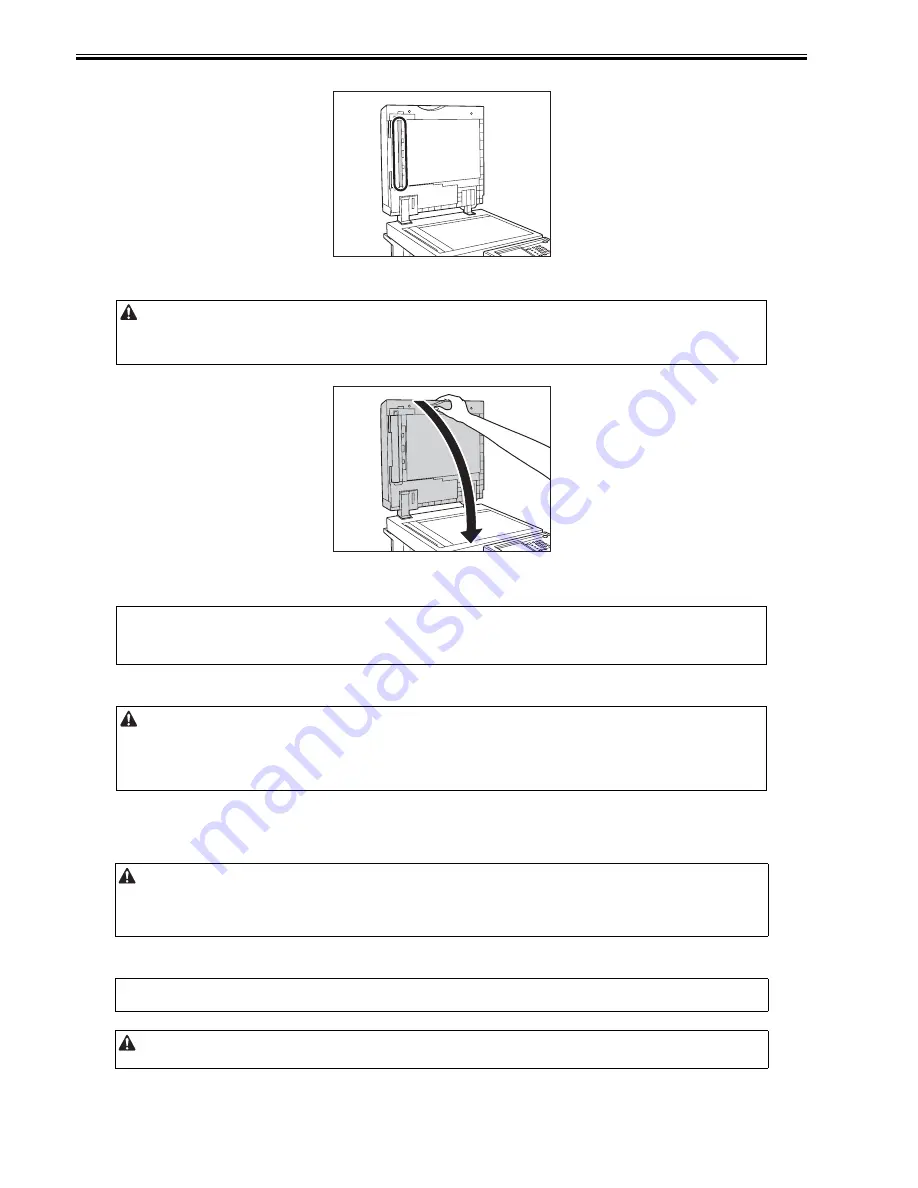
10) Clean the metal part located next to the rubber roller with a cloth dampened with water. Then, wipe the area with a soft, dry cloth.
F-1-18
11) Close the feeder.
F-1-19
3. Automatic Feeder Cleaning
If your originals have black streaks or appear dirty after scanning them through the feeder, clean the rollers of the feeder.
1) Press (Additional Functions) -> [Adjustment/Cleaning] -> [Feeder Cleaning].
2) Place 10 sheets of blank paper into the feeder -> press [Start].
1.2.4.2 Inspection
0018-9690
iR3225 / iR3225N / iR3235 / iR3235N / iR3245 / iR3245N
This machine has a breaker that detects excess current or leakage current. Be sure to test the breaker once or twice a month using the following procedure.
Checking the Breaker
1) Push the test button on the rear of the machine with the tip of a ball-point pen, or a similar object.
2) Confirm that the breaker lever is switched to the OFF position.
- When closing the feeder, be careful not to get your fingers caught, as this may result in personal injury.
- Be aware that the light emitted from the platen glass may be very bright when closing the feeder.
MEMO:
-
This procedure is necessary only if the optional Feeder (DADF-U1) (standard-equipped for the imageRUNNER 3245/3245i/3235i/3235i) is attached.
- It takes approximately 20 seconds to clean the feeder.
- Make sure that you fan the sheets of paper well.
- Use LTR paper (16 to 20 lb bond (60 to 80 g/m2)).
- When cleaning is complete, try scanning again.
- To cancel feeder cleaning while it is in progress, press [Cancel].
- Make sure that the main power is turned OFF, before inspecting the breaker.
- Be sure to turn off the main power switch after executing shutdown sequence (to protect HDD).
- If a malfunction occurs after an inspection, contact your local authorized Canon dealer.
MEMO:
The breaker is located on the rear of the machine.
Briefly push the test button.
Summary of Contents for iR3245
Page 1: ...Jul 3 2008 Service Manual iR3245 3235 3230 3225 Series...
Page 2: ......
Page 6: ......
Page 25: ...Chapter 1 Introduction...
Page 26: ......
Page 28: ......
Page 64: ......
Page 65: ...Chapter 2 Installation...
Page 66: ......
Page 120: ......
Page 121: ...Chapter 3 Basic Operation...
Page 122: ......
Page 124: ......
Page 128: ......
Page 129: ...Chapter 4 Main Controller...
Page 130: ......
Page 132: ......
Page 134: ...Chapter 4 4 2 F 4 1 1 5 8 9 11 14 12 3 4 10 2 13 7 15 16 17...
Page 152: ......
Page 153: ...Chapter 5 Original Exposure System...
Page 154: ......
Page 184: ......
Page 185: ...Chapter 6 Laser Exposure...
Page 186: ......
Page 188: ......
Page 197: ...Chapter 7 Image Formation...
Page 198: ......
Page 227: ...Chapter 8 Pickup Feeding System...
Page 228: ......
Page 232: ......
Page 244: ...Chapter 8 8 12 For iR3245 3235 3230 F 8 14 1 2 3 4...
Page 261: ...Chapter 8 8 29 10 11 12 13 14 3 1 2 4 5 4 4 1 2 3 5 4 1 2 3 5 5 4 1 2 3 5 4 1 2 3 5...
Page 278: ......
Page 279: ...Chapter 9 Fixing System...
Page 280: ......
Page 282: ......
Page 297: ...Chapter 10 External and Controls...
Page 298: ......
Page 302: ......
Page 315: ...Chapter 10 10 13 2 Uncheck SNMP Status Enabled F 10 11...
Page 342: ......
Page 343: ...Chapter 11 MEAP...
Page 344: ......
Page 346: ......
Page 397: ...Chapter 12 e maintenance imageWARE Remote...
Page 398: ......
Page 400: ......
Page 408: ......
Page 409: ...Chapter 13 Maintenance and Inspection...
Page 410: ......
Page 412: ......
Page 424: ...Chapter 13 13 12...
Page 425: ...Chapter 14 Standards and Adjustments...
Page 426: ......
Page 428: ......
Page 436: ......
Page 437: ...Chapter 15 Correcting Faulty Images...
Page 438: ......
Page 440: ......
Page 465: ...Chapter 16 Self Diagnosis...
Page 466: ......
Page 468: ......
Page 493: ...Chapter 17 Service Mode...
Page 494: ......
Page 498: ......
Page 690: ......
Page 691: ...Chapter 18 Upgrading...
Page 692: ......
Page 694: ......
Page 738: ...Chapter 18 18 44...
Page 739: ...Chapter 19 Service Tools...
Page 740: ......
Page 742: ......
Page 744: ......
Page 745: ...Jul 3 2008...
Page 746: ......


