Chapter 11
11-33
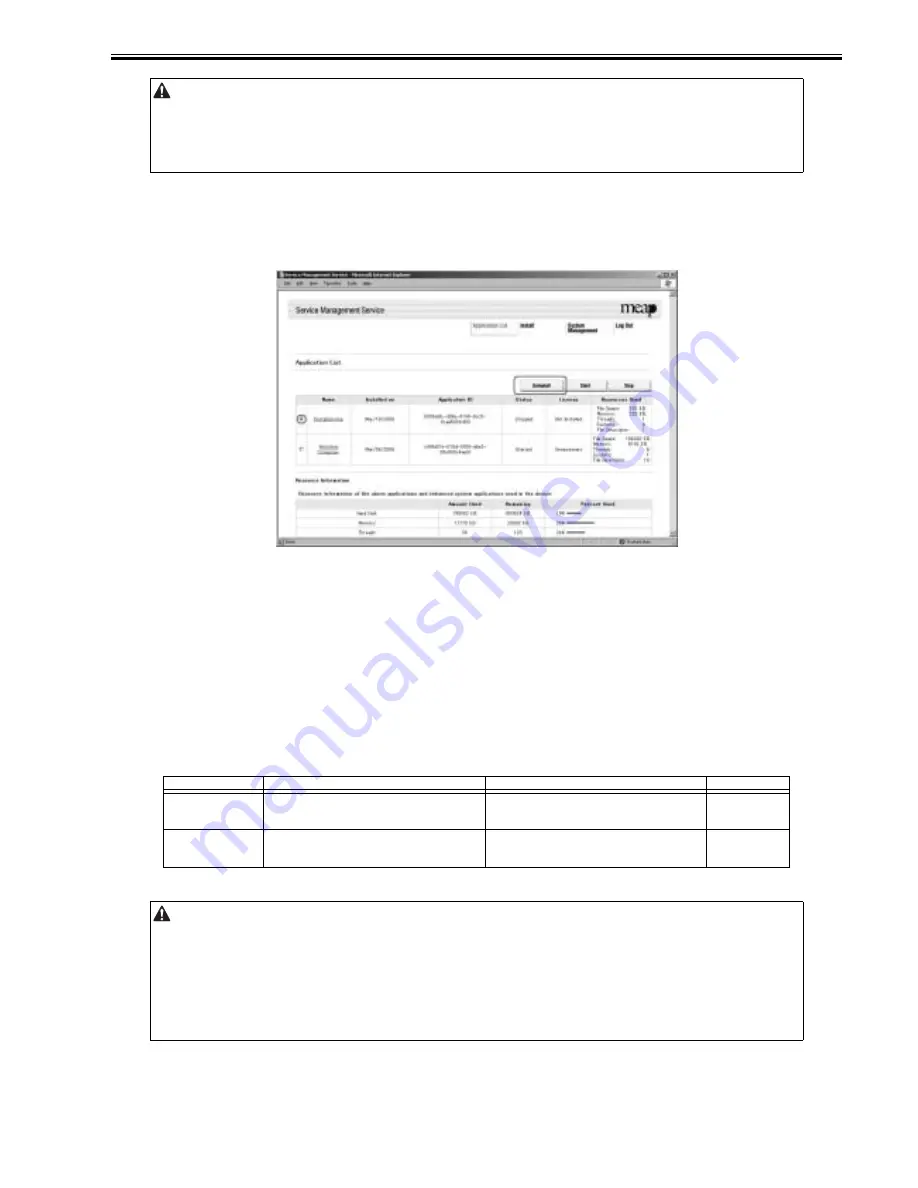
1) Log on to SMS, and click [Application List] tab.
2) Check [Application List] page appears.
3) On the application list, select the radio button of the application you want to uninstall, and click [Uninstall] button.
F-11-50
4) Check the screen to make sure that what is shown is the application you want to uninstall; then, click [OK] button.
In response, the system runs an uninstall sessions.
11.1.23 Login Service
0019-9224
iR3225 / iR3225N / iR3235 / iR3235N / iR3245 / iR3245N
The login service is used to authenticate the user when a MEAP device is booted up. Login service changes and install/ uninstall are carried out from the 'System
Management' page.
The pre-install applications and those provided on the accessory CD are as follows. Default Authentication is used as the default at the time of shipment from the
factory.
T-11-18
- The status of the license must be 'Not Installed' or 'Unnecessary' for its application to be uninstalled. As necessary, go to License File Management page, and disable
the license file before starting to remove it.
- Dimmed [Uninstall] button shows that the selected application cannot be removed.
- A license file may be invalidated only when its application is not active.
- If the application you are uninstalling is associated with another application, a message will appear to indicate that the package exported by the application will no
loner be available. Uninstalling such an application may also disable its associated applications.
Other than iR3245
iR3245
Remarks
Pre-install
Default Authentication(default)
Simple Device Login
Single Sign On
Default Authentication (default)
Single Sign On-H
Accessory CD
Default Authentication
Simple Device Login
Single Sign On and Security Agent
Default Authentication
Single Sign On-H
Single Sign On and Security Agent
- When the login service is set to SSO-H, Department ID management needs to be [OFF] before changes can be made. To use SSO-H local device authentication and
Department ID management at the same time, after allocation of the department ID to the Administrator, switch the authentication method to local device
authentication and then turn Department ID management ON.
- To use Department ID management in domain authentication, the option imageWARE accounting manager is required.
- When the setting is SSO-H, the card reader for the option controller card cannot be used.
- When using SSO-H, the clock settings of the server managing the Active Directory and the MEAP device (and the PC used to log in), must be matched. If there is
a time difference of greater than five minutes in the clock settings, an error will be generated when login is attempted.
- When the setting is SSO-H, start up takes a little longer when compared to Default Authentication (because of the time required for object initialization).
- To use the SEND function when the setting is for SSO-H, when sending email, mail addresses need to be programmed against each user. If they are not, email
cannot be sent. Note, however, that when sending i-Fax, the mail addresses set in the device are used.
Summary of Contents for iR3245
Page 1: ...Jul 3 2008 Service Manual iR3245 3235 3230 3225 Series...
Page 2: ......
Page 6: ......
Page 25: ...Chapter 1 Introduction...
Page 26: ......
Page 28: ......
Page 64: ......
Page 65: ...Chapter 2 Installation...
Page 66: ......
Page 120: ......
Page 121: ...Chapter 3 Basic Operation...
Page 122: ......
Page 124: ......
Page 128: ......
Page 129: ...Chapter 4 Main Controller...
Page 130: ......
Page 132: ......
Page 134: ...Chapter 4 4 2 F 4 1 1 5 8 9 11 14 12 3 4 10 2 13 7 15 16 17...
Page 152: ......
Page 153: ...Chapter 5 Original Exposure System...
Page 154: ......
Page 184: ......
Page 185: ...Chapter 6 Laser Exposure...
Page 186: ......
Page 188: ......
Page 197: ...Chapter 7 Image Formation...
Page 198: ......
Page 227: ...Chapter 8 Pickup Feeding System...
Page 228: ......
Page 232: ......
Page 244: ...Chapter 8 8 12 For iR3245 3235 3230 F 8 14 1 2 3 4...
Page 261: ...Chapter 8 8 29 10 11 12 13 14 3 1 2 4 5 4 4 1 2 3 5 4 1 2 3 5 5 4 1 2 3 5 4 1 2 3 5...
Page 278: ......
Page 279: ...Chapter 9 Fixing System...
Page 280: ......
Page 282: ......
Page 297: ...Chapter 10 External and Controls...
Page 298: ......
Page 302: ......
Page 315: ...Chapter 10 10 13 2 Uncheck SNMP Status Enabled F 10 11...
Page 342: ......
Page 343: ...Chapter 11 MEAP...
Page 344: ......
Page 346: ......
Page 397: ...Chapter 12 e maintenance imageWARE Remote...
Page 398: ......
Page 400: ......
Page 408: ......
Page 409: ...Chapter 13 Maintenance and Inspection...
Page 410: ......
Page 412: ......
Page 424: ...Chapter 13 13 12...
Page 425: ...Chapter 14 Standards and Adjustments...
Page 426: ......
Page 428: ......
Page 436: ......
Page 437: ...Chapter 15 Correcting Faulty Images...
Page 438: ......
Page 440: ......
Page 465: ...Chapter 16 Self Diagnosis...
Page 466: ......
Page 468: ......
Page 493: ...Chapter 17 Service Mode...
Page 494: ......
Page 498: ......
Page 690: ......
Page 691: ...Chapter 18 Upgrading...
Page 692: ......
Page 694: ......
Page 738: ...Chapter 18 18 44...
Page 739: ...Chapter 19 Service Tools...
Page 740: ......
Page 742: ......
Page 744: ......
Page 745: ...Jul 3 2008...
Page 746: ......


