


4.3 Setting System Menu
4-9
4
Screen Oper
ation
Saving measurement conditions and measurement results
1. Touch [Save] to display the Save panel.
2. Select the save data from the following:
[All Setup], [PPG/ED Ch1], [PPG/ED Ch2], [PPG/ED Ch3], [PPG/ED
Ch4], [SFP+], [EYE/Pulse Scope], [O/E], [Jitter], [Transmission]
The displayed module varies with the model name and options.
3. When [PPG/ED Ch1], [PPG/ED Ch2], [PPG/ED Ch3], [PPG/ED Ch4],
[EYE/Pulse Scope], [Jitter], or [Transmission] is saved, select the
data type from the following:
[Setting]: Measurement condition
[Result]: Measurement result
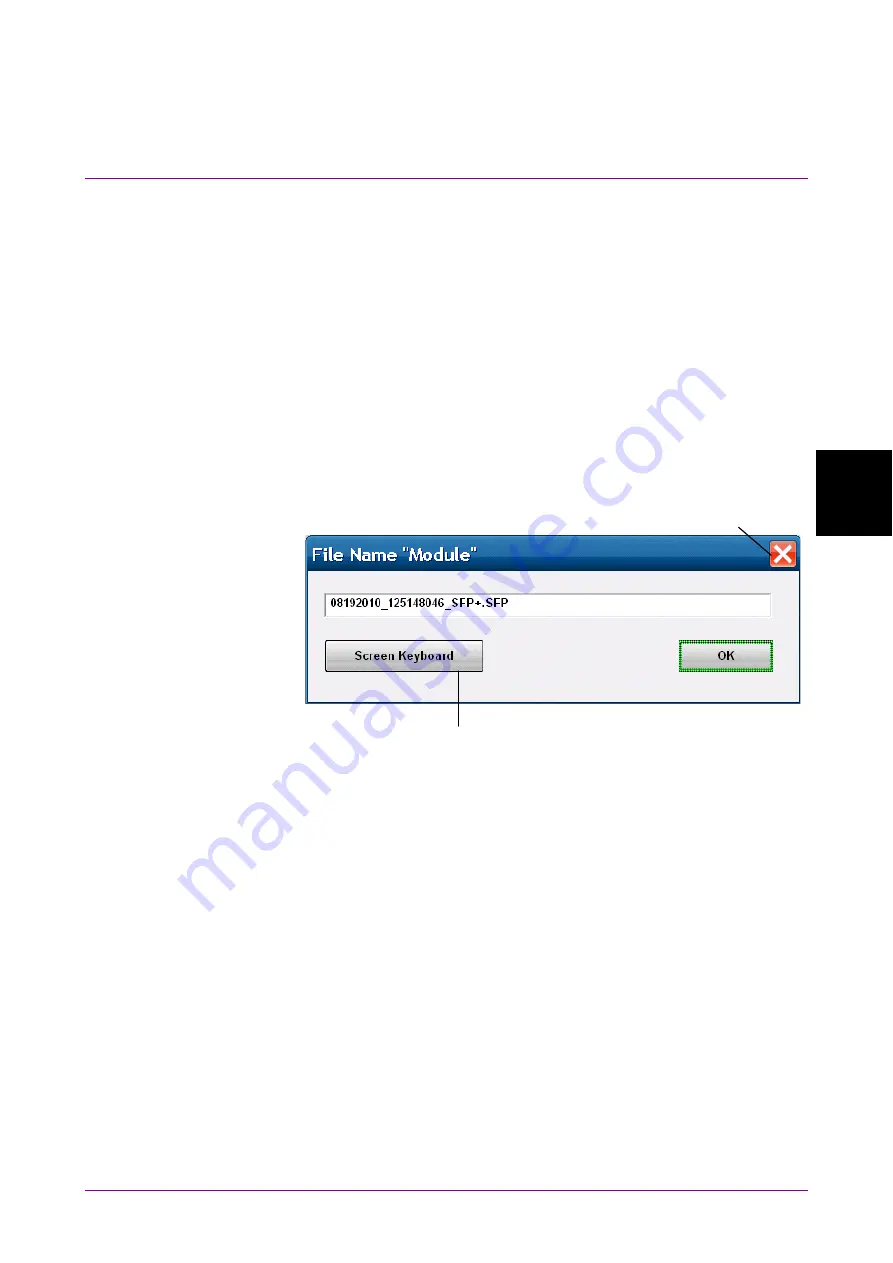
4. The file name is displayed. When changing the displayed file name,
touch the keyboard display button.
Close button
Software keyboard display button
5. Enter the file name using the software keyboard.
6. When saving the file name, touch [OK]. Also, when canceling the
saving procedure, touch the close button.
The measurement condition file is saved in the following folder.
C:\Program Files\Anritsu\MP2100A\MX21000A\UserData\Setting
The measurement result file is saved in the following folder.
C:\Program Files\Anritsu\MP2100A\MX21000A\UserData\Result\CSV
C:\Program Files\Anritsu\MP2100A\MX21000A\UserData\Result\TXT
The CSV file cannot be read in the spreadsheet software.
You can confirm the test file details on the test editor.
Summary of Contents for BERTWave MP2100B
Page 24: ...xxiv...
Page 96: ...Chapter 2 Before Use 2 42...
Page 112: ...Chapter 3 Connecting with DUT 3 16...
Page 250: ...Chapter 7 Measuring Waveform 7 64 Figure 7 12 1 Marker Display...
Page 262: ...Chapter 7 Measuring Waveform 7 76...
Page 276: ...Chapter 8 Operating Optical Interface 8 14...
Page 304: ...Chapter 9 Performance Test 9 28...
Page 320: ...Chapter 10 Maintenance 10 16...
Page 374: ...Appendix E Performance Test Record Form E 10...
Page 382: ...Index Index 6...