


7-31
SYSTEM SETTINGS
Contents
.
This section explains the system settings that are configured by the administrator of the machine.
Accessing the System Settings (Administrator)
To access the system settings (administrator), the administrator must log in as explained below.
When User Authentication is not Enabled
When "
User Authentication Setting
" (page 7-50) is not enabled, follow the procedure below to log in.
SYSTEM SETTINGS
(ADMINISTRATOR)
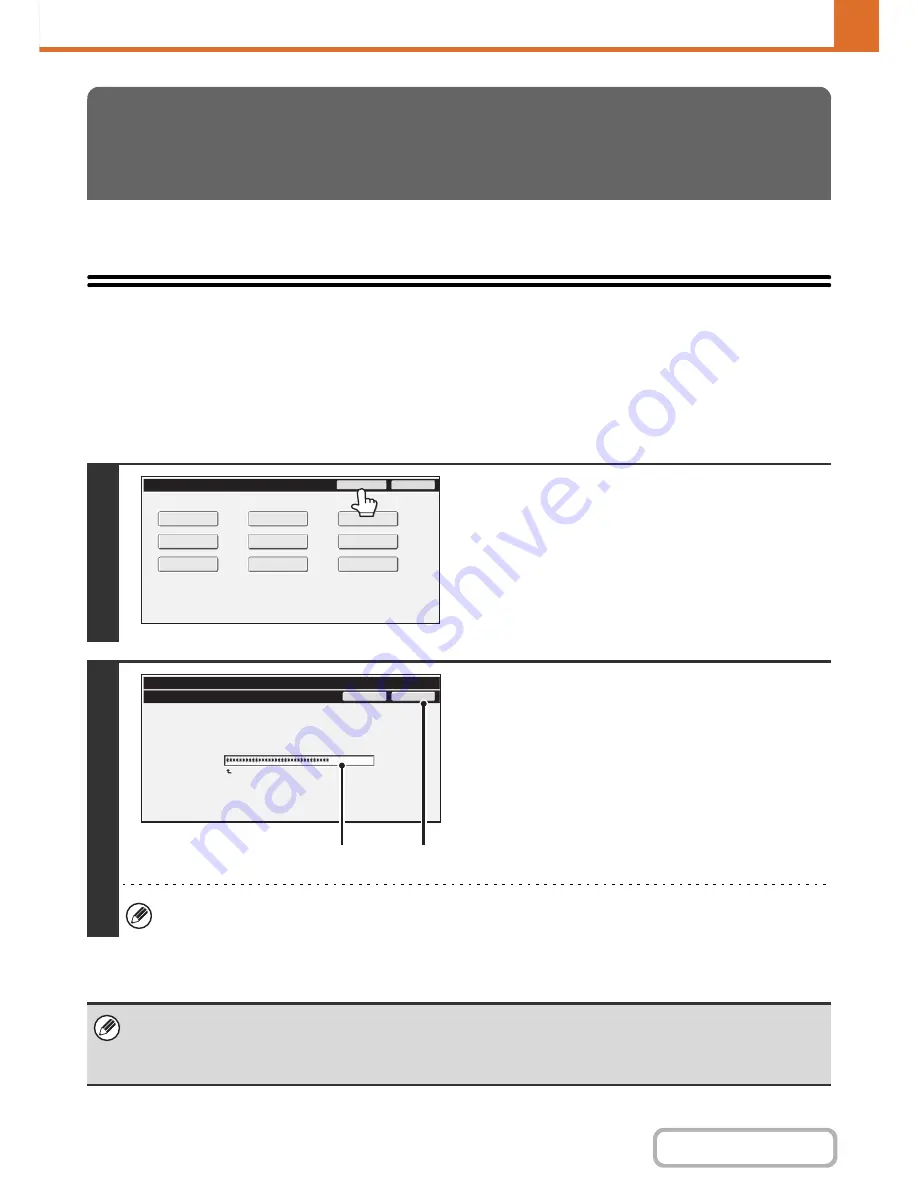
1
Touch the [Admin Password] key.
2
Log in.
(1) Touch the [Password] text box and enter
the administrator password.
(2) Touch the [OK] key.
This completes the administrator login procedure. The system settings (administrator) can now be used.
• User authentication is initially disabled (factory default setting).
•
To logout...
Touch the [Logout] key in the top right corner of the screen. You can also touch the [Exit] key to quit the system settings.
(If Auto Clear activates, logout will automatically take place.)
System Settings
Exit
Admin Password
Total Count
Default Settings
Address Control
USB-Device Check
List Print
(User)
Fax Data
Receive/Forward
Paper Tray
Settings
Printer Condition
Settings
Document Filing
Control
System Settings
Admin Password
Enter the administrator password. (From 5 to 32 characters)
Press here for keyboard.
Password
Cancel
OK
(1)
(2)
Содержание MX-C402SC
Страница 4: ...Reduce copy mistakes Print one set of copies for proofing ...
Страница 6: ...Make a copy on this type of paper Envelopes and other special media Transparency film ...
Страница 11: ...Conserve Print on both sides of the paper Print multiple pages on one side of the paper ...
Страница 34: ...Search for a file abc Search for a file using a keyword Search by checking the contents of files ...
Страница 35: ...Organize my files Delete a file Delete all files Periodically delete files Change the folder ...
Страница 243: ...2 86 COPIER Contents To cancel an RGB adjust setting Touch the Cancel key in the screen of step 3 ...
Страница 245: ...2 88 COPIER Contents To cancel the sharpness setting Touch the Cancel key in the screen of step 3 ...
Страница 252: ...2 95 COPIER Contents To cancel an intensity setting Touch the Cancel key in the screen of step 3 ...
Страница 295: ...3 19 PRINTER Contents 4 Click the Print button Printing begins ...