


1-20
BEFORE USING THE MACHINE
Contents
3
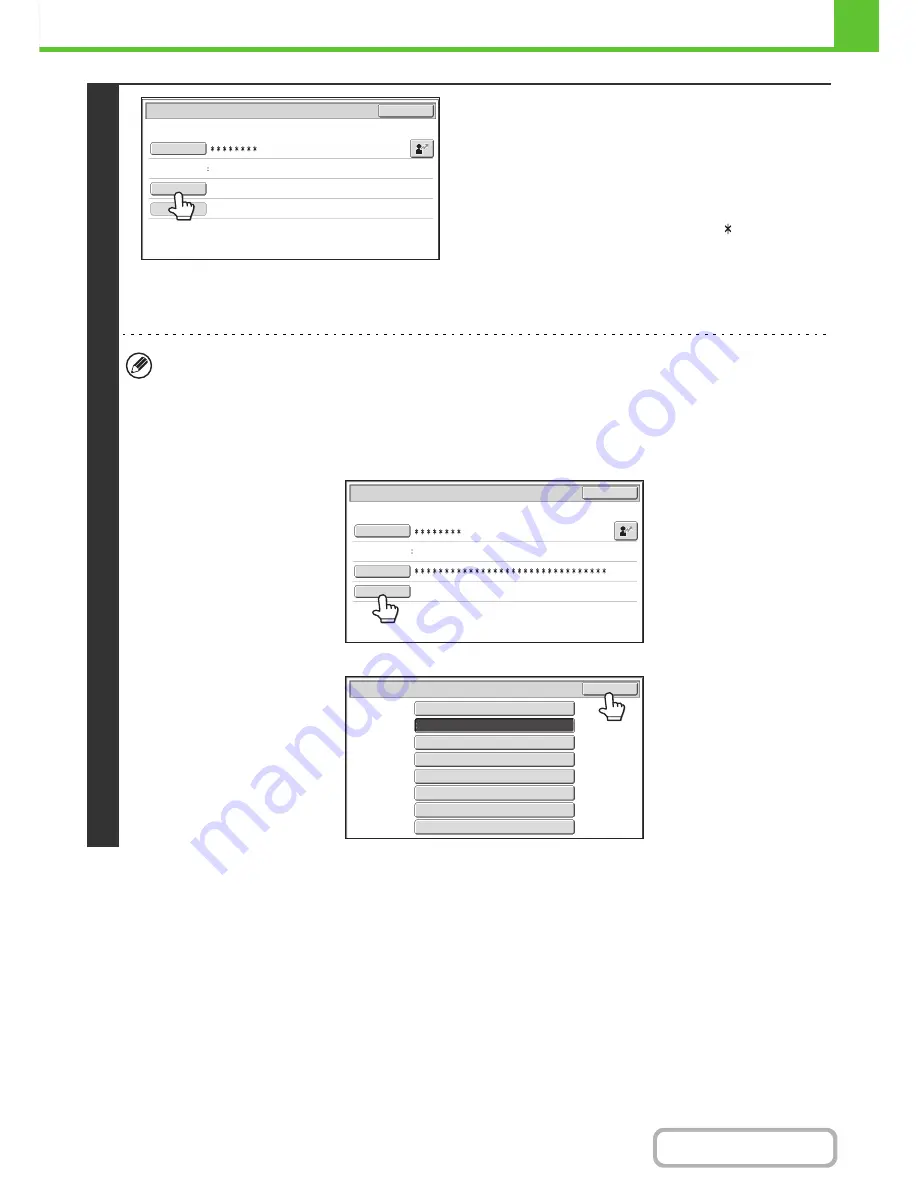
Touch the [Password] key.
A text entry screen for entering the password will appear.
Enter your password that is stored in "User List" in the system
settings (administrator).
If you are logging in to a LDAP server, enter the password that
is stored with your LDAP server login name.
Each entered character will be displayed as " ". When you
have finished entering the password, touch the [OK] key.
When authentication is by LDAP server and you have different
passwords stored in "User List" in the system settings
(administrator) and in the LDAP server, use the password
stored in the LDAP server.
• When a LDAP server has been stored, [Auth to:] can be changed.
•
If you are logging in using a user selection key...
The LDAP server was stored when your user information was stored, and thus the LDAP server will appear as the
authentication server when you select your login name. Go to step 4.
•
When logging in using the [Direct Entry] key...
Touch the [Auth to:] key.
Select the LDAP server and touch the [OK] key.
User 0001
User Authentication
OK
Login Name
User Name
Password
Auth to:
Login Locally
Auth to:
Direct Entry
User Authentication
OK
Login Name
User Name
Password
Login Locally
Authenticate to:
OK
Login Locally
Server 2
Server 1
Server 3
Server 4
Server 5
Server
6
Server 7
Содержание MX-C402SC
Страница 4: ...Reduce copy mistakes Print one set of copies for proofing ...
Страница 6: ...Make a copy on this type of paper Envelopes and other special media Transparency film ...
Страница 11: ...Conserve Print on both sides of the paper Print multiple pages on one side of the paper ...
Страница 34: ...Search for a file abc Search for a file using a keyword Search by checking the contents of files ...
Страница 35: ...Organize my files Delete a file Delete all files Periodically delete files Change the folder ...
Страница 243: ...2 86 COPIER Contents To cancel an RGB adjust setting Touch the Cancel key in the screen of step 3 ...
Страница 245: ...2 88 COPIER Contents To cancel the sharpness setting Touch the Cancel key in the screen of step 3 ...
Страница 252: ...2 95 COPIER Contents To cancel an intensity setting Touch the Cancel key in the screen of step 3 ...
Страница 295: ...3 19 PRINTER Contents 4 Click the Print button Printing begins ...