


5-93
SCANNER/INTERNET FAX
Contents
CHANGING THE PRINT SETTINGS FOR THE
TRANSACTION REPORT
(Transaction Report)
A transaction report is automatically printed out to alert you when an Internet fax transmission fails or when a broadcast
transmission is performed. The transaction report contains a description of the transmission (date, start time, name of
other party, time required, number of pages, result, etc.).
☞
INFORMATION APPEARING IN THE RESULT COLUMN
(page 5-103)
Transaction reports are printed based on conditions set in the system settings; however, you can temporarily select
different conditions for a transmission. To change the transaction report print conditions at the time of transmission,
follow the steps below.
This function cannot be used in scan mode, USB memory mode, or data entry mode.
1
Place the original.
Place the original face up in the document feeder tray, or face down on the document glass.
When the original is a different size than the size setting, set the original size.
☞
SPECIFYING THE ORIGINAL SCAN SIZE AND SEND SIZE
(page 5-54)
2
Specify the destination.
☞
ENTERING DESTINATIONS
(page 5-18)
3
Select the special modes.
(1) Touch the [Internet Fax] tab.
(2) Touch the [Special Modes] key.
(3) Touch the [Transaction Report] key.
☞
SPECIAL MODES
(page 5-70)
4
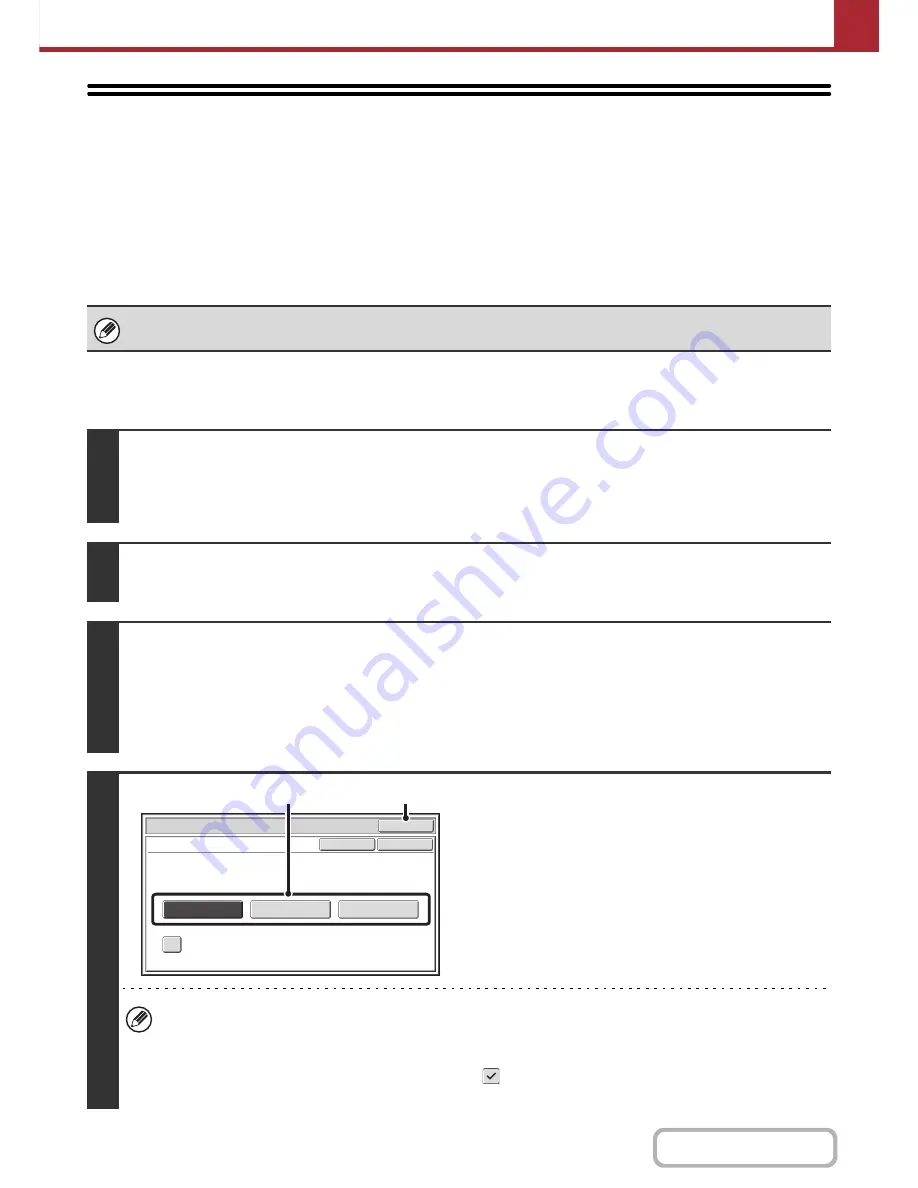
Select print conditions.
(1) Select the print conditions.
(2) Touch the [OK] key.
• The print conditions for a transaction report are as follows:
"Always Print": A transaction report is printed no matter whether the transmission succeeds or fails.
"Print at Error": A transaction report is printed when transmission fails.
"Do not Print": Do not print a transaction report.
• When the [Print Original Image] checkbox is selected
, part of the transmitted original is included on the
transaction report.
Internet Fax/Special Modes
OK
Transaction Report
Print Original Image
OK
Cancel
Always Print
Print at Error
Do not Print
(1)
(2)
Содержание MX-C402SC
Страница 4: ...Reduce copy mistakes Print one set of copies for proofing ...
Страница 6: ...Make a copy on this type of paper Envelopes and other special media Transparency film ...
Страница 11: ...Conserve Print on both sides of the paper Print multiple pages on one side of the paper ...
Страница 34: ...Search for a file abc Search for a file using a keyword Search by checking the contents of files ...
Страница 35: ...Organize my files Delete a file Delete all files Periodically delete files Change the folder ...
Страница 243: ...2 86 COPIER Contents To cancel an RGB adjust setting Touch the Cancel key in the screen of step 3 ...
Страница 245: ...2 88 COPIER Contents To cancel the sharpness setting Touch the Cancel key in the screen of step 3 ...
Страница 252: ...2 95 COPIER Contents To cancel an intensity setting Touch the Cancel key in the screen of step 3 ...
Страница 295: ...3 19 PRINTER Contents 4 Click the Print button Printing begins ...