


1-102
BEFORE USING THE MACHINE
Contents
CHANGING THE PORT
When using the machine in a Windows environment, follow the steps below to change the port when you have changed
the IP address of the machine or have installed the PC-Fax driver when the machine is connected with a USB cable. If
the machine is being used on an IPv6 network, follow the steps 1 to 3 below and see "
Changing to a Standard TCP/IP
Port
" (page 1-104) for the remaining steps of the procedure to change the port.
1
Click the [Start] button (
), click [Control Panel], and then click [Printer].
• In Windows XP/Server 2003, click the [start] button and then click [Printers and Faxes].
• In Windows 2000, click the [Start] button, select [Settings], and then click [Printers].
If [Printers and Faxes] does not appear in the [start] menu in Windows XP, click the [start] button, click [Control Panel],
click [Printers and Other Hardware], and then click [Printers and Faxes].
2
Open the printer properties window.
(1) Right-click the printer driver icon of the machine.
(2) Select [Properties].
3
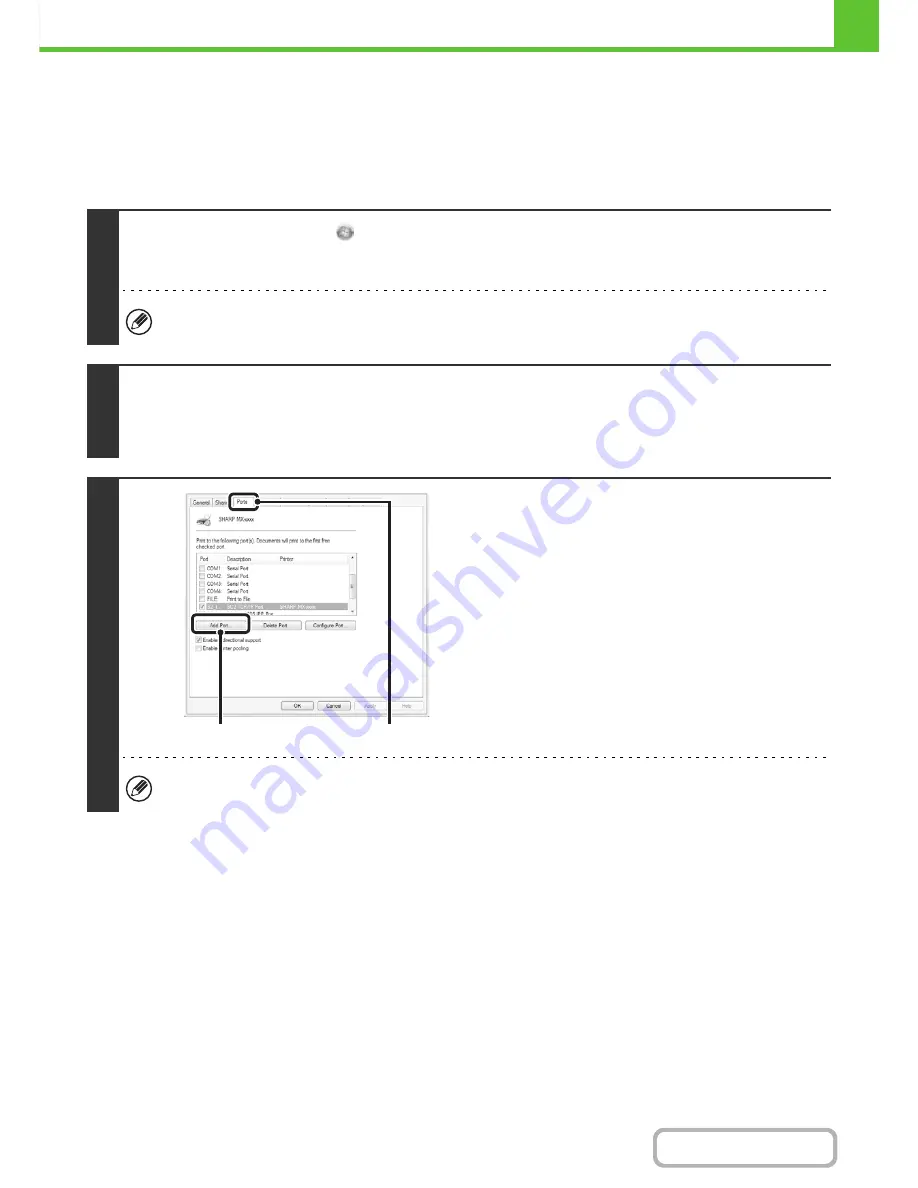
Adding or changing a port.
(1) Click the [Ports] tab.
(2) Click the [Add Port] button.
To change to a previously created port such as USB port, select the desired port (USB001, etc.) from the list and click
the [Apply] button. This changes the port.
(2)
(1)
Содержание MX-C402SC
Страница 4: ...Reduce copy mistakes Print one set of copies for proofing ...
Страница 6: ...Make a copy on this type of paper Envelopes and other special media Transparency film ...
Страница 11: ...Conserve Print on both sides of the paper Print multiple pages on one side of the paper ...
Страница 34: ...Search for a file abc Search for a file using a keyword Search by checking the contents of files ...
Страница 35: ...Organize my files Delete a file Delete all files Periodically delete files Change the folder ...
Страница 243: ...2 86 COPIER Contents To cancel an RGB adjust setting Touch the Cancel key in the screen of step 3 ...
Страница 245: ...2 88 COPIER Contents To cancel the sharpness setting Touch the Cancel key in the screen of step 3 ...
Страница 252: ...2 95 COPIER Contents To cancel an intensity setting Touch the Cancel key in the screen of step 3 ...
Страница 295: ...3 19 PRINTER Contents 4 Click the Print button Printing begins ...