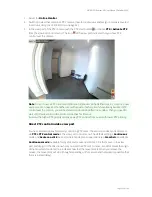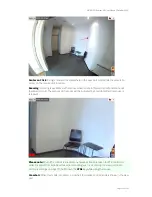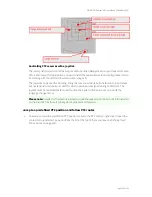
NETAVIS Observer 4.6 User Manual (October 2015)
Page 91 of 204
Optionally, with receiving an in-camera detection event,
start a server-based post-event
recording
of images and merging this recording with the in-camera event images pushed by
the camera. This server-based recording can have a much higher frame rate than the pictures
pushed by the camera. This allows a much better documentation of in-camera events.
8.3.2 Setting up in-camera motion detection
To configure Observer for in-camera motion detection follow these steps:
1.
Choose
Camera admin
from the
System administration
menu. This opens the
Camera
admin
dialog.
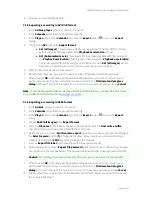
Assuming that you have already defined the basic properties of the camera in Observer, select
the camera in the camera tree.
2.
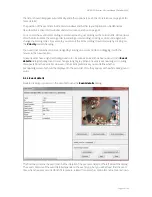
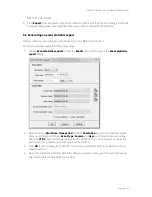
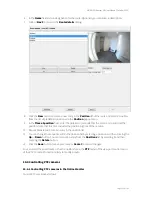
On the
Properties
dialog press the
Next
button at the bottom of the dialog until you reach the
Defaults settings
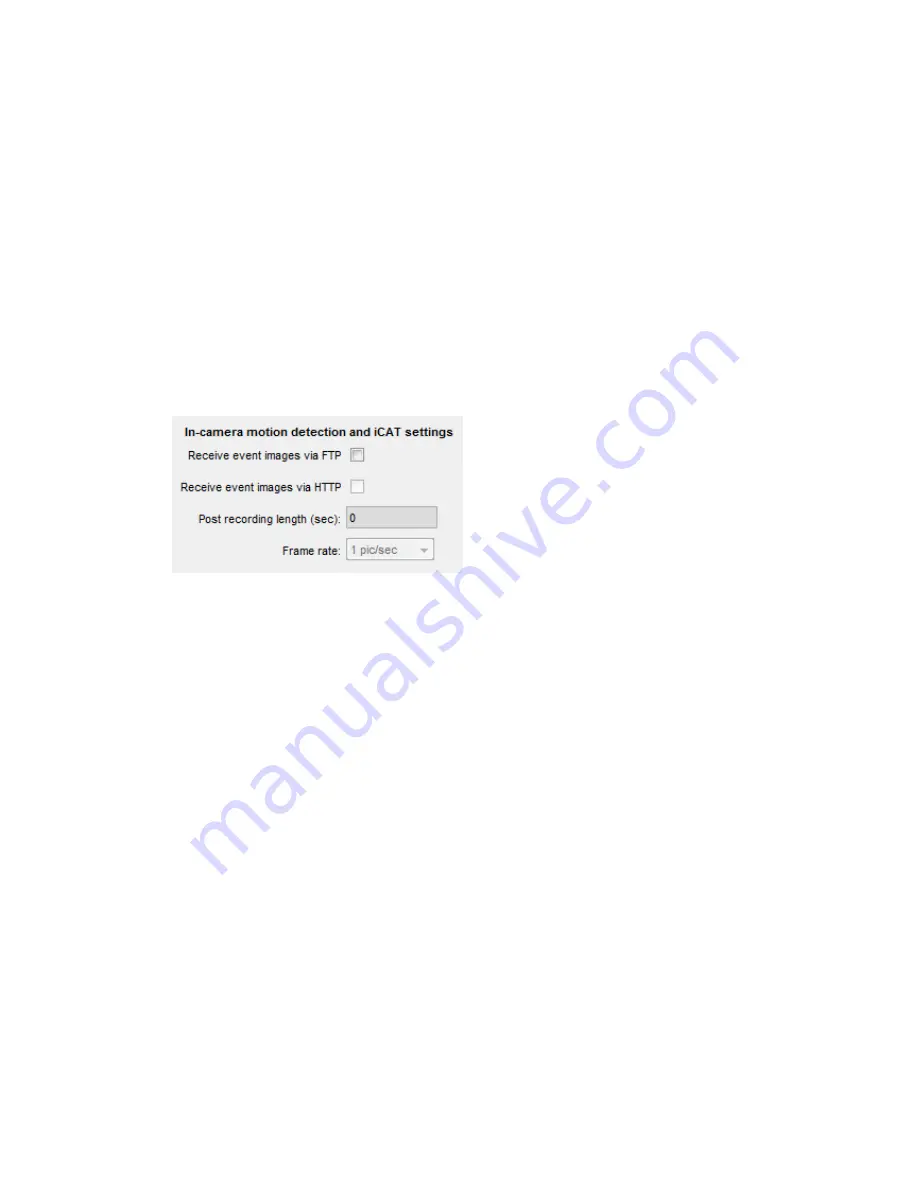
dialog. Here you focus on the
In-camera motion detection
settings:
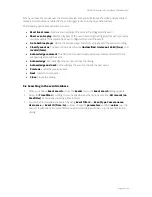
3.
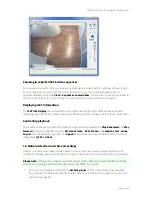
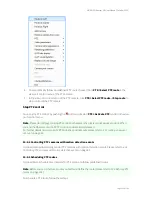
In the menu choose
Modify selected camera or group
.
4.
Mark either
Receive event images via FTP or …via HTTP
depending on what your camera
supports. This tells Observer to receive in-camera events and images from the camera.
If you already have a defined an active server motion detection schedule for the camera, you will
get a dialog that tells you that having both, server and in-camera motion detection at the same
time is not possible. To continue you have to first disable the server-based motion detection
schedules in the
Scheduling
dialog and then you can continue here.
5.
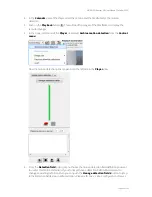
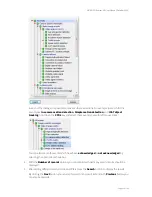
Optionally you can set the
Post recording length (sec)
that defines whether and for how long
the Observer server should record camera images in addition to receiving and storing the event
pictures pushed by the camera. As mentioned above, you could want to do that to record the
post-event images with a high frame rate. In such a case, set the
Frame rate
according to your
needs.
6.
Now you also have to tell Observer, for how long it should keep the recorded event-images (both,
the ones pushed by the camera and the ones, additionally recorded by the server).
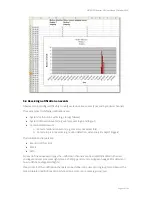
Press the
Previous
button at the bottom of the dialog until you reach the
Scheduling
dialog.
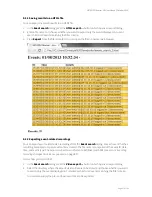
7.
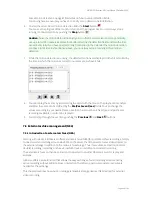
Below the
Time intervals
list push the
Add
button and then choose
Camera MD (FTP/HTTP)
from the newly created
Change
pop-up menu.
8.
In the field
Requested recording period (days/hours)
enter the values that fit your needs.
Optionally you can also mark the
Priority over other cameras (if storage space is short)
checkbox. For further details about these recording parameters please refer to sections
7.1.1
Programming continuous timed recordings
on page 71 and
7.1.4 Operation of the Observer
dynamic storage management
on page 74.
9.
Push the
Save
button to store your changes.

