NETAVIS Observer 4.6 User Manual (October 2015)
Page 180 of 204
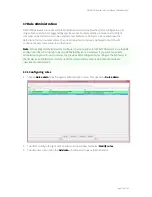
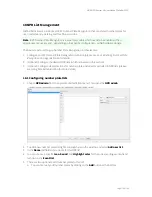
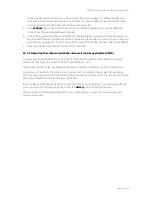
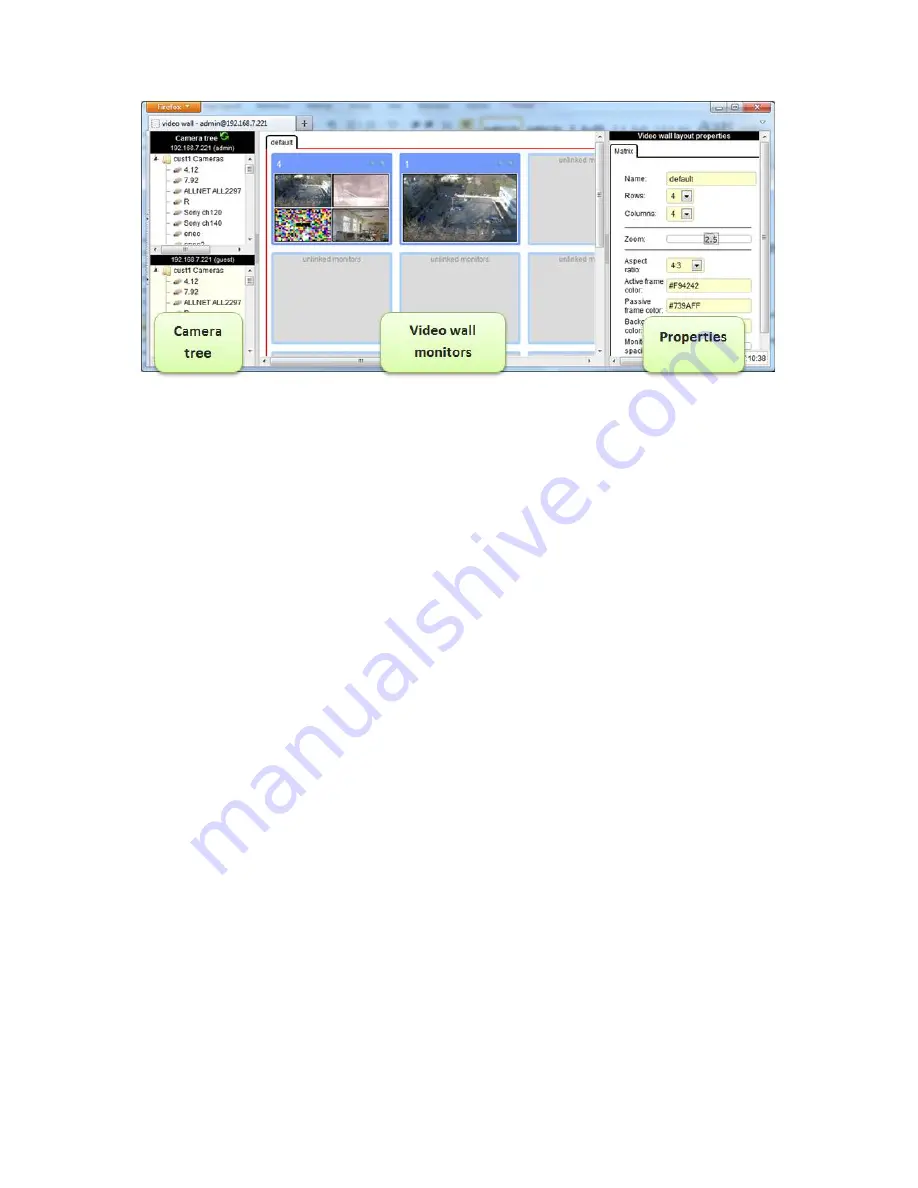
Left side: Camera tree – separate for each server link.
Middle: Video wall monitors – here you can control the contents of the video wall monitors
Right side: Properties of the current selection – here you can see and modify the properties.
19.2.2 Configuring the video wall control application (VWCA)
Before you can control the video wall with the video wall control application you have to configure it.
We assume that you have already set up your video wall physically and you have already configured
the video wall client workstations/PCs that connect to the various monitors of your video wall (see
19.1
Setting up a video wall with Observer
on page 177).
Configuring the basic setup
1.
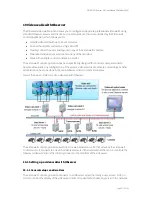
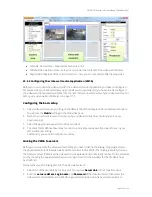
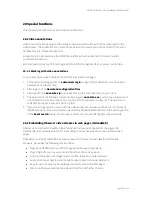
Select video wall matrix by clicking on the default tab or the background area between monitors.
You will see the
Matrix
settings in the Properties pane.
2.
Define the number of rows and columns of your video wall (this must obviously match your
physical setup).
3.
Select the appropriate aspect ratio of the monitors
4.
The zoom factor defines how many monitor columns of your video wall you want to see in your
VWCA without scrolling.
Additionally, you can also define some colors.
Linking the VWCA to servers
Before you can operate the video wall with VWCA you have to define the linking (mapping) between
the physical monitors of the video wall and the monitors inside VWCA. The linking is actually done via
the Observer server that serves the video wall client workstations that actually connect to the monitors
and by choosing the appropriate Observer user login for which the windows for the monitors have
been defined.
Here are the steps for linking VWCA to the video wall servers:
1.
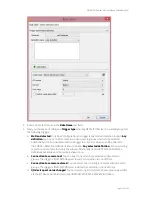
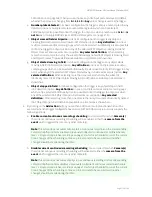
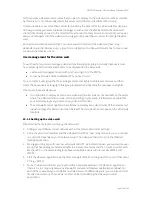
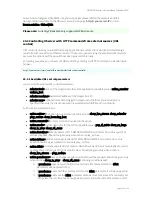
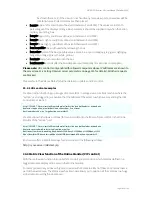
Select one of the monitors by clicking on it. You will see
Server link
in the Properties pane.
2.
Enter the
server address
,
Login name
and
Password
of the Observer server that serves the
video wall control workstations/PCs (for a general description on which servers and users to

