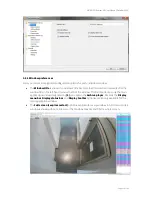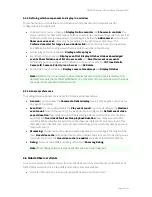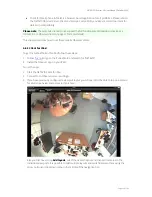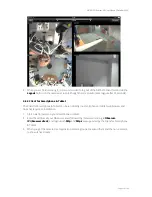
NETAVIS Observer 4.6 User Manual (October 2015)
Page 37 of 204
Field label
Description
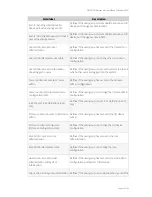
Bandwidth limit (Kbps)
This setting limits the maximum bandwidth in kilobits per second
for the transmission of MPEG streams between the camera and the
server. As a consequence, also the bandwidth between the server
and the clients is thus limited and also the required storage in the
archive is influenced (limited). If this value is zero, then the
bandwidth is not limited.
This actually is a setting in the camera. The camera always
optimizes for the desired image quality and will sacrifice frame rate
in favor of quality in the case, the bandwidth would exceed the
supplied limit.
Fields for
In-camera motion detection
(please refer to
8.3 In-camera motion detection
on page
90 for further details):
Field label
Description
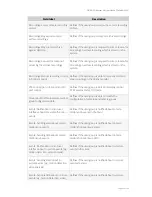
Receive event images via
FTP
If this checkbox is marked, you enable the In-camera motion
detection and tell Observer to receive event images via FTP. Please
be aware that if you select this checkbox, the server-based motion
detection must be disabled.
Receive event images via
HTTP
The same as above, just that the images are received via HTTP
protocol (some cameras support only HTTP).
Post recording length (sec) When Observer receives an in-camera event, then it can start a
parallel server-side recording in addition to the event images it
receives from the camera. The event images received from the
camera via HTTP (FTP is not supported with this option) are merged
with this server-side recording. This field defines how long this
parallel post-event recording is.
If it set to 0, then Observer does not start its own server-side
recording of images and just stores the event images it receives
from the camera via FTP/HTTP.
Frame rate
This field defines the frame rate of the above mentioned parallel
server-side post-event recording.
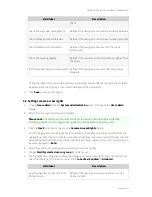
5.
Push the
Next
button at the bottom of the dialog. This invokes the
Scheduling
dialog. Please
refer to
7.1 Programming archive recordings
on page 71 on how to set up the camera archive and
scheduling.
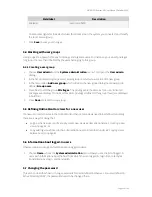
6.
Optional: Push the
Next
button again at the bottom of the dialog. This invokes the
I/O Control
dialog that lets you define the handling of optional I/O contacts of your camera. If you do not
want to use I/O contacts you can just jump to the next step.

