NETAVIS Observer 4.6 User Manual (October 2015)
Page 137 of 204
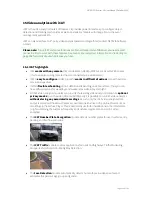
14.6.2 Showing a camera in the Observer client
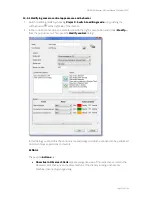
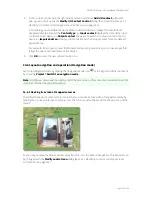
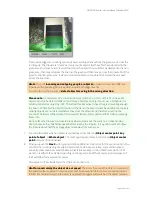
When you
single click
a camera icon in LNT then the corresponding camera will be shown in full size
in the Observer client. This behavior can be changed with the
Modify control icon
dialog (see
14.5.1
Modifying camera control appearance and behavior
on page 132).
Alternatively a camera can also be dragged from Layout Navigation and dropped into a specific view
port in the Observer client to show its live stream there.
Note
: An Observer client has to be running on the same machine being connected to the same server
in order for the feature to work (the client will not be started automatically by LNT).
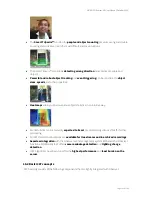
14.6.3 Positioning to the camera recording archive in the Observer client
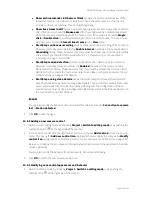
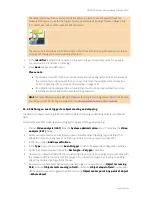
When you
double click
a camera icon in LNT then recording archive of the corresponding camera will
be shown in the Observer client running on the same machine. This behavior can be changed with the
Modify control icon
dialog (see
14.5.1 Modifying camera control appearance and behavior
on page
132).
Note
: An Observer client has to be running on the same machine being connected to the same server
in order for the feature to work (the client will not be started automatically by LNT).
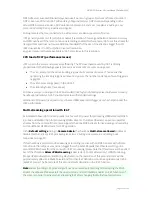
14.6.4 Navigating in the layout hierarchy
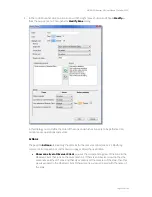
You can position to a layout by clicking its name in the layout hierarchy.
You can also jump to a connected layout by clicking a link field.
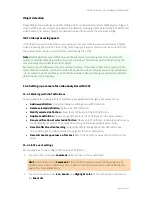
14.6.5 Working with events in the layout navigation tool
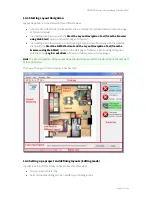
The layout navigation tool (LNT) also allows you to view and acknowledge Observer events.
Please note
: Event handling will only work if the user has the rights to work with events.
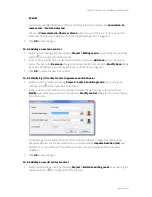
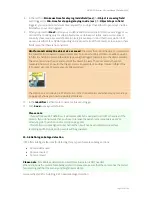
When a new event occurs in Observer, then it is displayed in the
Event list
at the right side of the LNT
window (the
Event list
can be switched on and off in editing mode by choosing
View > Event list
).
The Project settings define what happens when a new event is coming in (see
14.6.7 Project settings
on
page 138): The layout that contains the primary control for related to the event can be exposed
automatically and also the control that is related to the event can be highlighted (blinking rectangle).
Additionally a longer description is displayed in the
Event description
field at the bottom of the
window (which also can be switched on and off in
Editing
mode by choosing
View > Event
description
).
You can acknowledge an event by pushing
Acknowledge
in the Event description field.
Acknowledged events will be removed from the Event list. Pressing
Cancel
sets the state of the event
to seen (visited) but does not acknowledge it.
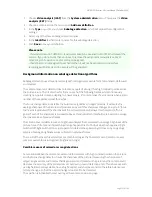
Please note that for each camera, a primary control can be defined that is exposed when a new event
is generated. You can set the primary flag for a camera icon by right-clicking on the icon in editing
mode and choosing
Primary
from the pop-up menu.


