NETAVIS Observer 4.6 User Manual (October 2015)
Page 135 of 204
Events
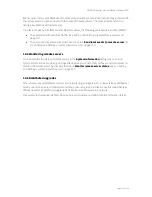
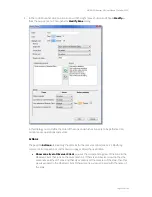
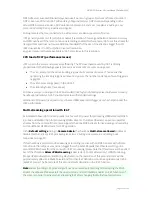
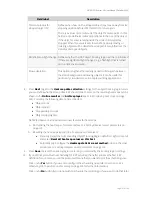
You can also modify the behavior of zones of this type for certain events, like
Connection to
camera lost
or
Motion detected
.
The event
View selected in Observer Client
works this way: If there is an LNT zone with the
same name as the view in Observer then the corresponding action is triggered.
3.
Click
OK
to save changes.
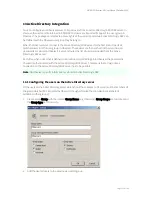
14.5.4 Adding a new zone control
1.
Switch to customizing mode by choosing
Project > Editing mode
or by pushing the customize
button at the right side of the tool bar.
2.
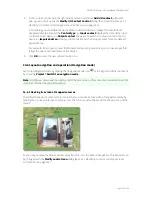
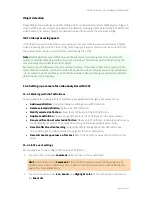
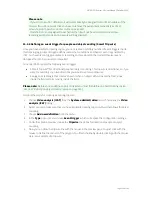
In the control icon list click the right mouse button and choose
Add zone…
from the pop-up
menu. This opens the
New zone
dialog which is essentially the same as the
Modify Zone
dialog
(see
14.5.3 Modifying zone control appearance and behavior
on page 133).
3.
Click
OK
to create the new zone control.
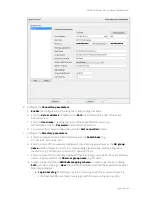
14.5.5 Modifying I/O contact control appearance and behavior
1.
Switch to editing mode by choosing
Project > Switch to editing mode
or by pushing the
editing button at the right side of the tool bar.
2.
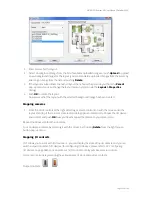
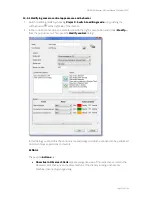
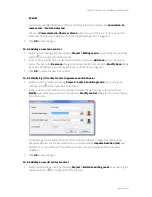
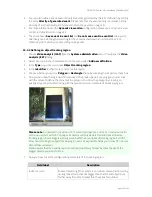
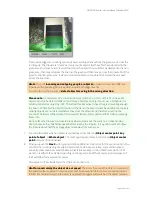
In the control icon list click on an I/O control icon with the right mouse button and choose
Modify…
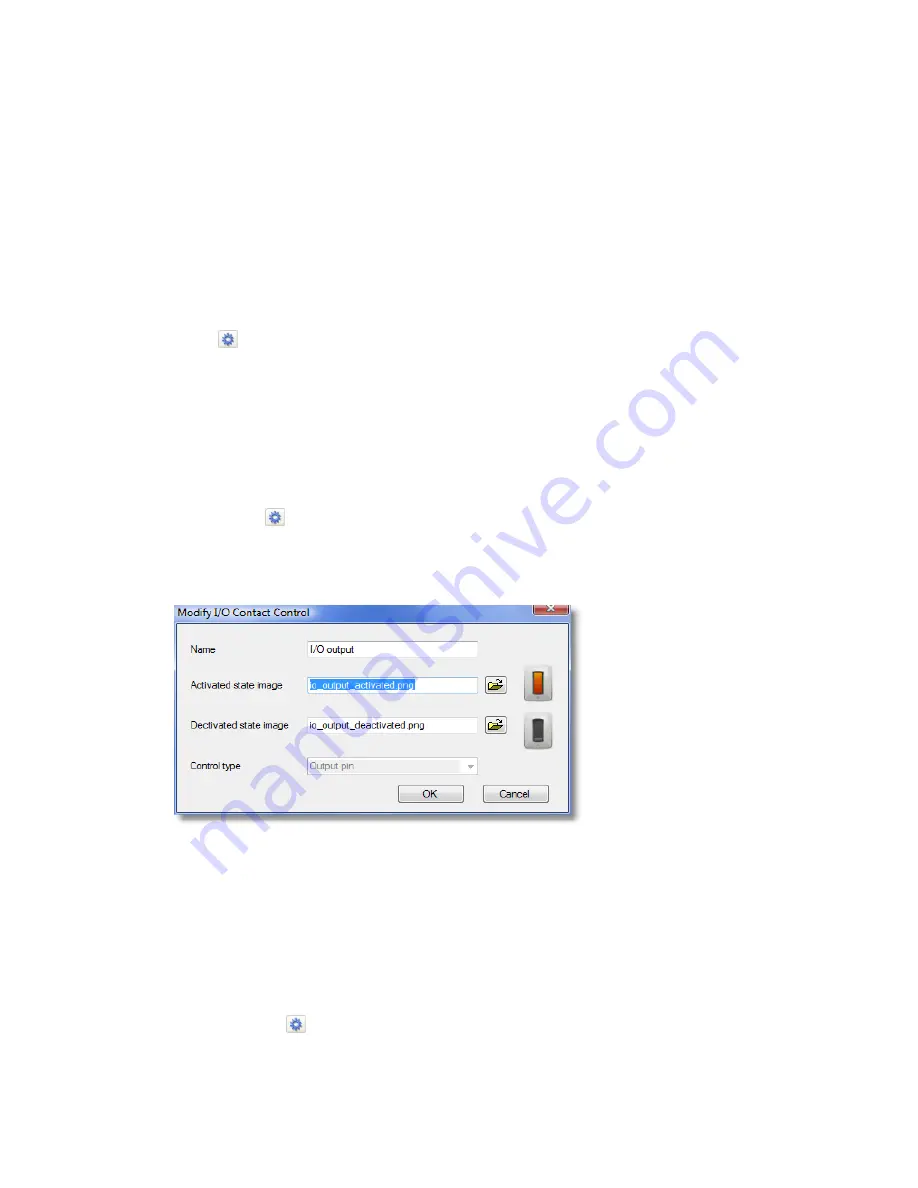
from the pop-up menu. This opens the
Modify control
dialog for the corresponding
I/O control type:
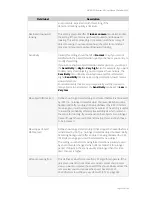
In this dialog you can define the name of the control and the two images for activated and
deactivated states. For the Impulse Button you can also set the
Impulse Duration (ms)
and
whether 0 or 1 should be set. The control type (Input, Output, Impulse Button) cannot be
modified.
3.
Click
OK
to save changes.
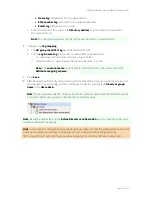
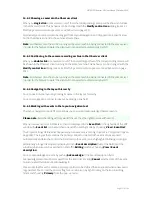
14.5.6 Adding a new I/O contact control
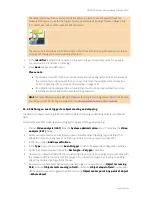
1.
Switch to customizing mode by choosing
Project > Switch to editing mode
or by pushing the
customize button at the right side of the tool bar.

