NETAVIS Observer 4.6 User Manual (October 2015)
Page 155 of 204
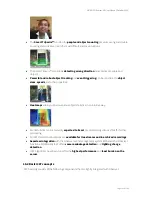
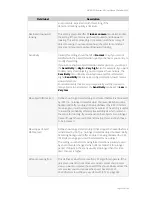
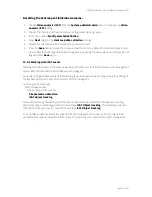
Here are the steps for creating a privacy mask:
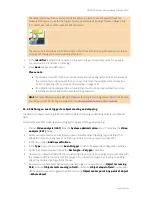
Please note
:
- For privacy masking an object tracking region is NOT needed.
- Currently, privacy masks are not shown in exported streams and in the Layout Navigation tool.
1.
Choose
Video analysis (iCAT)
from the
System administration
menu. This opens the
Video
analysis (iCAT)
dialog.
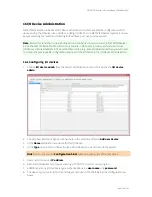
2.
Choose a camera and in the menu select
Add new definition
.
3.
In the
Type
pop-up menu choose
Privacy mask
, which will expose the configuration settings.
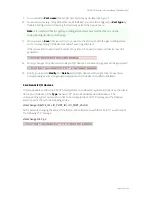
4.
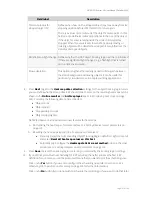
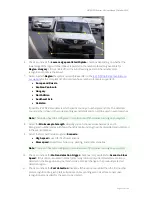
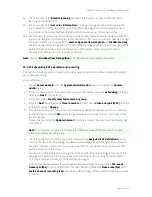
Under the camera preview choose the
Rectangle
or
Polygon
check box.
5.
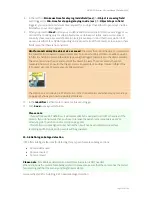
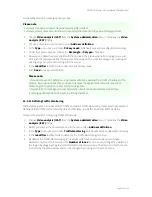
Now you can draw the privacy field with the mouse in the preview pane. For a polygon you just
click with the mouse to define the corners of the polygon. You close the polygon by crossing an
existing edge or by double clicking with the mouse.
6.
In the
Identifier
text field enter a name for this privacy mask.
7.
Push
Save
to save your definition.
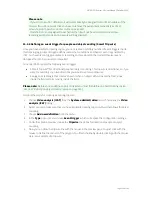
Please note:
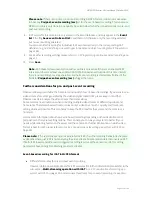
- If you add a new iCAT definition, it will automatically be assigned to all iCAT schedules of the
camera. If you do not want that, you have to remove the assignment manually (see
15.3.15
Scheduling iCAT operation and recording
on page 160).
- If a definition is not assigned to a schedule then it will not be activated and no archive
recordings will be made and no events will be generated.
15.3.11 Defining Traffic Monitoring
NETAVIS Observer 4.5 introduced iCAT Traffic and with it Traffic Monitoring. It assesses the speed and
density of road traffic and can thereby detect traffic jams, low traffic, and other traffic patterns.
Here are the steps for configuring Traffic Monitoring:
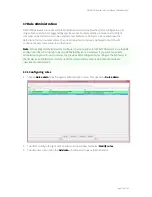
1.
Choose
Video analysis (iCAT)
from the
System administration
menu. This opens the
Video
analysis (iCAT)
dialog.
2.
Select a camera in the camera tree and in the menu select
Add new definition
.
3.
In the
Type
pop-up menu choose
Traffic Monitoring
which exposes the configuration settings.
4.
In the
Identifier
text field enter a name for the Traffic Monitoring definition.
5.
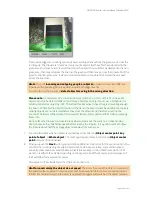
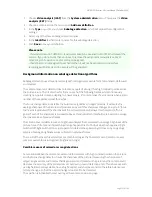
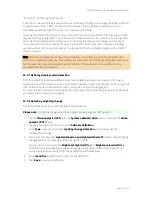
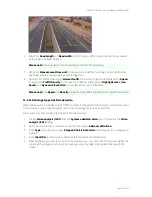
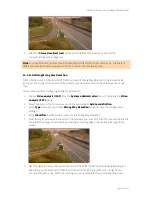
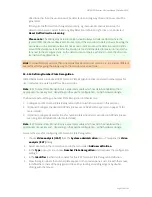
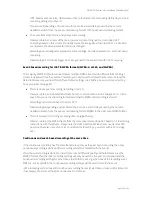
By default the Traffic Monitoring region is assumed to have one lane but you can choose
between one, two or three lanes in the
Number of lanes
menu. You can change the position of
the region by dragging the green and red dots in the preview pane. The direction of each lane is
indicated by the yellow arrow and can be changed by clicking on the area of a lane.

