NETAVIS Observer 4.6 User Manual (October 2015)
Page 181 of 204
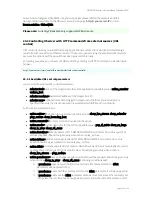
choose please see
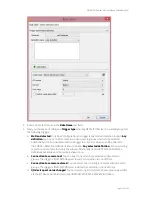
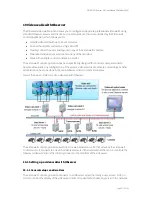
19.1 Setting up a video wall with Observer
on page 177). Please note that you
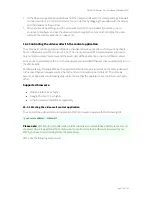
have to select the correct user login for the monitor: You have to take the user login of the video
wall client workstation/PC where the monitor is connected to.
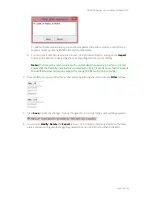
3.
Push
Validate
. If you entered the correct server and login combination you will be offered to
choose from the available windows of the user.
4.
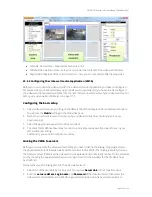
Choose the window that is associated with the monitor (please remember that each monitor has
an associated Observer window; for a basic explanation please refer to
19.1 Setting up a video wall
with Observer
on page 177). You will notice that a view of the window has been selected by default.
5.
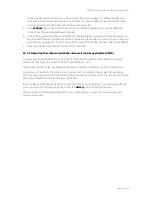
Repeat the above steps for all monitors of the video wall.
19.2.3 Operating the video wall with the video wall control application (VWCA)
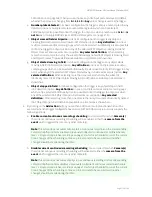
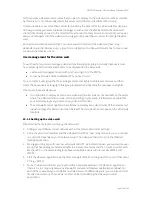
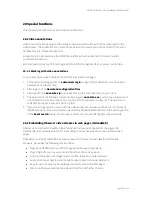
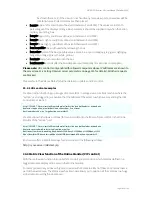
You have several possibilities for controlling the contents video wall monitors. When you select a
monitor by clicking on the monitor title bar inside VWCA you can:
Select a view from the View list. Please note that each window in Observer can have several views.
Drag/drop a camera from the camera tree to a view port in a monitor. Please note that you drag a
camera only to the view port of a monitor that also has the appropriate server link. Impossible camera
drops are prohibited and are shown with a red cross.
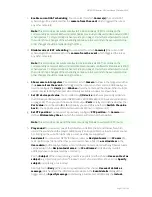
Push the Back and Next buttons at the monitor title bars to move in history. You can also specifically
select a point in the history by selecting it from the
History
tab in the Properties pane.
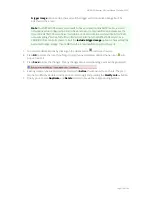
Please note that the status bar shows the camera name when you move the mouse pointer over
monitor view ports.

