NETAVIS Observer 4.6 User Manual (October 2015)
Page 133 of 204
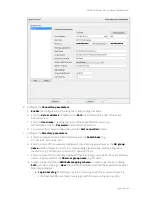
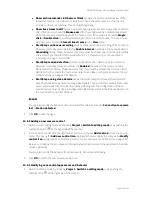
Show archive calendar in Observer Client
exposes the archive calendar view of the
respective camera in the Observer client that runs on the same machine. If no client is
running on the same machine, then noting is happening.
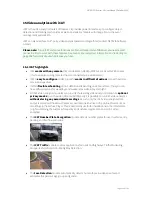
Show live stream in LNT
opens a window showing a live stream of respective camera in
LNT. If this action is bound to
Mouse over
then the window will be automatically closed
when the mouse is moved away from the camera icon. If this action is bound to
Single
click
or
Double click
, then the window stays until it is closed manually. To close all such
windows, you can select
Close all live streams
in the
View
menu.
Start/Stop continuous recording
starts or stops continuous recording of the camera in
Observer. It actually sets or deletes the
Enable interval
checkbox in the camera admin’s
Scheduling
dialog. Please be aware that there must be at least one continuous recording
interval for the camera for this to work (refer to
7.1.1 Programming continuous timed
recordings
on page 71 for details).
Start/Stop motion detection
enables or disables motion detection of the camera in
Observer. It actually marks or unmarks the
Enabled
checkbox in the camera admin’s
Motion detection dialog. Please be aware that there must be at least one detection field
definition for the camera for this to work (refer to
8.1.2 Basic configuration of server-based
motion detection
on page 87 for details).
Start/Stop analog video decode
allows the control of special devices that decode IP-
based network video signals to analog video signals. This is useful for example for security
center video walls that are driven by analog video signals. The configuration of these
special devices must be done in configuration files (please refer to the Release Notes or to
the customization documentation).
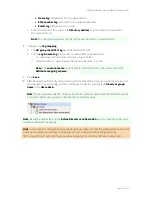
Events
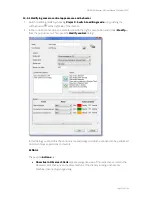
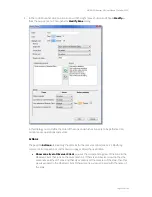
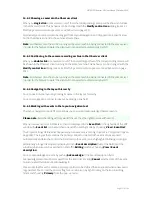
You can also modify the behavior of control icons for certain events, like
Connection to camera
lost
or
Motion detected
.
3.
Click
OK
to save changes.
14.5.2 Adding a new camera control
1.
Switch to customizing mode by choosing
Project > Switch to editing mode
or by pushing the
customize button at the right side of the tool bar.
2.
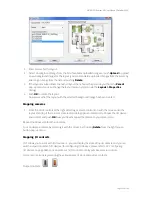
In the control icon list click the right mouse button and choose
Add control…
from the pop-up
menu. This opens the
Add new control icon
dialog which is essentially the same as the
Modify
control icon
dialog (see
14.5.1 Modifying camera control appearance and behavior
on page 132).
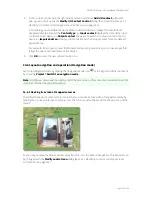
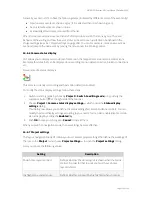
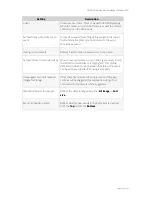
Here you can define the icon name and image and which actions are to be performed on certain
mouse operations.
You can also modify the behavior for certain events, like color and blinking.
3.
Click
OK
to create the new camera control icon.
14.5.3 Modifying zone control appearance and behavior
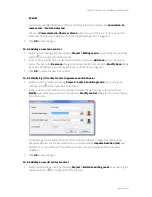
1.
Switch to editing mode by choosing
Project
>
Switch to editing mode
or by pushing the
editing button at the right side of the tool bar.

