NETAVIS Observer 4.6 User Manual (October 2015)
Page 136 of 204
2.
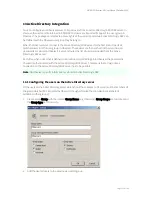
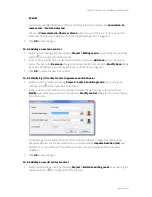
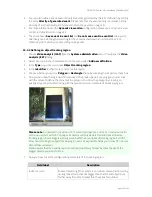
In the control icon list click the right mouse button and choose
Add I/O contact…
from the
pop-up menu. This opens the
Modify I/O Contact Control
dialog (for a screenshot see
14.5.5
Modifying I/O contact control appearance and behavior
on page 135).
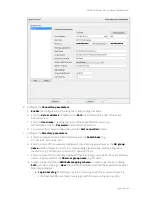
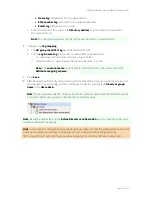
In this dialog you can define the name of the control and the two images for activated and
deactivated states. Also set the
Control type
: An
Input contact
displays the state of the input
contact of an I/O device. An
Output contact
allows you to switch an output contact of an I/O
device. An
Impulse button
allows you to manually switch an output contact for a predefined
period of time.
For example, for an input contact that shows the state of a gate barrier you can use images that
reflect the open and closed state of the barrier.
3.
Click
OK
to create the new camera control icon.
14.6 Layout navigation and operation (Navigation mode)
Switch to Navigation mode by clicking the navigation mode icon
at the right side of the tool bar or
by choosing
Project > Switch to navigation mode
.
Note
: An Observer client must be running under the same user on the same client workstation so that
it can be controlled by Layout Navigation.
14.6.1 Peeking live video of mapped cameras
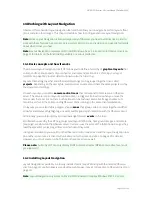
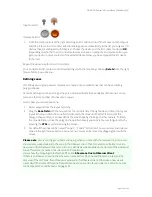
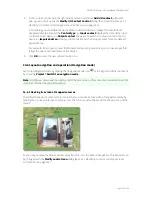
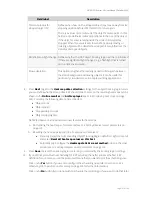
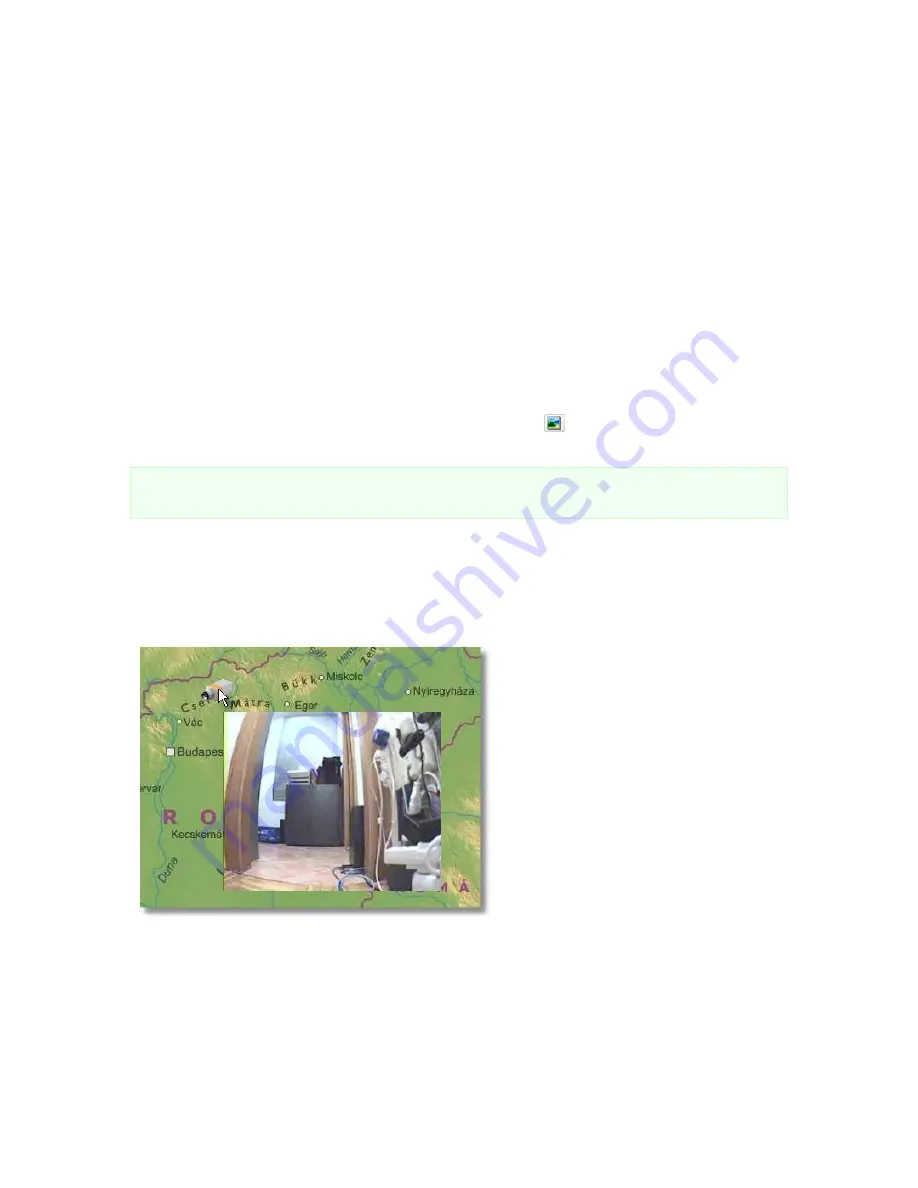
The default behavior of some camera icons is that you can peek at live video of mapped cameras by
moving the mouse pointer over a camera icon. Then the live video stream will be shown on top of the
layout:
As soon as you move the mouse pointer away from the icon, the stream disappears. This behavior can
be changed with the
Modify control icon
dialog (see
14.5.1 Modifying camera control appearance
and behavior
on page 132).

