NETAVIS Observer 4.6 User Manual (October 2015)
Page 103 of 204
1.
Select the
Online Monitor
.
2.
Switch to a view that contains a PTZ camera (how to create views and assign cameras is covered
in section
6 Using the Online Monitor
on page 52).
3.
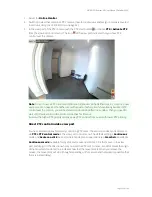
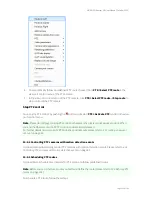
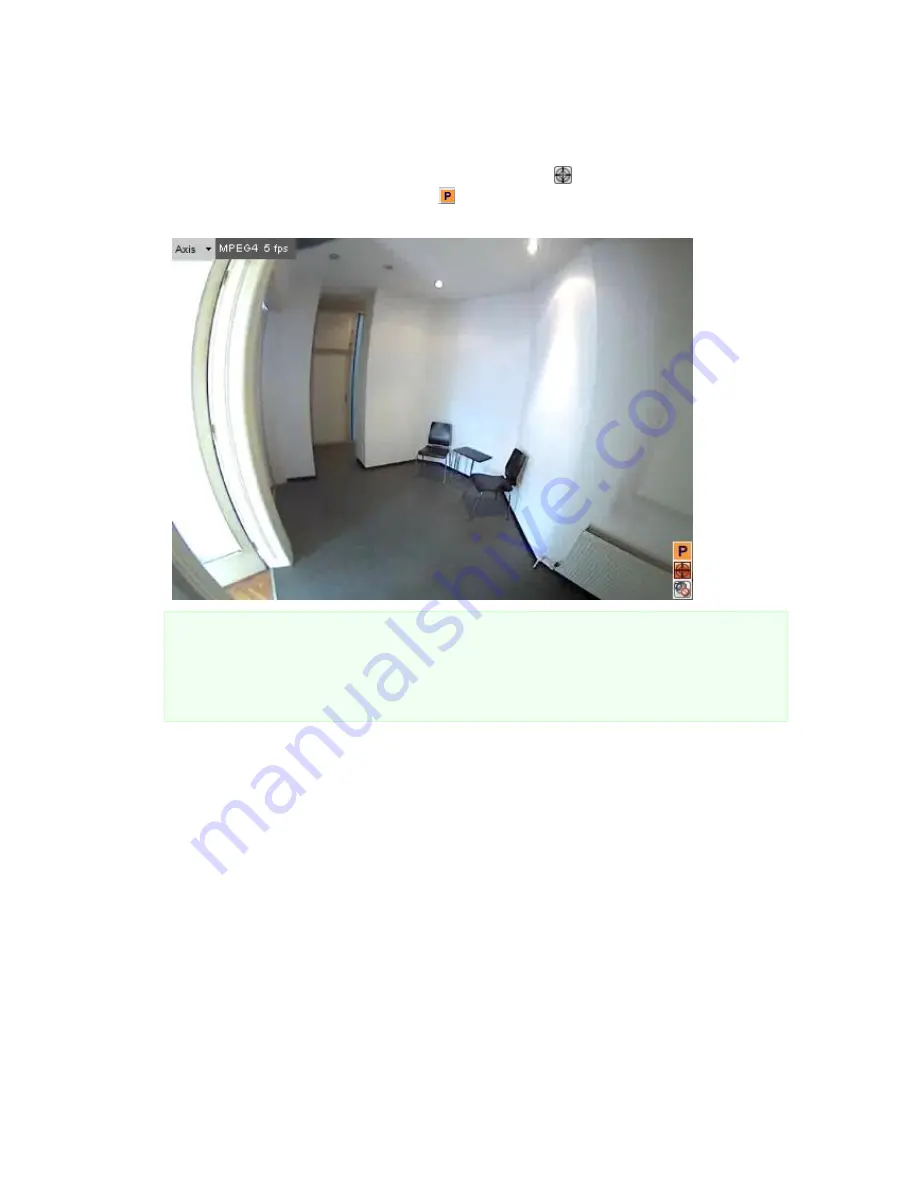
In the view port of the PTZ camera push the PTZ start button or choose
PTZ->Activate PTZ
from the view port control menu. The icon of the view port indicates that you have PTZ
control over the camera.
Note
: For each user a PTZ priority and allocation timeouts can be defined (see
5.1 Creating a new
user account
on page 43). If another user with equal or higher priority has already assumed PTZ
control over the camera, you will be denied control and notified in a window. Then you need to
wait until this user surrenders control or reaches his timeout.
A user with a higher PTZ priority can take away PTZ control from a user with lower PTZ priority.
Direct PTZ control inside a view port
You have several options for directly controlling PTZ cams: The various modes can be selected
via
PTZ->PTZ control mode
in the view port control menu. The default setting is
Continuous
mode and
Center on click
. As an alternate mode also an operation via a
Crosshair
is available.
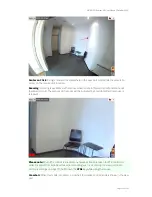
Continuous mode
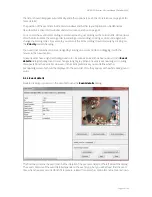
(available for joystick and mouse operation): Click the mouse in the view
port and drag it in the direction where you want the PTZ cam to move. A red dot marks the origin
of the movement and a red line indicates how fast the movement is. When you release the
mouse, the movement will stop (though depending on the camera and network it is possible that
there is a small delay).


