NETAVIS Observer 4.6 User Manual (October 2015)
Page 42 of 204
1.
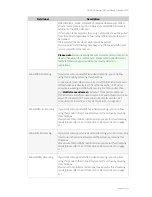
Choose
Camera admin
from the
System administration
menu. This opens the
Camera
admin
dialog.
2.
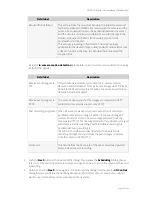
With a mouse click choose the camera or group you want to move.
3.
In the menu select
Move camera or group
.
A new dialog appears that requires you to enter the password.
4.
Enter the password.
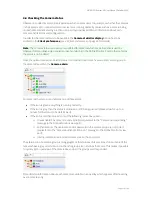
After you enter the correct password a camera group dialog is opened showing the camera
groups.
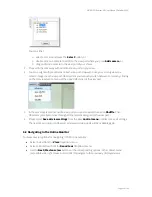
5.
In the newly opened camera groups dialog select the group where you want to move the camera
or group to and press
Select
.
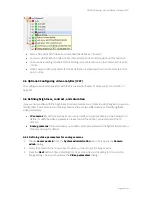
Now the camera or group is moved to the new location and the camera tree is updated.
4.8 Changing the port mapping of analog cameras
This section is only valid for analog cameras. For analog cameras a port must be defined where the
camera is connected to at the video capture card or the video server.
Sometimes the port mapping of analog cameras needs to be changed but it is difficult to do that
physically by changing the cabling. To help the situation, Observer can change the port mapping in
the software.
There are two ways for doing that:
Either go to the
Camera Administration
and manually switch the port there. For this however
you need to know exactly which camera is connected to which port.
You can also swap the ports in the
Online Monitor
. This has the advantage that you see the
video pictures and therefore you can identify the correct ports visually.
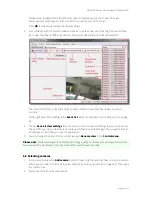
In order to swap the ports of two analog cameras visually please follow these steps:
1.
In the
Online Monitor
go to the view that shows the first analog camera in a view port.
2.
CTRL-click into the view port that shows the first analog camera.
3.
Now go to the view that shows the camera that you would like to swap with and CTRL-click in the
view port.
Now the ports of the two cameras have been swapped.


