NETAVIS Observer 4.6 User Manual (October 2015)
Page 44 of 204
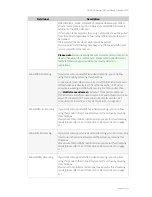
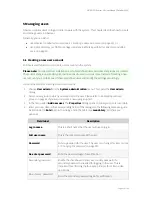
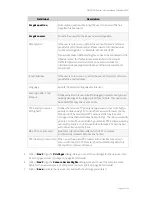
Field label
Description
Forgot question
Formulate a question that (only) the user can answer if he has
forgotten his password.
Forgot answer
Provide the answer to the above password question.
SMS number
If the user is to receive an SMS in the event of an alarm or failure,
provide his cell phone number. Please insert a full international
number starting with a ‘+’. Example: +43 123 456 7890.
Please note that an SMS sending device has to be connected to the
Observer server for this feature to work. Refer to the manual
NETAVIS Observer Server Installation and Administration
for
information about supported devices and how to connect and
setup them.
E-mail address
If the user is to receive an e-mail in the event of an alarm or failure,
provide his e-mail address.
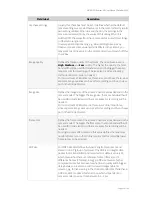
Language
Specify the preferred language for this user.
Auto login after 1 min
timeout
Defines whether this user should be logged in automatically when
nobody else logs at the login panel in for 1 minute. This option can
be enabled for only one user at a time.
PTZ priority (1=lowest,
10=highest)
Defines the relative PTZ priority between users. A user with higher
priority can take away PTZ control from a user with lower priority.
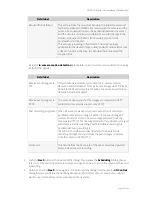
Please note: The automated PTZ actions started by the event
manager and scheduled routes have priority 4. Therefore users with
priority 1 to 3 will be overridden by automatic PTZ actions, whereby
users with priority 5 to 10 can override automatic PTZ actions but
will not be interrupted by them.
Max. PTZ use time (sec)
Maximum allocation time, after which a PTZ camera is
automatically released. Zero means no limit.
PTZ inactivity timeout (sec) When a user has taken PTZ control and is inactive for a certain
amount of time, the PTZ camera is freed automatically after this
timeout. Zero means no timeout.
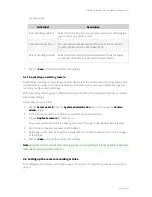
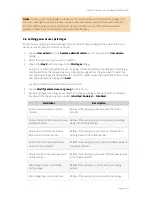
5.
Click on
Next
to go the
Privileges
dialog. Here you can set the privileges for the new user (see
5.2 Setting general user privileges
on page 45 for details).
6.
Click on
Next
to go the
Camera Access Rights
dialog. Here you can set the camera access
rights for the new user (see
5.3 Setting camera access rights
on page 48 for details).
7.
Click on
Save
to create the new user account with the settings you entered.

