1128600
SmartPAC 2 with WPC 2000 Integration User Manual
6-4
Run Mode
To program a Hot key, do the following:
1.
Access the screen you want.
2.
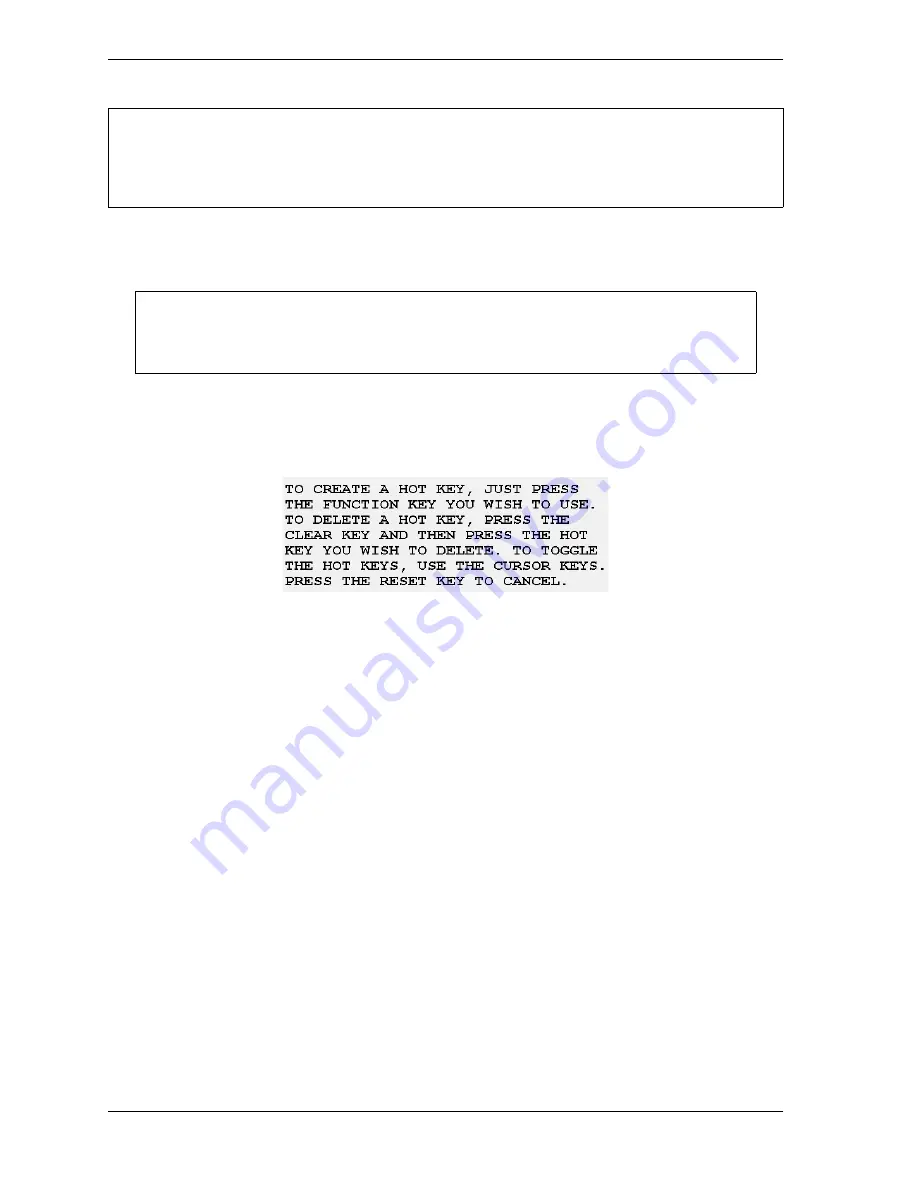
On the numeric keypad, press “2” and “0” simultaneously for a few seconds until the
window shown in Figure 6-4 displays. Labels for the currently selected set of
programmed Hot keys display to the left of the applicable function keys.
3.
To display the other set of Hot keys, press the Up (
) or Down (
) cursor.
4.
To program a Hot key, press the desired function key. The instruction window closes and
SmartPAC 2 returns to the previous screen in the screen hierarchy.
If you select a function key that has already been programmed, that key will be linked to
the new screen.
To delete a Hot key, do the following:
1.
With the Hot Keys Instruction window (see Figure 6-4) displayed, press CLEAR, then the
function key associated with the Hot key you wish to delete.
Settings Locked, or Password Required
When a Run mode setting is locked, the screen shown in Figure 6-5, page 6-5 displays if the
PASSWORD REQUIRED access type has been set for that item on the Security Access Menu
in Initialization (see
When you enter the password, you are given access to the item.
If you add or remove a SmartPAC 2 option (e.g., DiProPAC, ProCamPAC, etc.), the Hot keys you
have programmed previously may not navigate correctly. If one or more Hot keys no longer take
you to desired screens, delete and re-program those Hot keys.
For best results, start from the Main Run Menu and go as directly as possible to the
desired screen.
Figure 6-4. Hot Keys Instruction Window
NOTICE
NOTICE
Summary of Contents for SmartPAC 2
Page 2: ......
Page 4: ......
Page 6: ......
Page 28: ...1128600 SmartPAC 2 with WPC 2000 Integration User Manual xxii Table of Contents ...
Page 44: ...1128600 SmartPAC 2 with WPC 2000 Integration User Manual 1 16 Introduction ...
Page 186: ...1128600 SmartPAC 2 with WPC 2000 Integration User Manual 3 26 Keyboard Displays Etc ...
Page 440: ...1128600 SmartPAC 2 with WPC 2000 Integration User Manual D 12 Updating SmartPAC 2 Firmware ...
Page 478: ...1128600 SmartPAC 2 with WPC 2000 Integration User Manual G 6 Replacing SmartPAC 2 PC Board ...
Page 548: ...1128600 SmartPAC 2 with WPC 2000 Integration User Manual GL 8 Glossary ...
Page 558: ...1128600 SmartPAC 2 with WPC 2000 Integration User Manual IN 10 Index ...
Page 560: ......
Page 562: ......
Page 564: ......
Page 566: ......
Page 568: ......
Page 570: ......
Page 572: ......
Page 574: ......
Page 576: ......
Page 577: ......
Page 578: ...APPROVALS SCALE C SIZE TITLE SHEET OF DRAWING NUMBER REV ...
Page 579: ...APPROVALS SCALE C SIZE TITLE SHEET OF DRAWING NUMBER REV ...
Page 580: ...APPROVALS SCALE C SIZE TITLE SHEET OF DRAWING NUMBER REV ...
Page 581: ...APPROVALS SCALE C SIZE TITLE SHEET OF DRAWING NUMBER REV ...
Page 582: ......
Page 583: ......
Page 584: ......
Page 585: ......
Page 586: ......
Page 587: ......
Page 588: ......
Page 589: ......
Page 590: ......
Page 591: ......
Page 592: ......
Page 593: ......
Page 594: ......
Page 595: ......
Page 596: ......
Page 597: ......
Page 598: ......
Page 599: ......
Page 600: ......
Page 601: ......
Page 602: ......
Page 603: ......
Page 604: ......


