


Chapter 5: Using the PDU
71
Outlets
With the front panel display, you can do the following for outlets:
Show each outlet's information.
Turn on, off or power cycle an individual outlet if your PX is
outlet-switching capable. To do this, you must first enable the front
panel outlet control function. See
Enabling Front Panel Outlet
Switching
(on page 210).
Showing an Outlet's Information
Multiple outlet information can be displayed on the LCD display. Page
numbers are indicated in the top-right corner of the LCD display.
Control buttons that can be used and the system time are shown at the
bottom of the LCD display.
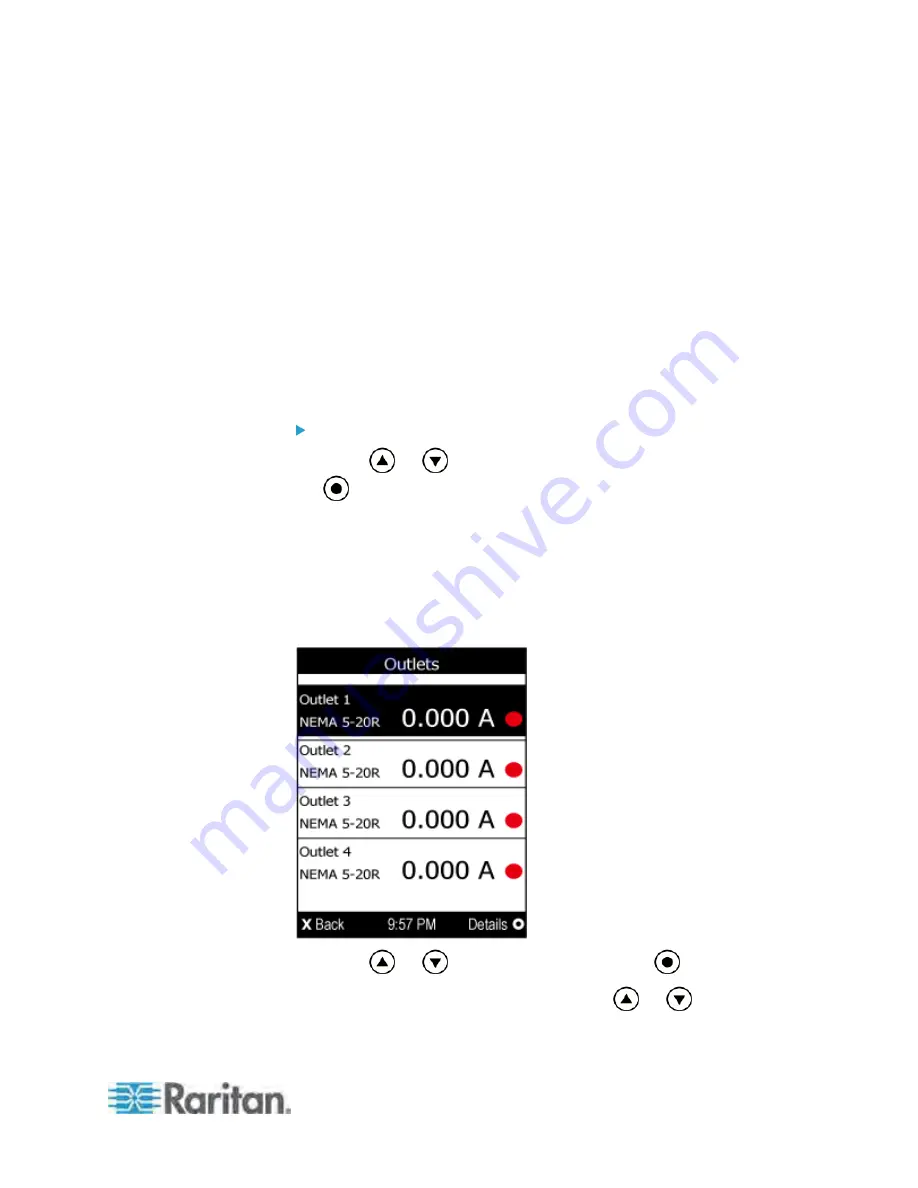
To show an outlet's information:
1. Press
or
to select "Outlets" in the Main Menu, and press
.
2. The LCD display shows a list of outlets with their receptacle types,
current values (A), and power states which are indicated by the
colors of circles.
A red circle indicates that this outlet is powered on.
A green circle indicates that this outlet is powered off. If so, the
word "Off" replaces the current value.
3. Press
or
to select an outlet, and press
.
If the desired outlet is not visible, press
or
to scroll up
or down.
Summary of Contents for PX3-4000 series
Page 5: ......
Page 627: ...Appendix I RADIUS Configuration Illustration 606 Note If your PX uses PAP then select PAP...
Page 632: ...Appendix I RADIUS Configuration Illustration 611 14 The new attribute is added Click OK...
Page 633: ...Appendix I RADIUS Configuration Illustration 612 15 Click Next to continue...
Page 648: ...Appendix J Integration 627 3 Click OK...
Page 661: ...Appendix J Integration 640 2 Launch dcTrack to import the spreadsheet file...


