


Chapter 6: Using the Web Interface
103
This is the name assigned to the PX device. The default is "my PX."
See
Naming the PDU
(on page 117).
2.
IP address:
The numbers enclosed in parentheses is the IP address assigned to
the PX device. See
Initial Network Configuration via CLI
(on page
22) or
Modifying Network Settings
(on page 121).
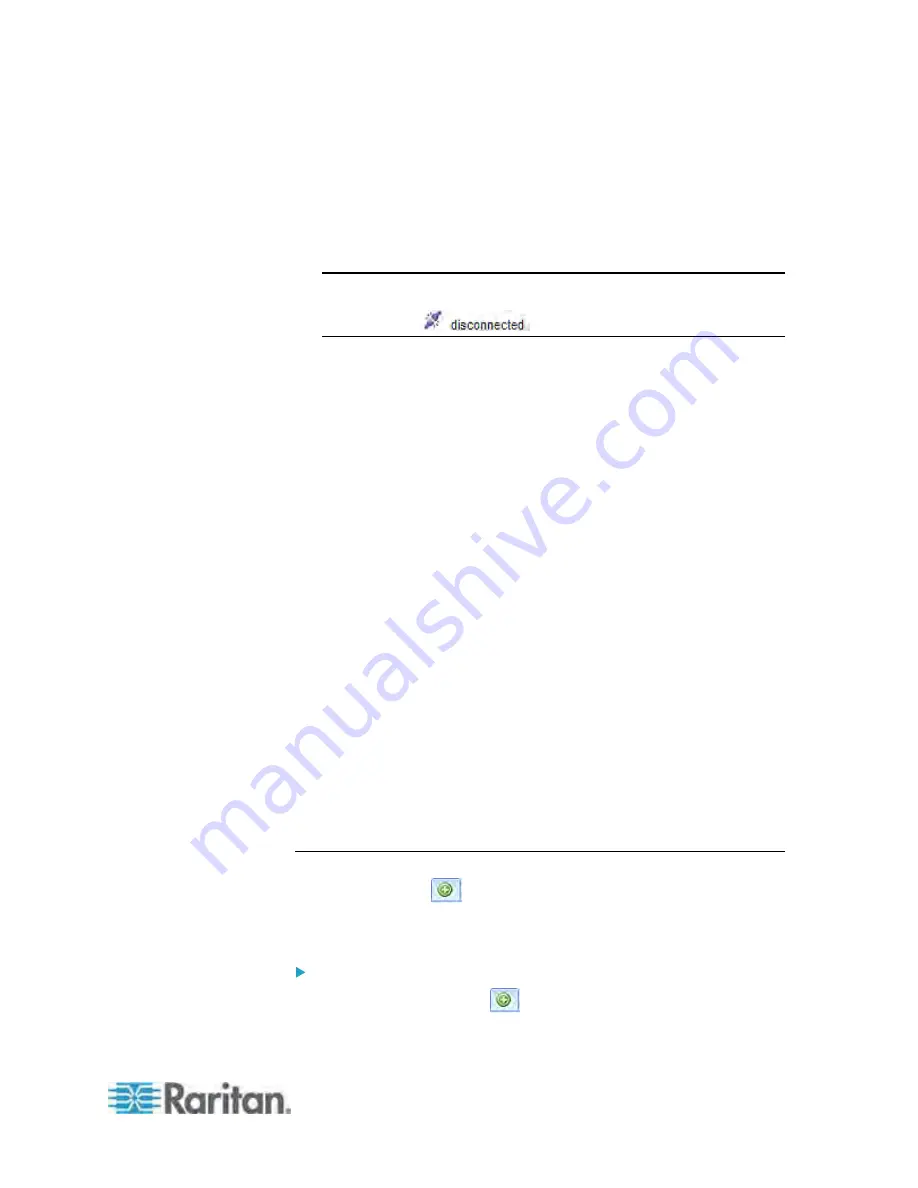
Tip: The presence of the device name and IP address in the status
bar indicates the connection to the PX device. If the connection is
lost, it shows "
" instead.
3.
Login name:
This is the user name you used to log in to the web interface.
4.
Last login time:
This shows the date and time this login name was used to log in to
this PX device last time.
When the mouse pointer hovers over the last login time, detailed
information about the last login is displayed, including the access
client and IP address.
For the login via a local connection (serial RS-232 or USB), <local> is
displayed instead of an IP address.
There are different types of access clients:
Web GUI: Refers to the PX web interface.
CLI: Refers to the command line interface (CLI).
The information in parentheses following "CLI" indicates how this
user is connected to the CLI.
-
Serial
: Represents the local connection (serial RS-232 or USB).
-
SSH
: Represents the SSH connection.
-
Telnet
: Represents the Telnet connection.
5.
System date and time:
Current date, year, and time are displayed to the right of the bar. If
positioning the mouse pointer over the system date and time, the
time zone information is also displayed.
Add Page Icon
The Add Page icon
, located on the top of the data pane, lets you
open data pages of multiple tree items without overriding any opened
page.
To open new data pages:
1. Click the Add Page icon
. A new tab along with a blank data
page appears.
Summary of Contents for PX3-4000 series
Page 5: ......
Page 627: ...Appendix I RADIUS Configuration Illustration 606 Note If your PX uses PAP then select PAP...
Page 632: ...Appendix I RADIUS Configuration Illustration 611 14 The new attribute is added Click OK...
Page 633: ...Appendix I RADIUS Configuration Illustration 612 15 Click Next to continue...
Page 648: ...Appendix J Integration 627 3 Click OK...
Page 661: ...Appendix J Integration 640 2 Launch dcTrack to import the spreadsheet file...


