


Appendix F: PX3 Phase I LCD Display
565
2. Press the Up or Down button to select the desired outlet. The
selected outlet's number is displayed at the top of the LCD display.
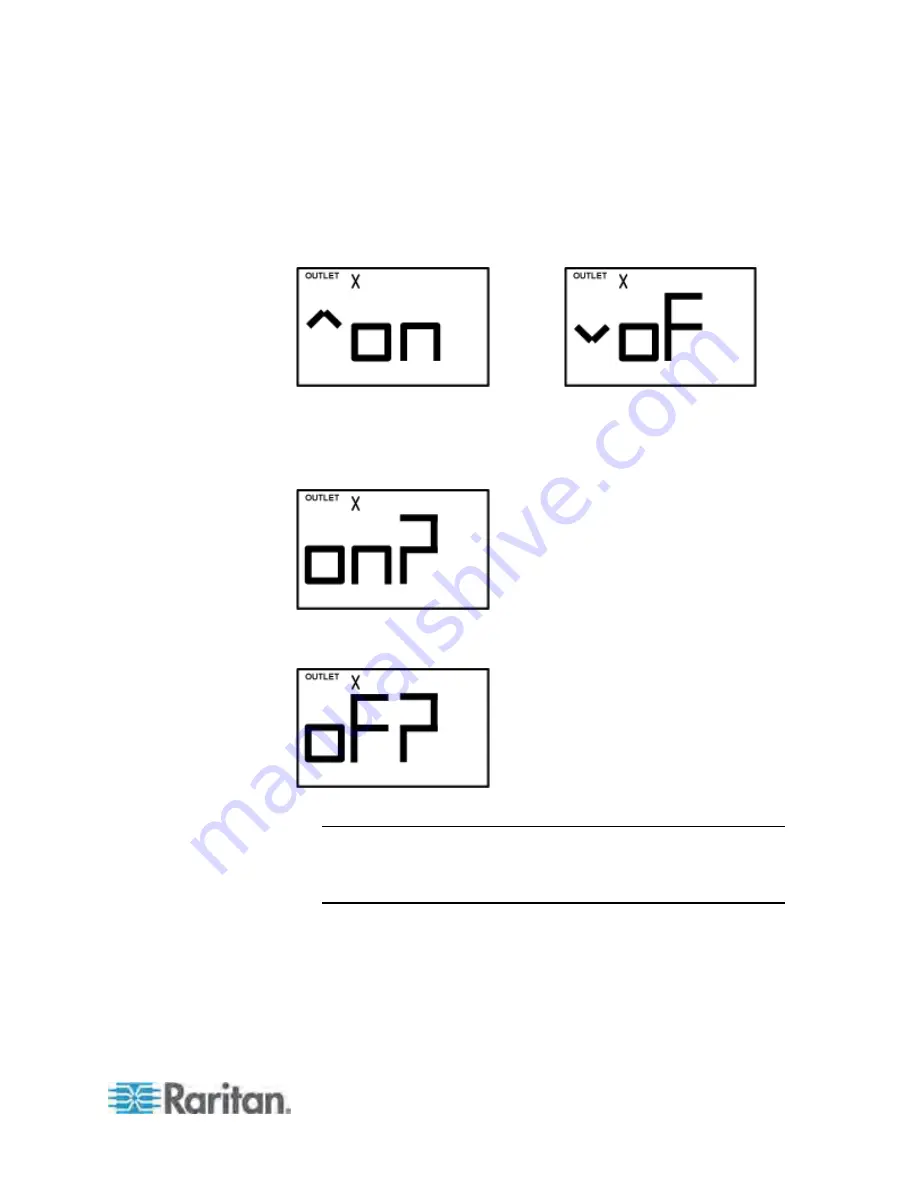
3. Press the FUNC button to to perform the outlet switching operation.
The LCD display cycles between two messages as shown in the two
diagrams below. In the following diagrams, X represents the selected
outlet's number.
To cancel the outlet switching operation, press the FUNC button
again.
4. To turn on the outlet, press the Up button. The "on?" confirmation
message displays.
To turn off the outlet, press the Down button. The "oF?" confirmation
message displays.
5. Press the same button as step 4 again to confirm the operation.
Note: If you press a different button in this step, for example, pressed
the Down button in step 4 but the Up button in step 5, the outlet
switching operation is not confirmed and the LCD display will return
to the messages in step 3.
6. The outlet switching operation is confirmed now and the LCD display
indicates the latest power state of the selected outlet.
on: The outlet has been turned on.
oFF: The outlet has been turned off.
Summary of Contents for PX3-4000 series
Page 5: ......
Page 627: ...Appendix I RADIUS Configuration Illustration 606 Note If your PX uses PAP then select PAP...
Page 632: ...Appendix I RADIUS Configuration Illustration 611 14 The new attribute is added Click OK...
Page 633: ...Appendix I RADIUS Configuration Illustration 612 15 Click Next to continue...
Page 648: ...Appendix J Integration 627 3 Click OK...
Page 661: ...Appendix J Integration 640 2 Launch dcTrack to import the spreadsheet file...


