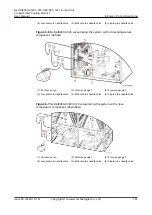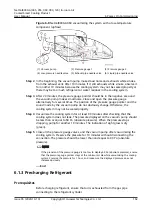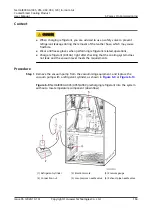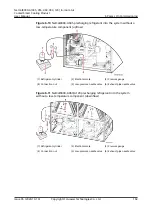
NO TICE
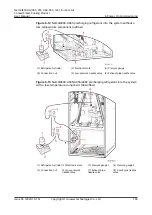
● Do not move the pipe or steel vessel when charging refrigerant. Otherwise, the
value on the electronic scale is influenced.
● When charging refrigerant for a cooling system without a low-temperature
component, open only the low-pressure gauge valve. Charge 1 kg of refrigerant
from the low pressure side, and then close the low-pressure gauge valve. Then,
open the high-pressure gauge valve and charge the remaining refrigerant from
the exhaust pipe needle valve.
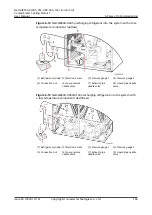
● When charging refrigerant for a cooling system with a low-temperature
component, open only the low-pressure valve of gauge 1 and gauge 2. Charge
1 kg of refrigerant from the low pressure side, and then close the low-pressure
valve of gauge 1. Then, open the high-pressure valves of gauge 1 and gauge 2.
Charge the remaining refrigerant from the exhaust pipe needle valve and liquid
pipe needle valve.
Step 5 The amount of refrigerant precharged must be more than half of the total charge
amount calculated and less than the total charge amount. If refrigerant is not
charged to the total amount in the precharging process, charge the remaining
amount of refrigerant during power-on commissioning.
Step 6 After refrigerant charging, close pressure gauge valves and the refrigerant steel
vessel valve.
NO TE
Tighten the needle valve bonnets when the charge is complete. Check whether a needle
valve leaks by applying soap bubbles to the valve vent or using a halogen leak detector. If
the valve leaks, contact Huawei technical support.
----End
6.2 Preparing for Power-On
Procedure
Step 1 Verify that the smart cooling product switch in the upstream power distribution
frame (PDF) is OFF.
Step 2 Check that the input voltage meets the requirement.
Step 3 Check that the power cables of the indoor unit, air-cooled outdoor unit, and water
cooling module are correctly connected, and that the communications cables
between the indoor unit, air-cooled outdoor unit and water cooling module are
correctly connected.
Step 4 If teamwork networking is required, verify that the teamwork cable is correctly
connected.
Step 5 Check that the cable connection and DIP switch setting of the T/H sensor are
correct
Step 6 If a humidifier is configured, check that the upstream water inlet valve of the
humidifier is open.
NetCol8000-A(045, 055, 060, 090, 120) In-room Air
Cooled Smart Cooling Product
User Manual
6 Power-On Commissioning
Issue 05 (2020-10-10)
Copyright © Huawei Technologies Co., Ltd.
168


