6.1 Clearing Paper Jams
217
WARNING
• If you need to pull out a tray to remove paper jam, contact your local Fuji Xerox
representative. Do not pull out a tray, otherwise it may cause injuries.
CAUTION
• Do not attempt to remove a paper deeply jammed inside the product, particularly a paper
around the fusing unit or the heat roller. Otherwise, it may cause injuries or burns. Switch off
the product immediately and contact your local Fuji Xerox representative.
Important
• Pulling out a paper tray without confirming the location of the paper jam may tear paper and cause pieces of
paper to be left in the machine. This can cause a malfunction. Be sure to confirm the location of the paper jam
before attempting to clear it.
• The paper jam indicator remains lit on the control panel if there are pieces of paper remaining inside the printer.
• Make sure that the power is on when clearing a paper jam.
• Do not touch interior components of the printer. Doing so can cause defective printing.
Paper Jams in Cover A
The following describes how to clear paper jams occurring in the Cover A.
Use the green handle A1 or A2 to clear the paper jams in Cover A. Follow the instructions
displayed and remove the jammed paper.
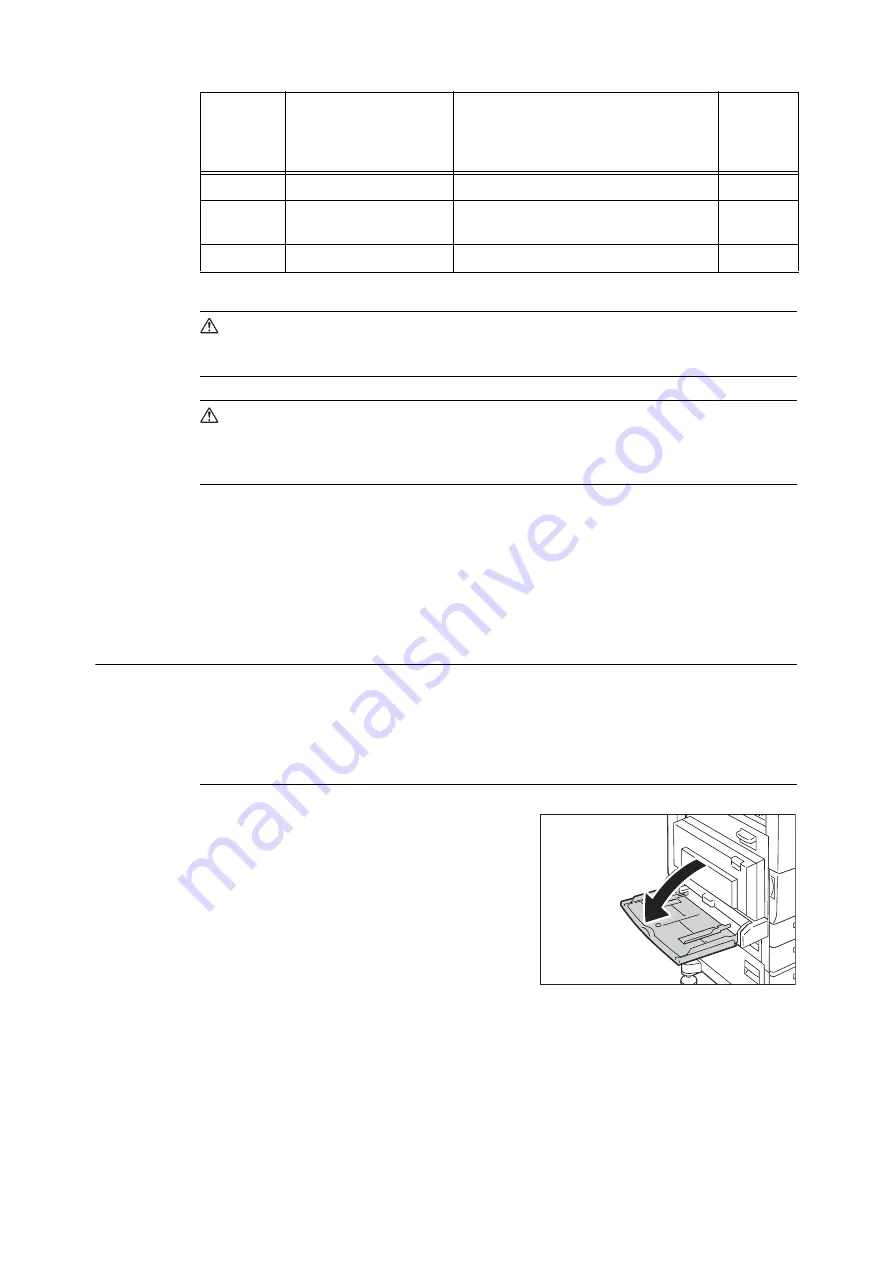
When using the green handle A1
1.
Open the Tray 5 (Bypass).
-
Folder Unit / [2b]
Paper Jams at 2b in the Folder Unit
-
Folder Unit / [2c] / [2d] /
[2e] / [2f]
Paper Jams at 2c, 2d, 2e, and 2f in the Folder
Unit
-
Folder Unit / [2d] and [2g]
Paper Jams at 2d and 2g in the Folder Unit
Alpha-
numerics
indicated in
the figure
Position of Paper Jams
on the Message
Paper Jam Solution
Reference
Pages
Summary of Contents for DocuPrint 5105 d
Page 1: ...DocuPrint 5105 d User Guide...
Page 75: ...3 3 Printing on Custom Size Paper 75 2 Click the Device Settings tab 3 Click Custom Paper Size...
Page 78: ...78 3 Printing 6 Click Print on the Print dialog box to start printing...
Page 94: ...94 3 Printing 8 Press the Print Menu button to return to the Ready to print screen...
Page 418: ...418 Control Panel Menu Tree...


