3.5 Printing confidential documents - Secure Print -
81
3.5
Printing confidential documents
- Secure Print -
Secure Print is available if the printer has HDD Extension Kit (optional) or RAM disk is configured
validly.
Important
• In case the hard disk fails, we recommend you to back up the hard disk data on your computer.
• All documents stored may be deleted if the printer power is turned off and on, while using RAM disk.
Refer to
• How to enable RAM disk: "Enabling a RAM Disk" (P. 325)
Secure Print
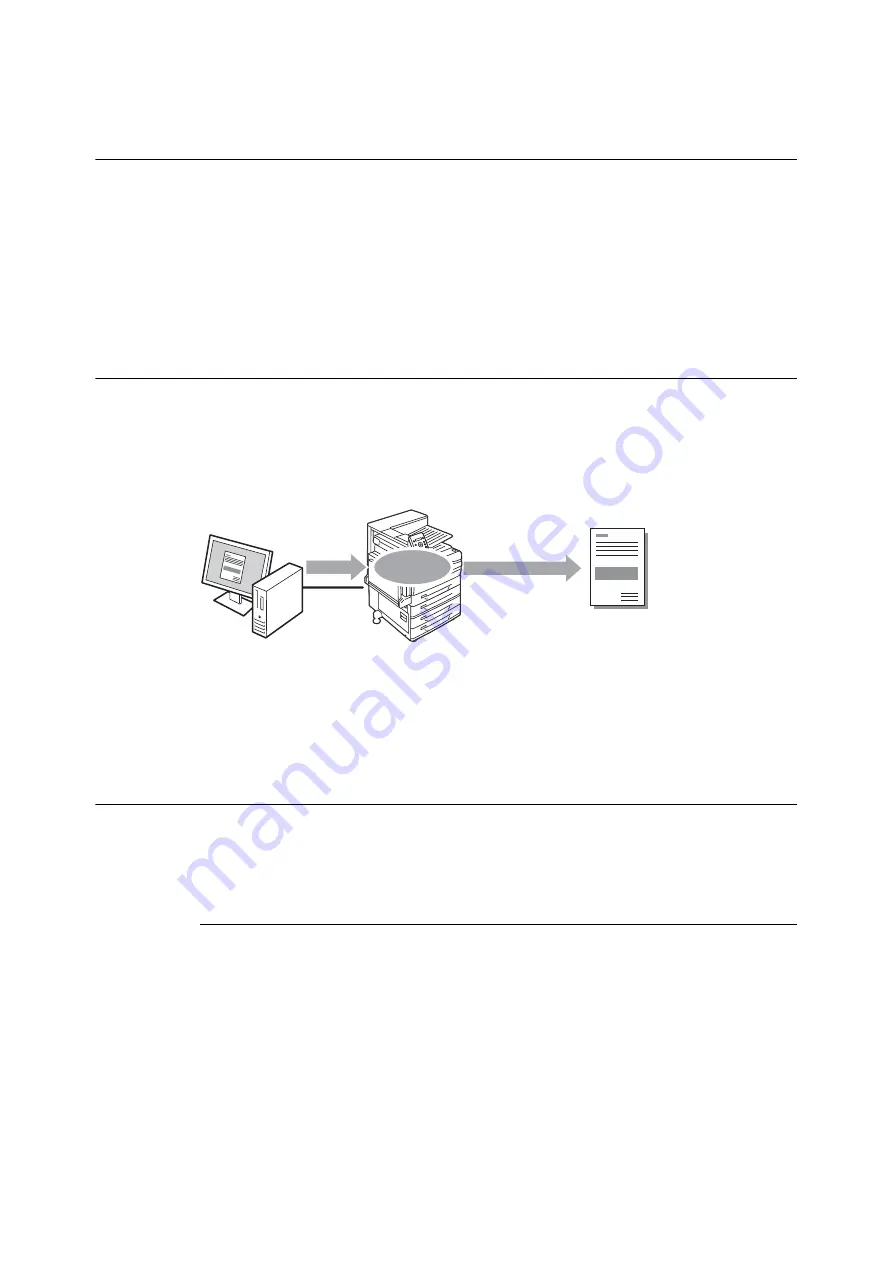
Secure Print is a feature that allows you to send a password-protected document to the printer.
Instead of printing the document immediately, the printer stores it temporarily until you use the
control panel to start printing manually. This feature also can store documents that are not
password-protected. By storing frequently-used documents in the printer, you can print them
whenever you want, without having to send them each time from your computer.
Note
• Whether or not to delete a Secure Print job after printing it can be specified when you print it from the control
panel. For more information, refer to "Control Panel Operations" (P. 83).
• Secure Print output is not supported when [Disabled] is selected for [Secure Print] on the control panel.
• Password input is always required when the [Minimum Passcode Length] setting on the [Configuration] tab >
[Installable Options] > [Installable Options] dialog box of the printer
’
s properties dialog box is [1] or greater.
Printing with Secure Print
The following explains how to print a job with Secure Print.
Configure Secure Print settings on your computer and then send the job to the printer. Next,
perform the required control panel operation to start printing manually.
Computer Operations
The following procedure uses Windows 7 WordPad as an example.
Note
• The method for displaying the Properties dialog box varies depending on the application being used. Refer to the
documentation for the application.
1.
On the [File] menu, select [Print].
2.
Select the printer from the [Select Printer] list box, and then click [Preferences].
Send
Order printing from
the control panel.
Stored
Summary of Contents for DocuPrint 5105 d
Page 1: ...DocuPrint 5105 d User Guide...
Page 75: ...3 3 Printing on Custom Size Paper 75 2 Click the Device Settings tab 3 Click Custom Paper Size...
Page 78: ...78 3 Printing 6 Click Print on the Print dialog box to start printing...
Page 94: ...94 3 Printing 8 Press the Print Menu button to return to the Ready to print screen...
Page 418: ...418 Control Panel Menu Tree...


