100/180 mm PAPERLESS GRAPHIC RECORDER: USER GUIDE
HA028910
Issue 13 Sep 16
User Guide
Page 257
7.2.3 The properties page
1. Ensure that one or more user screens is enabled in views Confi guration (
section 7.1.1
). If necessary,
call the required User screen to the display using the Root menu ‘Goto View’ menu.
2. Press the Option key to call the Option Menu.
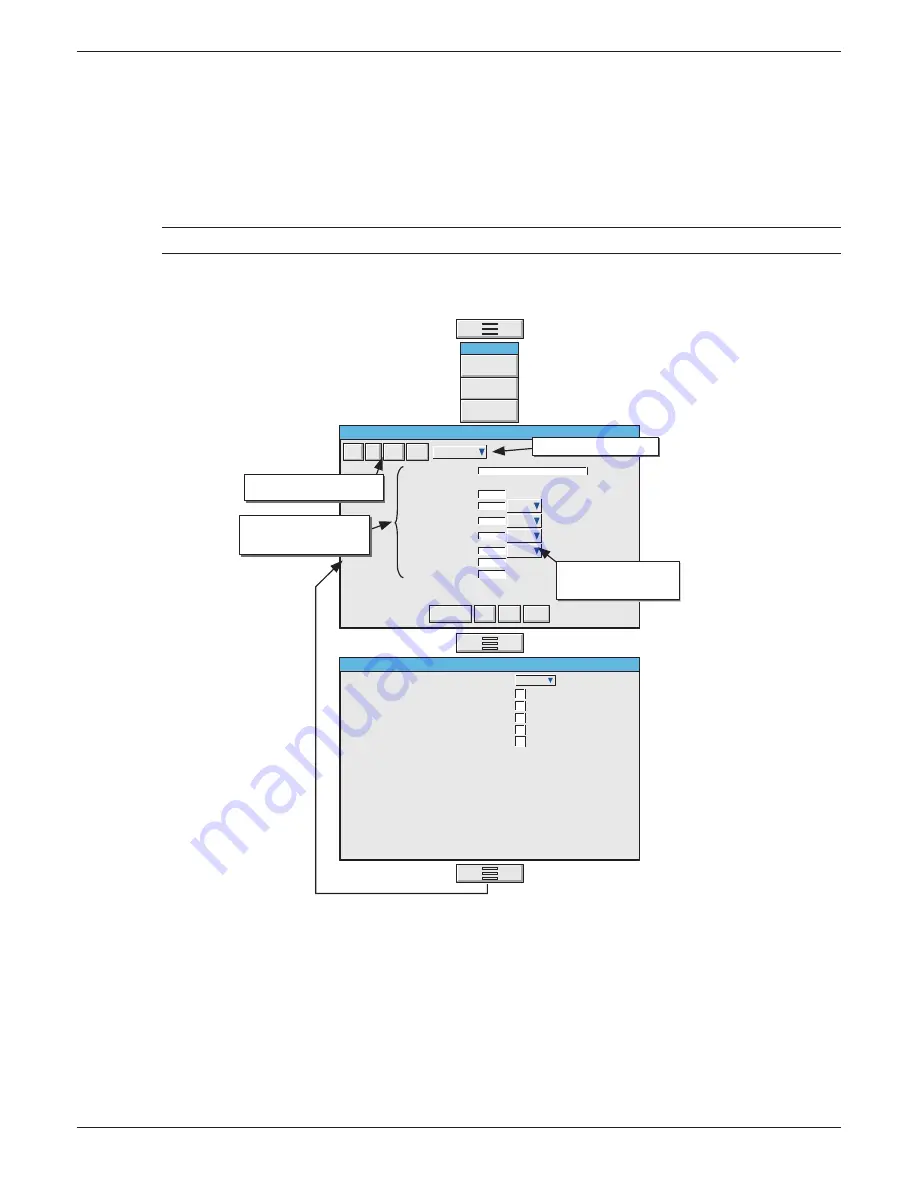
3. Press ‘Edit Screen’ to call the ‘Component Property Editor’ page to the display. This display contains
the basic properties of the ‘Main’ (background) screen onto which the required components are to
be overlaid.
Note: This may take some seconds, according to the complexity of the confi guration
4. A further press of the Option key calls the user screen Options display page.
5 Use the Option key again to return to the Component Properties display. 5
Figure 7.2.3a Component properties and User screen options pages
Note
Batch
Option Menu
Edit Screen
Component Property Editor - Screen 1
Identifier
Last Error
Page Title
X Position
Y Position
Width
Height
Draw Order
Component Type
Main
Dimension picklist.
Select %, absolute pixels,
or relative pixels.
Component properties
(Fields vary according to
component type)
Background Colour
Goto Canvas
Save
Close
More...
Add
Del
Copy
Paste
Component Add/Delete etc.
keys
Component picklist field
Usr Screen Options
Edit level
Component info on screen
Quick entry to edit
Basic
Use Last Properties
Positioning Grid
Positioning Tip
main_1.1
main_1.1
-1
100
100
0
0
%
%
%
%
-1
KEY DESCRIPTIONS (UPPER KEYS)
Add Calls the Component selection list
Del
Deletes (after confi rmation) the component in the Identifi er fi eld (except the Main pane which can-
not be deleted).
Copy Used to copy the current component to the pasteboard. ‘Greyed’ for ‘Main’ as this cannot be Cop-
ied.
Paste Used to ‘paste’ the copied component to the screen. The copied item is placed 1% to the right of,
and 1% below, the source component. ‘Greyed’ until a component Copy action has taken place.


