11-11
Replacing the Toner Cartridges
M
ain
tenanc
e
8
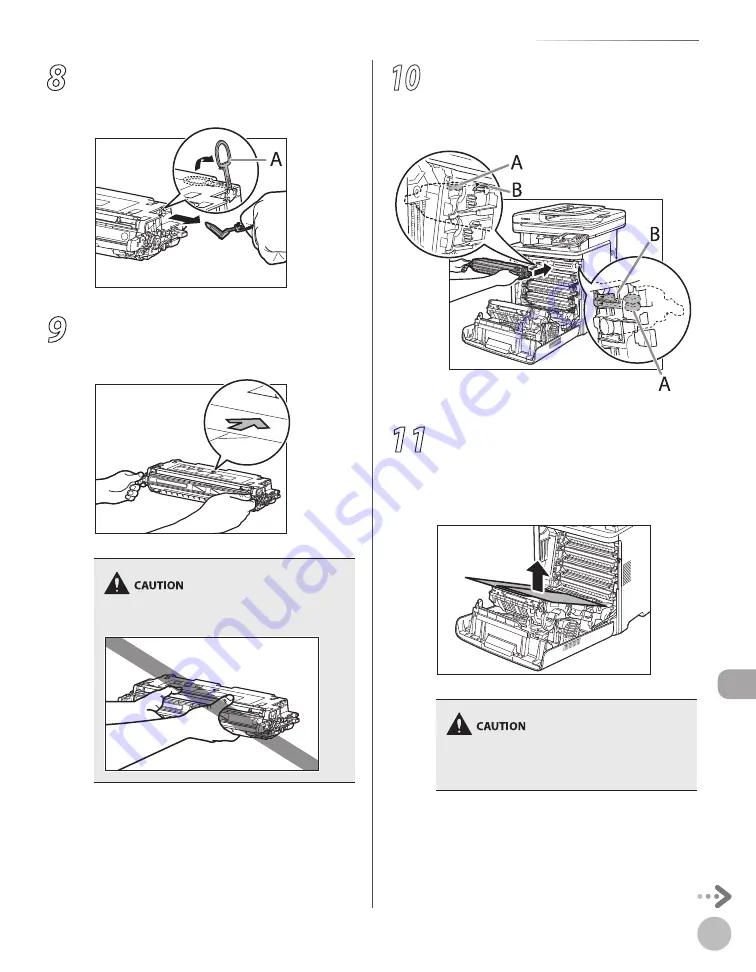
Hook your finger into the tab and remove
the packing materials (A) located at right
side of the toner cartridge.
9
Hold the toner cartridge properly by the
blue tabs on the both sides with the
arrowed side facing up.
Do not hold the toner cartridge in a manner that
is not directed in this procedure.
10
Align (A) of the toner cartridge that you
want to replace with the slots (B) to which
the label of the same color is attached,
then insert the cartridge until it stops.
11
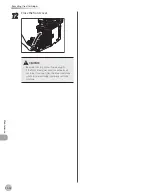
After removing all the packing materials
on the each toner cartridges and
installing the cartridges, remove the
paper on the transfer belt of the delivery
feeder unit.
When removing the paper, be careful not to
touch or damage the transfer belt of the delivery
feeder unit.
Summary of Contents for imageCLASS MF8450c
Page 53: ...Before Using the Machine 1 28 Timer Settings ...
Page 129: ...3 52 Storing Editing One Touch Storing Editing Address Book ...
Page 132: ...Copying 4 3 Overview of Copy Functions p 4 22 p 4 30 p 4 36 ...
Page 201: ...Copying 4 72 Confirming and Canceling Copy Jobs Confirming Copy Logs ...
Page 204: ...Fax 5 3 Overview of Fax Functions p 5 30 p 5 47 p 5 54 p 5 49 p 5 112 p 5 104 ...
Page 346: ...E mail 6 3 Overview of E Mail Functions ...
Page 354: ...Printing 7 3 Overview of Print Functions p 7 9 p 7 10 p 7 7 ...
Page 381: ...Printing 7 30 Checking and Canceling Print Jobs Checking Print Logs ...
Page 384: ...Scanning 8 3 Overview of Scanner Functions ...
Page 391: ...Scanning 8 10 Basic Scanning Operations ...


