12-37
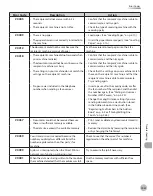
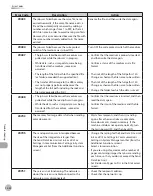
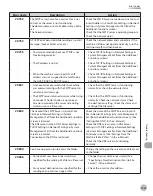
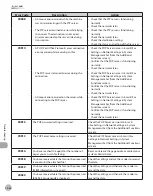
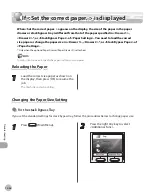
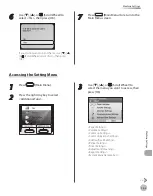
If <Set the correct paper. > is displayed
Troubleshooting
3
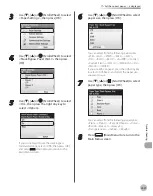
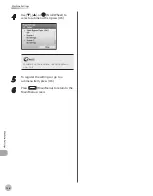
Use [
▼
], [
▲
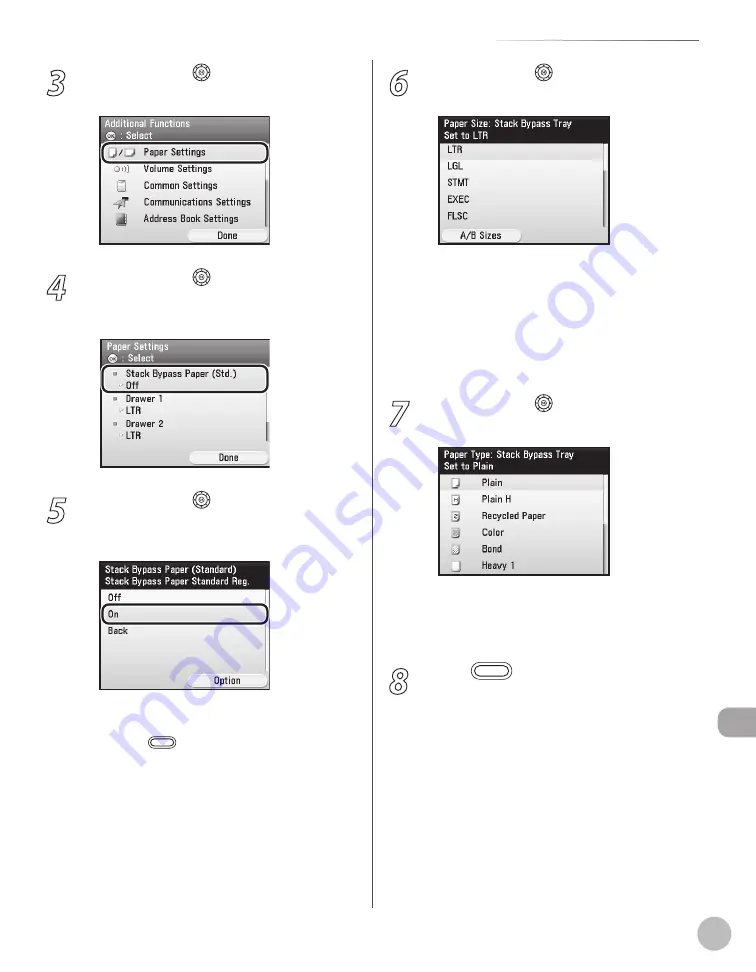
] or (Scroll Wheel) to select
<Paper Settings>, then press [OK].
4
Use [
▼
], [
▲
] or (Scroll Wheel) to select
<Stack Bypass Paper (Std.)>, then press
[OK].
5
Use [
▼
], [
▲
] or (Scroll Wheel) to select
<On>, then press the right Any key to
select <Option>.
If you do not want to set the stack bypass
standard settings, select <Off>, then press [OK],
and press
(Main Menu) to return to the
Main Menu screen.
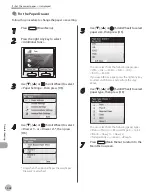
6
Use [
▼
], [
▲
] or (Scroll Wheel) to select
paper size, then press [OK].
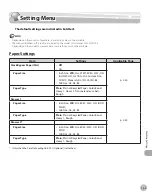
You can select from the following paper sizes:
<LTR>, <LGL>, <STMT>, <EXEC>, <FLSC>,
<OFI>, <B-OFI>, <M-OFI>, <G-LTRR>, <G-LGL>,
<Custom Size>, <COM 10>, <Monarch>, <DL>,
<ISO-C5>, <ISO-B5>
If you use A/B size paper, press the right Any key
to select <A/B Sizes> and select the paper size
you want to use.
7
Use [
▼
], [
▲
] or (Scroll Wheel) to select
paper type, then press [OK].
You can select from the following paper types:
<Plain>, <Plain H>, <Recycled Paper>, <Color>,
<Bond>, <Heavy 1>, <Heavy 2>,
<Transparencies>, <Labels>, <Rough>
8
Press
(Main Menu) to return to the
Main Menu screen.
Summary of Contents for imageCLASS MF8450c
Page 53: ...Before Using the Machine 1 28 Timer Settings ...
Page 129: ...3 52 Storing Editing One Touch Storing Editing Address Book ...
Page 132: ...Copying 4 3 Overview of Copy Functions p 4 22 p 4 30 p 4 36 ...
Page 201: ...Copying 4 72 Confirming and Canceling Copy Jobs Confirming Copy Logs ...
Page 204: ...Fax 5 3 Overview of Fax Functions p 5 30 p 5 47 p 5 54 p 5 49 p 5 112 p 5 104 ...
Page 346: ...E mail 6 3 Overview of E Mail Functions ...
Page 354: ...Printing 7 3 Overview of Print Functions p 7 9 p 7 10 p 7 7 ...
Page 381: ...Printing 7 30 Checking and Canceling Print Jobs Checking Print Logs ...
Page 384: ...Scanning 8 3 Overview of Scanner Functions ...
Page 391: ...Scanning 8 10 Basic Scanning Operations ...


