Cop
ying
4-49
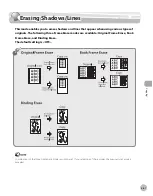
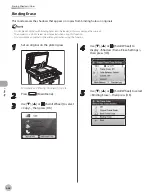
Erasing Shadows/Lines
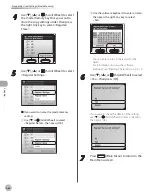
6
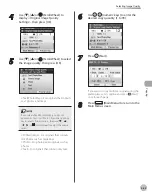
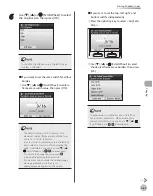
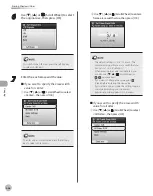
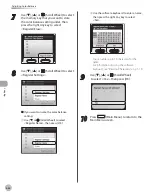
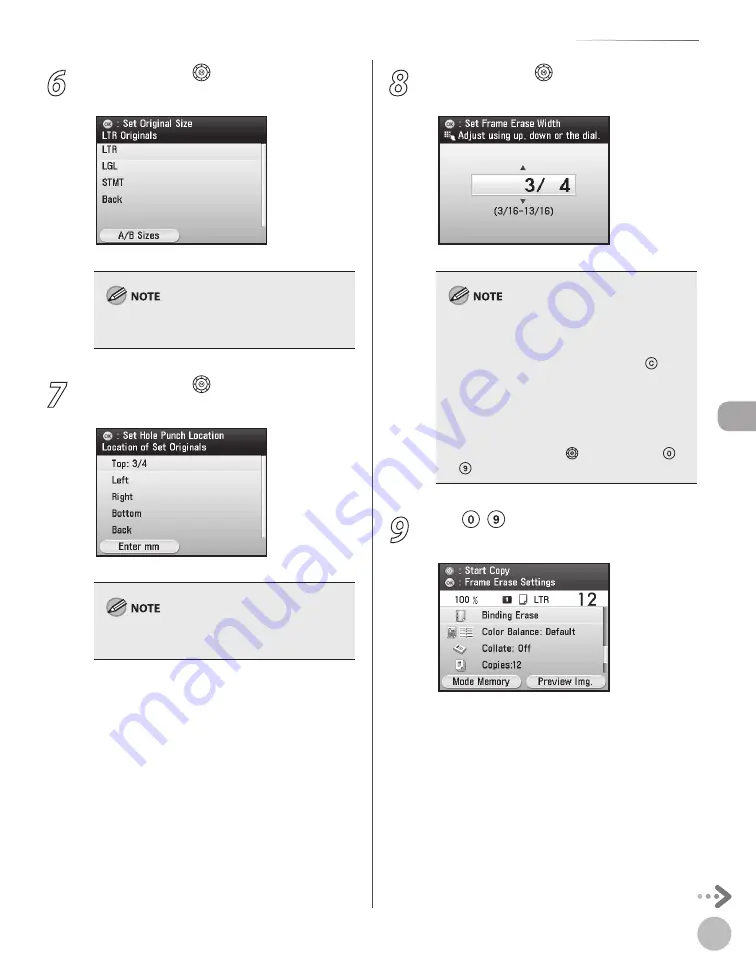
Use [
▼
], [
▲
] or (Scroll Wheel) to select
the original size, then press [OK].
To switch to the inch sizes, press the left Any key
to select <A/B Sizes>.
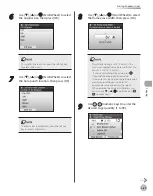
7
Use [
▼
], [
▲
] or (Scroll Wheel) to select
the hole punch location, then press [OK].
To enter values in millimeters, press the left Any
key to select <Enter mm>.
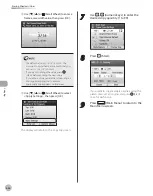
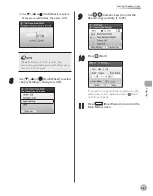
8
Use [
▼
], [
▲
] or (Scroll Wheel) to select
the frame erase width, then press [OK].
The default setting is <3/4" (18 mm)>. The
maximum original frame erase width that you
can set is <13/16" (20 mm)>.
If you want to change the value, press
(Clear) before entering the new value.
If you enter a value outside the setting range, a
message prompting you to enter an
appropriate value appears on the screen.
When entering the value in millimeters, you
can also use [
▼
], [
▲
], (Scroll Wheel), or –
(numeric keys).
–
–
–
–
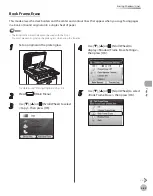
9
Use – (numeric keys) to enter the
desired copy quantity (1 to 99).
Summary of Contents for imageCLASS MF8450c
Page 53: ...Before Using the Machine 1 28 Timer Settings ...
Page 129: ...3 52 Storing Editing One Touch Storing Editing Address Book ...
Page 132: ...Copying 4 3 Overview of Copy Functions p 4 22 p 4 30 p 4 36 ...
Page 201: ...Copying 4 72 Confirming and Canceling Copy Jobs Confirming Copy Logs ...
Page 204: ...Fax 5 3 Overview of Fax Functions p 5 30 p 5 47 p 5 54 p 5 49 p 5 112 p 5 104 ...
Page 346: ...E mail 6 3 Overview of E Mail Functions ...
Page 354: ...Printing 7 3 Overview of Print Functions p 7 9 p 7 10 p 7 7 ...
Page 381: ...Printing 7 30 Checking and Canceling Print Jobs Checking Print Logs ...
Page 384: ...Scanning 8 3 Overview of Scanner Functions ...
Page 391: ...Scanning 8 10 Basic Scanning Operations ...

