Scanning
8-7
Basic Scanning Operations
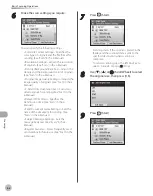
10
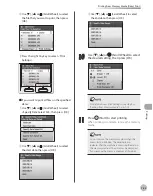
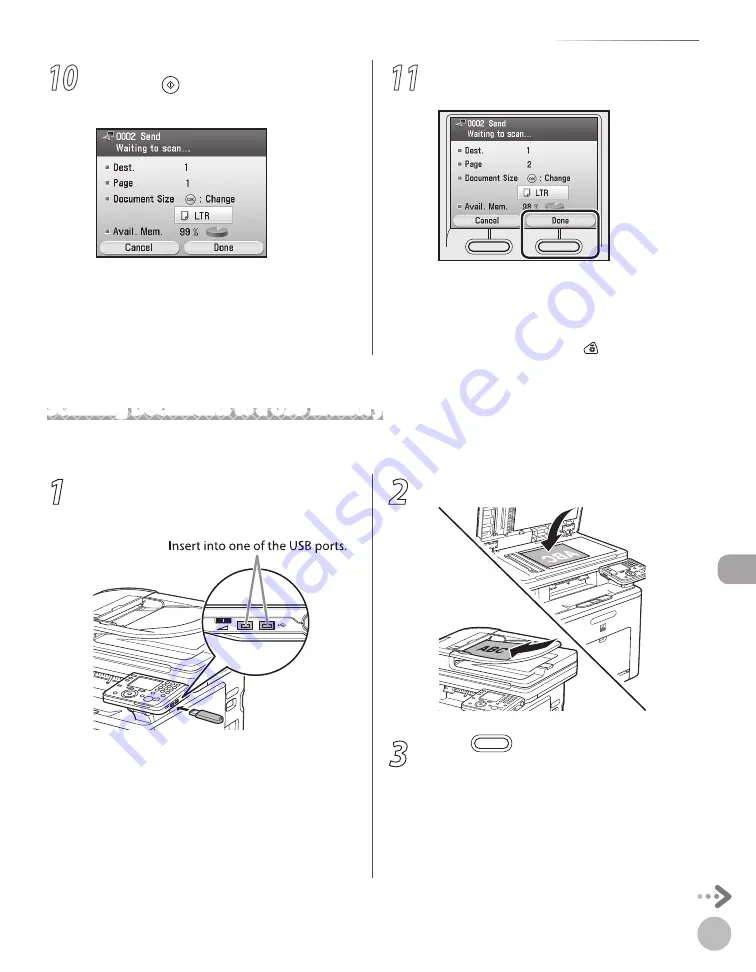
Follow the instructions on the display,
then press (Start) once for each
original.
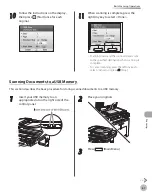
11
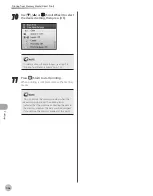
When scanning is complete, press the
right Any key to select <Done>.
Scanning starts and the scanned data is sent
to the specified destination when scanning is
complete.
To cancel scanning, press the left Any key to
select <Cancel> or press (Stop).
–
–
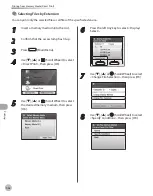
Scanning Documents to a USB Memory
This section describes the basic procedure for storing scanned documents to a USB memory.
1
Insert your USB memory to an
appropriate slot on the right side of the
control panel.
2
Place your originals.
3
Press
(Main Menu).
Summary of Contents for imageCLASS MF8450c
Page 53: ...Before Using the Machine 1 28 Timer Settings ...
Page 129: ...3 52 Storing Editing One Touch Storing Editing Address Book ...
Page 132: ...Copying 4 3 Overview of Copy Functions p 4 22 p 4 30 p 4 36 ...
Page 201: ...Copying 4 72 Confirming and Canceling Copy Jobs Confirming Copy Logs ...
Page 204: ...Fax 5 3 Overview of Fax Functions p 5 30 p 5 47 p 5 54 p 5 49 p 5 112 p 5 104 ...
Page 346: ...E mail 6 3 Overview of E Mail Functions ...
Page 354: ...Printing 7 3 Overview of Print Functions p 7 9 p 7 10 p 7 7 ...
Page 381: ...Printing 7 30 Checking and Canceling Print Jobs Checking Print Logs ...
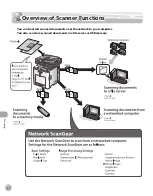
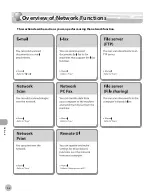
Page 384: ...Scanning 8 3 Overview of Scanner Functions ...
Page 391: ...Scanning 8 10 Basic Scanning Operations ...

