


48
•
DUB and DIU series drives
Supported file systems for external drives are below:
•
FAT32
•
EXT3
•
XFS
•
NTFS
•
HFS+ (read-only)
Connect only one device to each USB port of the TeraStation. Some external drives with automatic power-on don't
turn on automatically when connected to the TeraStation. Use their manual power switch to turn them on. Be sure
to connect only one bus-powered drive at a time. If there is insufficient bus power for your USB drive, connect its AC
adapter. Note that only the first partition of a connected USB hard drive is mounted. Additional partitions are not
recognized. Do not connect bus-powered devices to the 2-drive TeraStation models.
Notes:
•
Backup data from Mac OS may include characters that cannot be written to FAT16 or FAT32 drives such as
".DS_Store". For best results, reformat the drive before using it as a backup target.
•
If your USB 3.0 hard drive is not reconfigured after rebooting the TeraStation, unplug and reconnect it.
Dismounting Drives
If the TeraStation is powered on, dismount drives (internal and external) before unplugging them. You may
dismount external drives with the function button, or any drive from Settings. If the TeraStation is off, then all drives
are already dismounted and may be unplugged safely.
Note:
Do not dismount internal drives while a RAID array is rebuilding or RMM is being configured. If you do,
data on the drives may be lost.
Dismounting with the Function Button
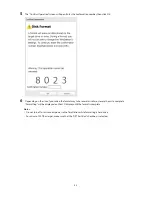
Hold down the function button for 8 seconds. The function button will light up blue for 30 seconds as your USB
drives are dismounted. When the dismount is finished, the function button's LED will turn off, then come back on.
You may now unplug any USB drives safely.
Note:
After 60 seconds, the function LED will go out and any drives that have not yet been unplugged will be
remounted.
Dismounting from Settings
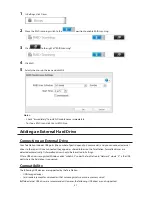
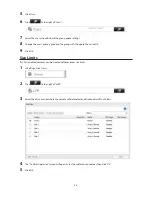
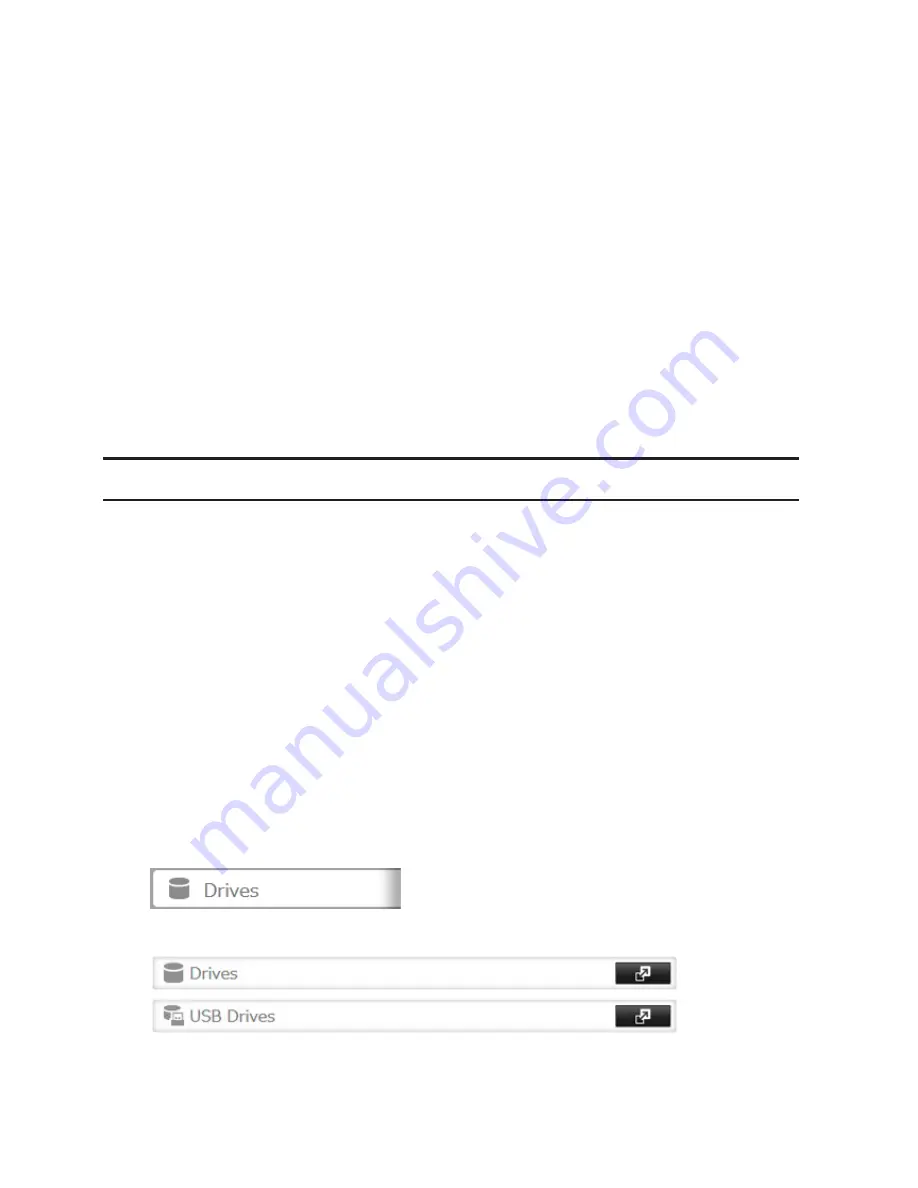
1
In Settings, click
Drives
.
2
Click
Drives
to dismount an internal drive or
USB Drives
to dismount an external drive.
Summary of Contents for TeraStation WSS 5000
Page 10: ...9 Chapter 1 Installation Diagrams TS5800D TS5800DN TS5800DWR µ µ µ µ TS5600D TS5600DN µ µ µ µ ...
Page 60: ...59 6 Click Edit under NAS Volume 7 Click Create Volume ...
Page 88: ...87 2 Click to the right of Backup 3 Click List of LinkStations and TeraStations ...
Page 90: ...89 3 Click Create New Job Note Up to 8 backup jobs can be configured ...
Page 104: ...103 18Click Time Machine ...
Page 105: ...104 19Click Select Backup Disk 20Select the TeraStation then click Use Disk ...
Page 116: ...115 3 Click Create New Job ...
Page 131: ...130 9 Click Open Squeezebox The Squeezebox s settings will open ...
Page 136: ...135 4 Open the License tab then click Activate Free License To deactivate the license click ...
Page 138: ...137 3 Click Next 4 Click Find Cameras ...
Page 144: ...143 2 Select the search criteria on the left side of the search screen then click Search ...
Page 145: ...144 3 The search results are displayed Click a thumbnail to start the media viewer ...