


193
2
Move the SNMP switch to the
position to enable SNMP.
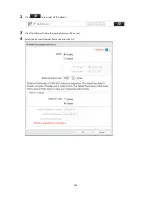
3
Click
to the right of "SNMP".
4
Click
Edit
.
5
Configure the desired settings, then click
OK
.
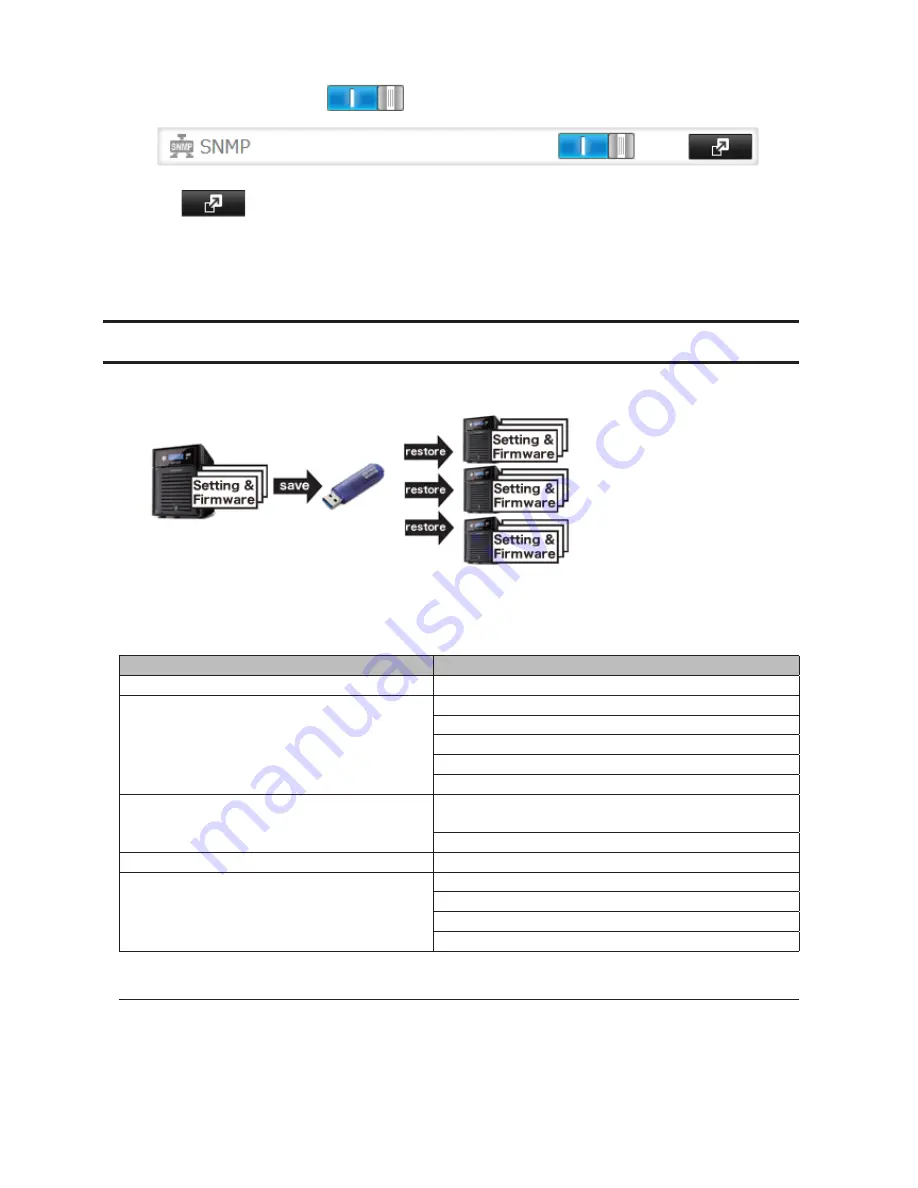
Saving and Applying Settings
The TeraStation's settings can be saved to a USB memory device and restored to another TeraStation of the same
series. Use this function to back up and copy settings to a new TeraStation.
Make a note of the hard drive configuration (number of hard drives, RAID, LVM, etc.) of the TeraStation where the
settings were saved. Make sure that any TeraStation that you apply these settings to has exactly the same hard drive
configuration before you apply the settings. If the drive configuration is different, you may get unexpected results.
The following settings are not saved or restored:
Category
Settings
File Sharing
Shared folder information of USB drive and media cartridge
Drives
All settings in "Drives"
All settings in "RAID" - "Options" - "RAID Array Settings"
All settings in "LVM"
All settings in "iSCSI"
USB drive and media cartridge information
Network
All settings in "IP Address", except for service port
restrictions, Wake-on-LAN, and Ethernet frame size settings
All settings in "Port Trunking"
Backup
All settings in "Failover"
Management
All settings in "Name", except for descriptions
All settings in "UPS Sync"
All settings in "SSL"
Display language in Settings
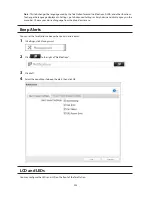
Saving Settings
1
Insert a USB memory device into a USB port on the TeraStation.
Notes:
•
Use a USB 2.0 port. If your TeraStation has both USB 3.0 and USB 2.0 ports, make sure that you use one of the
USB 2.0 ports.
Summary of Contents for TeraStation WSS 5000
Page 10: ...9 Chapter 1 Installation Diagrams TS5800D TS5800DN TS5800DWR µ µ µ µ TS5600D TS5600DN µ µ µ µ ...
Page 60: ...59 6 Click Edit under NAS Volume 7 Click Create Volume ...
Page 88: ...87 2 Click to the right of Backup 3 Click List of LinkStations and TeraStations ...
Page 90: ...89 3 Click Create New Job Note Up to 8 backup jobs can be configured ...
Page 104: ...103 18Click Time Machine ...
Page 105: ...104 19Click Select Backup Disk 20Select the TeraStation then click Use Disk ...
Page 116: ...115 3 Click Create New Job ...
Page 131: ...130 9 Click Open Squeezebox The Squeezebox s settings will open ...
Page 136: ...135 4 Open the License tab then click Activate Free License To deactivate the license click ...
Page 138: ...137 3 Click Next 4 Click Find Cameras ...
Page 144: ...143 2 Select the search criteria on the left side of the search screen then click Search ...
Page 145: ...144 3 The search results are displayed Click a thumbnail to start the media viewer ...