207
4
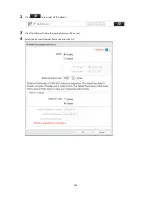
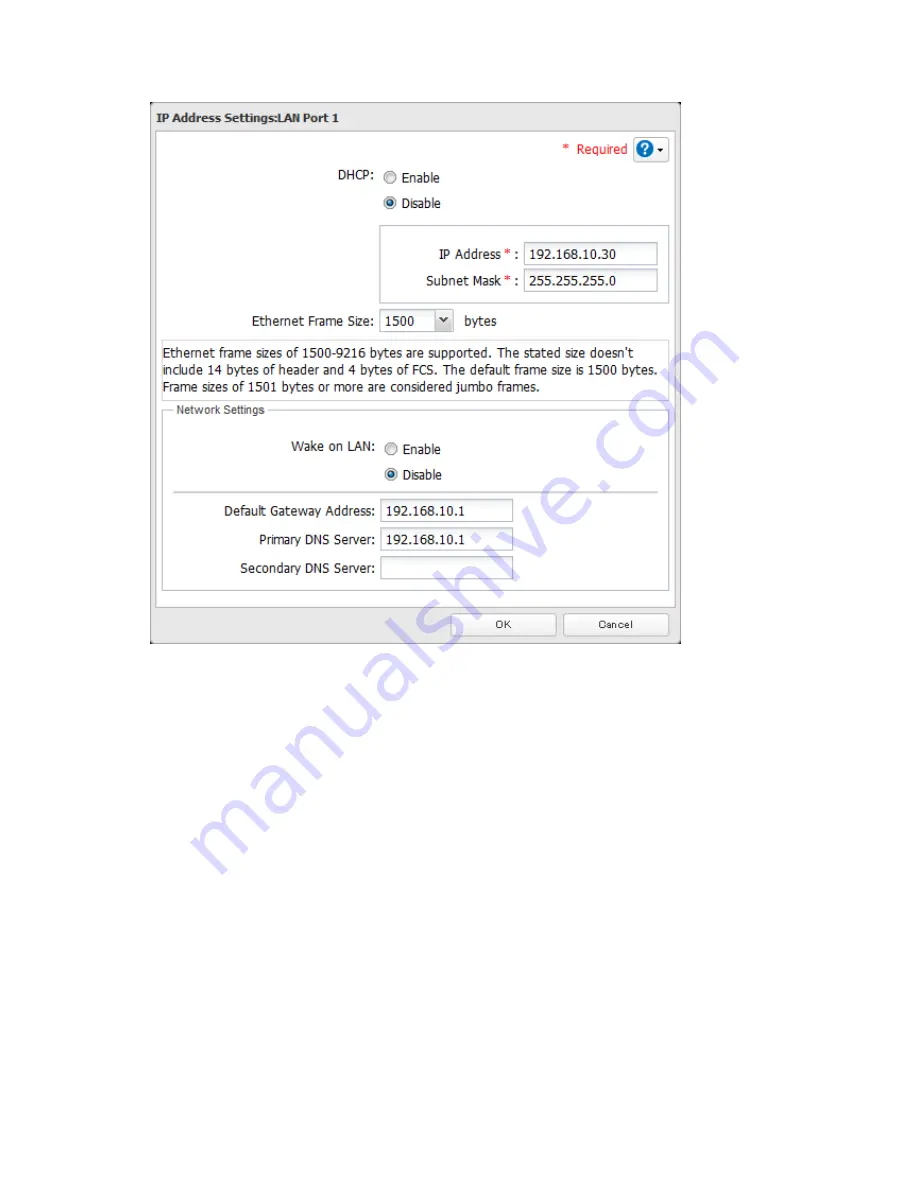
Disable "DHCP" and enter the desired network address settings, then click
OK
.
Notes:
•
Do not set the same address for LAN port 1 and LAN port 2. This may cause unstable network
communication.
•
Use LAN port 1 to access different network subnets from the TeraStation. Access to a different network
subnet is not possible from LAN port 2 since it doesn't have a default gateway.
•
The following IP addresses are reserved and should not be used. If you configure one of them by accident,
initialize all settings by referring to the "Restoring Factory Defaults" section in chapter 10.
Local loopback address: 127.0.0.1, 255.255.255.0
Network address: 0.0.0.0, 255.255.255.0
Broadcast address: 255.255.255.255, 255.255.255.0
The IP address range from 224.0.0.0 to 255.255.255.255
Summary of Contents for TeraStation WSS 5000
Page 10: ...9 Chapter 1 Installation Diagrams TS5800D TS5800DN TS5800DWR µ µ µ µ TS5600D TS5600DN µ µ µ µ ...
Page 60: ...59 6 Click Edit under NAS Volume 7 Click Create Volume ...
Page 88: ...87 2 Click to the right of Backup 3 Click List of LinkStations and TeraStations ...
Page 90: ...89 3 Click Create New Job Note Up to 8 backup jobs can be configured ...
Page 104: ...103 18Click Time Machine ...
Page 105: ...104 19Click Select Backup Disk 20Select the TeraStation then click Use Disk ...
Page 116: ...115 3 Click Create New Job ...
Page 131: ...130 9 Click Open Squeezebox The Squeezebox s settings will open ...
Page 136: ...135 4 Open the License tab then click Activate Free License To deactivate the license click ...
Page 138: ...137 3 Click Next 4 Click Find Cameras ...
Page 144: ...143 2 Select the search criteria on the left side of the search screen then click Search ...
Page 145: ...144 3 The search results are displayed Click a thumbnail to start the media viewer ...


