99
4
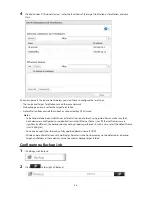
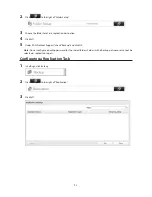
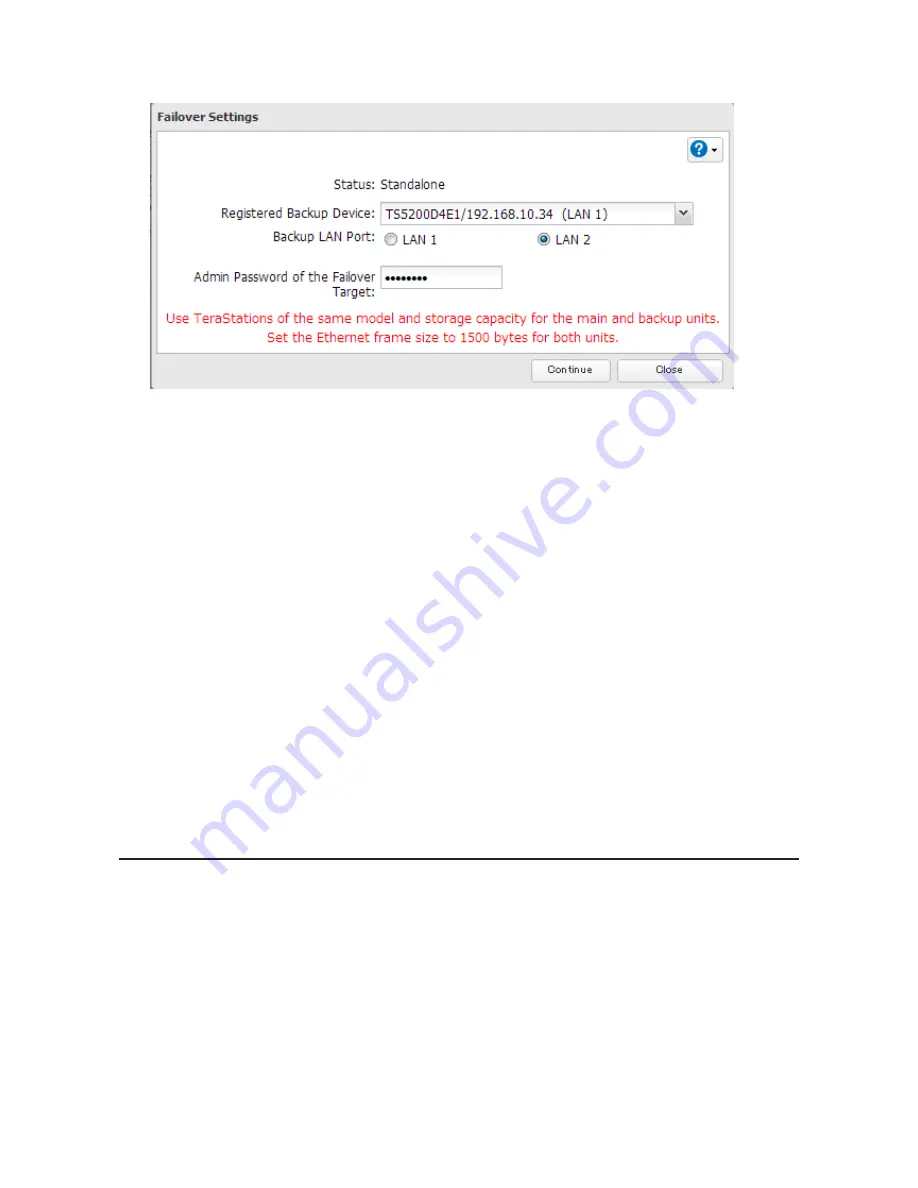
Select a TeraStation to be the target backup device.
Note:
The target TeraStation's hostname, IP address, and LAN port number will be shown. The LAN port selected
here will be used to check the main TeraStation for continued operation.
5
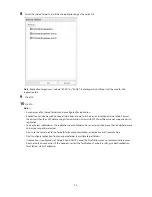
Enter the administrator password of the target backup device, then click
Continue
.
6
If the administrator password is correct, the backup TeraStation will beep. To accept the settings from the main
TeraStation, hold down the function button on the front of the backup TeraStation until it stops beeping.
7
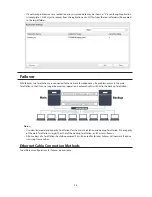
The I51 message will display on the LCD and NAS Navigator2 for both TeraStations. Wait until initialization
finishes. Failover is configured after it finishes and the I51 message disappears.
Notes:
•
If replication is configured for more than one folder, initialize the TeraStation before configuring failover.
•
The main TeraStation cannot be used as the backup location for Time Machine.
•
If email notification is enabled and failover occurs, navigate to
Management
-
Email Notification
-
Edit
in the
main TeraStation's settings and click
OK
.
•
Ethernet frame size settings for main and failover TeraStations should be 1500 bytes. To change the Ethernet
frame size, navigate to
Network
-
IP Address
, click the LAN port and
Edit
, and change the Ethernet frame size to
"1500" bytes.
•
Files whose filenames contain more than 80 alphanumeric characters will not be backed up.
•
If the I33 error message appears on the LCD display, navigate to
Backup
-
Replication
and click
Resync
.
•
Don't use the same TeraStation for both failover and replication, or failover and Time Machine.
Additional Settings
Maintenance Mode
If failover is configured, enable maintenance mode temporarily before turning off the TeraStation or updating the
TeraStation's firmware.
Enable/Disable Maintenance Mode
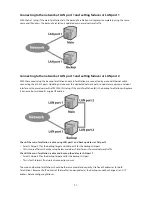
Maintenance mode can be enabled and disabled at
Backup
-
Failover
in the main TeraStation's settings. Click
Maintenance mode
to enable maintenance mode, or click
Cancel maintenance mode
to disable maintenance mode.
Summary of Contents for TeraStation WSS 5000
Page 10: ...9 Chapter 1 Installation Diagrams TS5800D TS5800DN TS5800DWR µ µ µ µ TS5600D TS5600DN µ µ µ µ ...
Page 60: ...59 6 Click Edit under NAS Volume 7 Click Create Volume ...
Page 88: ...87 2 Click to the right of Backup 3 Click List of LinkStations and TeraStations ...
Page 90: ...89 3 Click Create New Job Note Up to 8 backup jobs can be configured ...
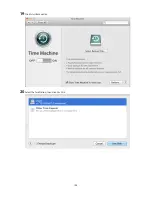
Page 104: ...103 18Click Time Machine ...
Page 105: ...104 19Click Select Backup Disk 20Select the TeraStation then click Use Disk ...
Page 116: ...115 3 Click Create New Job ...
Page 131: ...130 9 Click Open Squeezebox The Squeezebox s settings will open ...
Page 136: ...135 4 Open the License tab then click Activate Free License To deactivate the license click ...
Page 138: ...137 3 Click Next 4 Click Find Cameras ...
Page 144: ...143 2 Select the search criteria on the left side of the search screen then click Search ...
Page 145: ...144 3 The search results are displayed Click a thumbnail to start the media viewer ...


