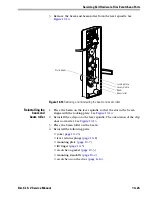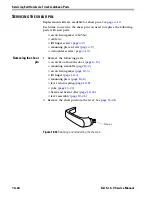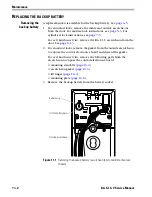
Servicing Exit Hardware Trim Escutcheon Parts
B.A.S.I.S. V Service Manual
10–29
Reinstalling the
shear pin
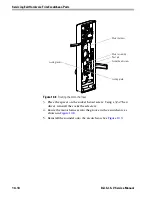
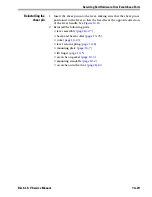
1. Insert the shear pin into the lever, making sure that the shear pin is
positioned in the lever so that the head faces the opposite direction
of the lever handle. See
Figure 10.16
.
2. Reinstall the following parts:
■
lever assembly (
page 10–27
)
■
beam and beam roller (
page 10–25
)
■
yoke (
page 10–23
)
■
lever return spring (
page 10–8
)
■
mounting plate (
page 10–7
)
■
lift finger (
page 10–5
)
■
escutcheon gasket (
page 10–3
)
■
mounting standoffs (
page 10–2
)
■
escutcheon in the door (
page 8–14
).
Summary of Contents for B.A.S.I.S. V
Page 1: ...SERVICE MANUAL SERVICE MANUAL ...
Page 16: ...Figures xvi B A S I S V Service Manual ...
Page 48: ...Standard Functions and Parts 2 24 B A S I S V Service Manual ...
Page 66: ...Exit Hardware Trim Functions and Parts 3 18 B A S I S V Service Manual ...
Page 78: ...Shared Standard and Exit Hardware Trim Parts 4 12 B A S I S V Service Manual ...
Page 114: ...Servicing Standard Mortise Case Parts 6 20 B A S I S V Service Manual ...
Page 206: ...Servicing Exit Hardware Trim Escutcheon Parts 10 32 B A S I S V Service Manual ...
Page 238: ...Troubleshooting 12 12 B A S I S V Service Manual ...
Page 242: ...Lock History Event Types A 4 B A S I S V Service Manual ...
Page 244: ...Installation Instructions B 2 B A S I S V Service Manual ...

