


102
4
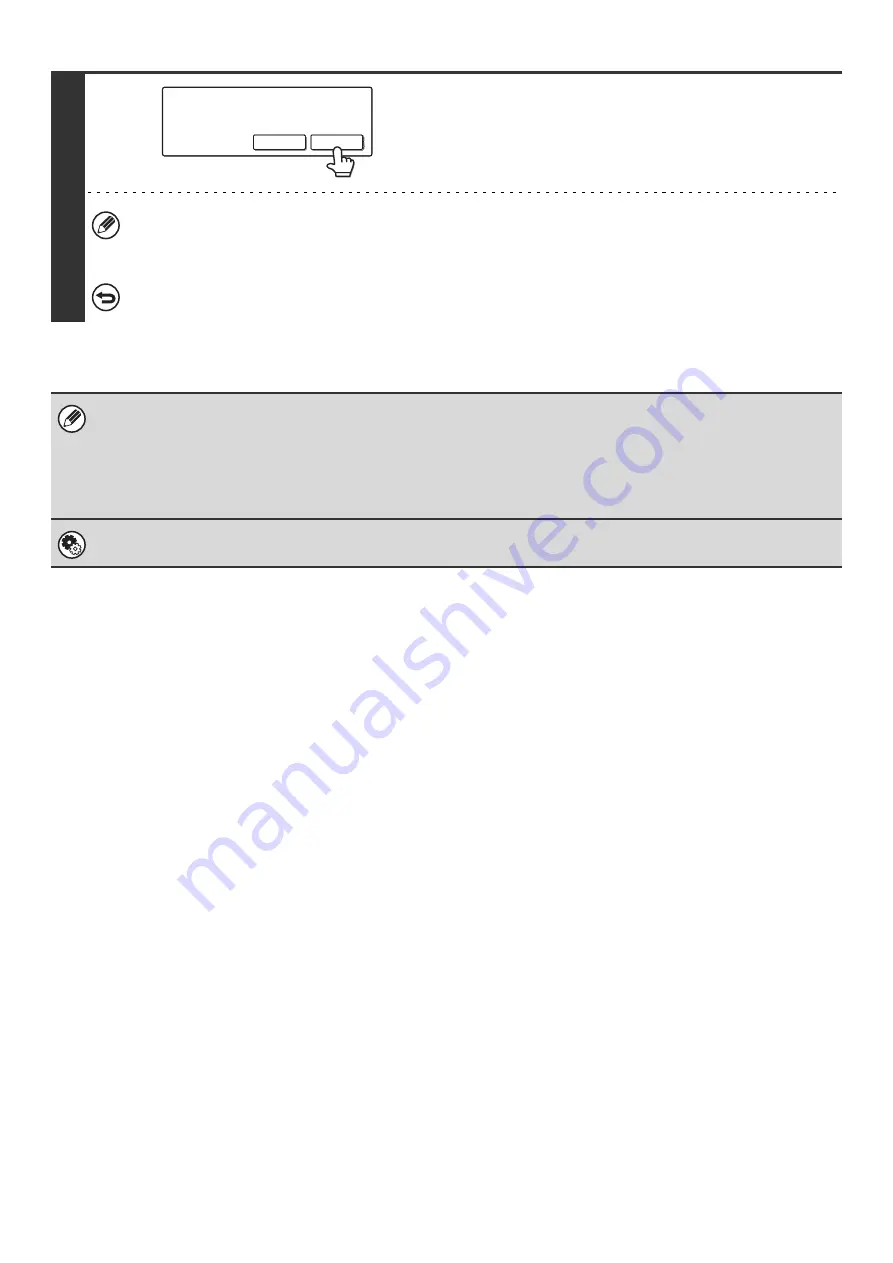
Touch the [Yes] key.
Your machine dials the destination machine and transmits the
fax.
If a password entry screen appears after the [Yes] key is touched, "Hold Setting For Received Data Print" has been
enabled for received faxes. Enter the password with the numeric keys to begin forwarding.
☞
PRINTING A PASSWORD-PROTECTED FAX (Hold Setting For Received Data Print)
(page 47)
To cancel forwarding...
Touch the [No] key. The job becomes a fax reception job again and is held in memory until it can be printed.
• If some pages of a fax that is being forwarded were successfully printed, only those pages that were not printed will be
forwarded.
• A forwarded fax becomes a fax transmission job. If transmission does not take place because the transmission was
canceled or an error occurred, the fax will be held in memory until it can be printed.
• All faxes received are forwarded. Note, however, that faxes received to an F-code confidential memory box cannot be
forwarded.
System Settings for Fax (Administrator):
Set the Telephone Number for Data Forwarding
(page 183)
This is used to store the forwarding fax number.
Transfer the received data to another
device?
No
Yes
Содержание MX-2300N Guide
Страница 1: ...User s Guide MX 2300N MX 2700N MODEL ...
Страница 67: ...System Settings Guide MX 2300N MX 2700N MODEL ...
Страница 192: ...Copier Guide MX 2300N MX 2700N MODEL ...
Страница 361: ...Printer Guide MX 2300N MX 2700N MODEL ...
Страница 376: ...15 2 Select 2 sided printing 1 Select 2 Sided Book or 2 Sided Tablet 2 Click the OK button 3 Start printing 2 1 ...
Страница 421: ...Scanner Guide MX 2300N MX 2700N MODEL ...
Страница 552: ...Facsimile Guide MX FXX1 MODEL ...
Страница 741: ...Document Filing Guide MX 2300N MX 2700N MODEL ...