


35
SPECIFYING THE ORIGINAL SCAN SIZE
AND SEND SIZE (Enlarge/Reduce)
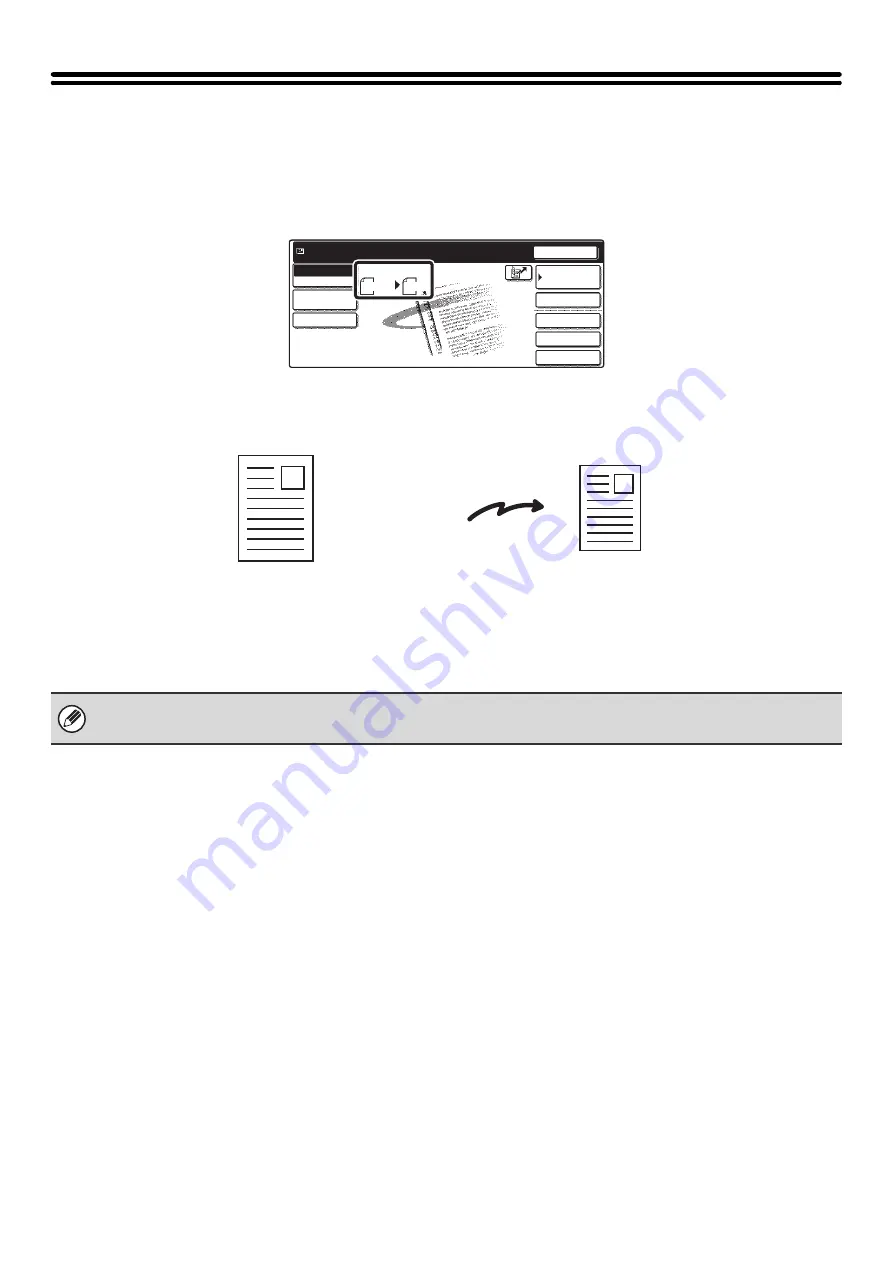
When the original is placed, its size is automatically detected and displayed in the base screen.
The size of the placed original is indicated as the scan size, and the size to be transmitted is indicated as the send size.
In the above screen, the scan size (the placed original) is 8-1/2" x 11" (A4) and the send size is auto. For example, if the
scan size is 8-1/2" x 11" (A4) and the send size is 5-1/2" x 8-1/2" (B5), the image will be reduced before transmission.
• Only standard original sizes can be automatically detected.
• If the original is a non-standard size, you must set the scan size manually.
Quick File
File
Special Modes
Address Entry
Resend
Address Book
Scan
Ready to send.
Mode Switch
Send Settings
Scan
8 x11
1
/
2
Auto
Send
Image
Settings
8-1/2" x 11" (A4)
The image is reduced to
5-1/2" x 8-1/2" (B5)
before transmission
"Scan Size"
"Send Size" is set
to 5-1/2" x 8-1/2"
(B5)
Transmission
Содержание MX-2300N Guide
Страница 1: ...User s Guide MX 2300N MX 2700N MODEL ...
Страница 67: ...System Settings Guide MX 2300N MX 2700N MODEL ...
Страница 192: ...Copier Guide MX 2300N MX 2700N MODEL ...
Страница 361: ...Printer Guide MX 2300N MX 2700N MODEL ...
Страница 376: ...15 2 Select 2 sided printing 1 Select 2 Sided Book or 2 Sided Tablet 2 Click the OK button 3 Start printing 2 1 ...
Страница 421: ...Scanner Guide MX 2300N MX 2700N MODEL ...
Страница 552: ...Facsimile Guide MX FXX1 MODEL ...
Страница 741: ...Document Filing Guide MX 2300N MX 2700N MODEL ...