4. STARTUP
4 - 4
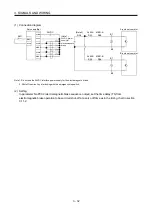
(2) I/O signal wiring
(a) The I/O signals should be connected correctly.
Use DO forced output to forcibly turn on/off the pins of the CN3 connector. This function can be used to
perform a wiring check. In this case, switch on the control circuit power supply only.
(b) 24VDC or higher voltage is not applied to the pins of connectors CN3.
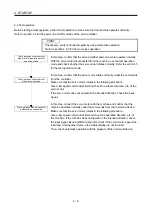
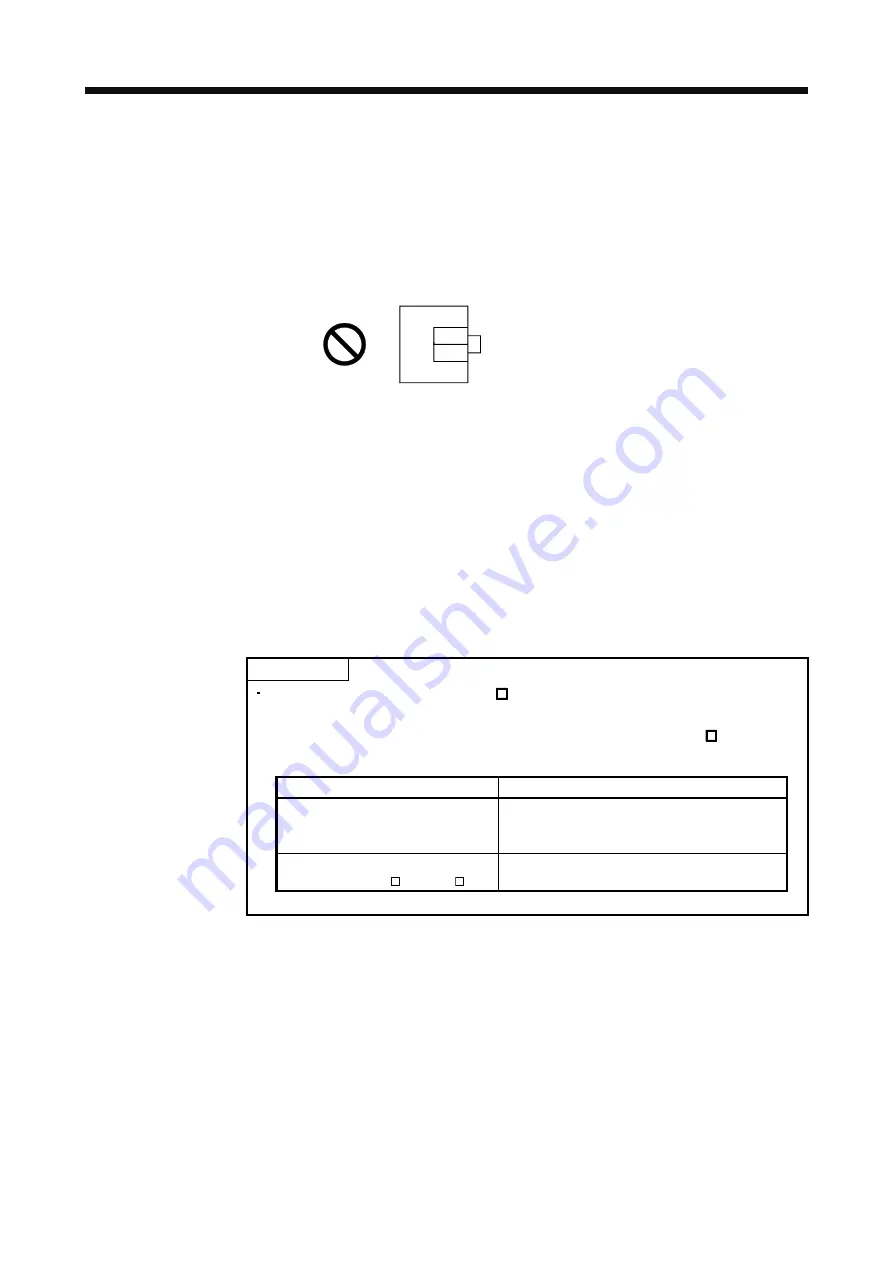
(c) SD and DOCOM of connector CN3 is not shorted.
DOCOM
SD
CN3
Servo amplifier
4.1.3 Surrounding environment
(1) Cable routing
(a) The wiring cables are free from excessive force.
(b) The encoder cable should not be used in excess of its bending life. (Refer to section 10.4.)
(c) The connector part of the servo motor should not be strained.
(2) Environment
Signal cables and power cables are not shorted by wire offcuts, metallic dust or the like.
4.2 Startup
POINT
The controller recognizes MR-J3W- B as two servo amplifiers. For this reason,
select "MR-J3-B" for both of the A-axis and the B-axis. The following tables shows
the servo amplifier setting in the controller when using the MR-J3W- B servo
amplifier.
Compatible controller
Servo amplifier selection
Motion controller
(Q172HCPU, Q173HCPU, Q172DCPU,
Q173DCPU, Q170MCPU)
Select "MR-J3-B" in the system setting screen.
Positioning module
(QD75MH, QD74MH , LD77MH )
Select "MR-J3-B" in "Servo series" (Pr.100) of the
servo parameter.
Connect the servo motor with a machine after confirming that the servo motor operates properly alone.
Содержание MELSERVO-J3W Series
Страница 17: ...8 MEMO ...
Страница 27: ...1 FUNCTIONS AND CONFIGURATION 1 10 MEMO ...
Страница 87: ...4 STARTUP 4 14 MEMO ...
Страница 117: ...5 PARAMETERS 5 30 MEMO ...
Страница 129: ...6 GENERAL GAIN ADJUSTMENT 6 12 MEMO ...
Страница 185: ...10 CHARACTERISTICS 10 8 MEMO ...
Страница 241: ...11 OPTIONS AND AUXILIARY EQUIPMENT 11 56 MEMO ...
Страница 274: ...13 USING A LINEAR SERVO MOTOR 13 25 1 2 3 4 ...


