Routes
A route is defined as the chosen path between two ports. A route consists of a start
waypoint, an end waypoint, and a number of turning waypoints in between.
The segments between waypoints can be either
Great circle
or
Thumb line legs
.
There are several ways to create a route:
•
Directly on the chart using graphic tools
•
By keyboard using the route plan window
•
Selecting existing waypoints.
•
Importing route from different ECDIS systems
•
By downloading from GPS
ECDIS provides the user with a variety of facilities for route planning and route monitoring.
Once the route is created, it can be saved on a hard disk for further use along with other
routes. The route can be edited and modified, unloaded or deleted, locked and the safety of
the route can be checked against dangers that may be present along the segments.
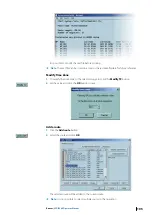
The
Route properties
dialog contains general information about the route and some
options for alarm settings, turning radius, default SOG and type of passage plan.
Several planned routes can be loaded, edited and displayed at the same time but only one
route can be activated and used to monitor the vessel’s position.
The active route is displayed on the chart by as pecked red line.
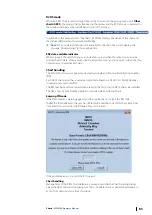
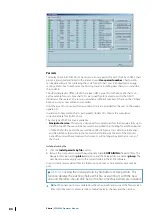
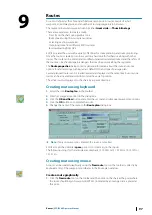
Creating route using keyboard
1.
Select the icon
Route plan
in the toolbar.
2.
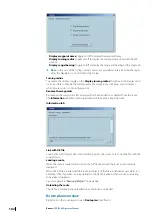
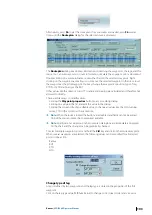
Enter first waypoint position in the dialog box.
3.
Click the
OK and New
button and enter the second and subsequent waypoint positions.
4.
Click the
OK
button to complete the route.
5.
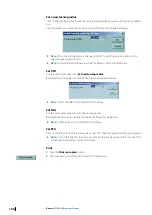
Change the name of the route in the
Route plan
dialog box.
Ú
Note:
If only one waypoint is entered, the route is cancelled.
ECDIS accepts the delimiter
space
, period (
.
) or comma (
,
) in the inputs.
The following strings for the latitude are compliant: 12 12.23N or 12 12 23N or 12,12,13N or
12,12 13n.
Creating route using mouse
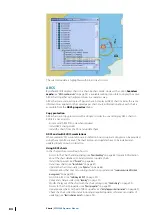
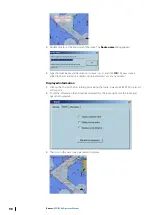
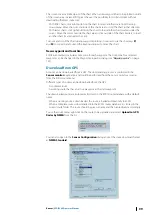
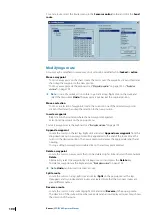
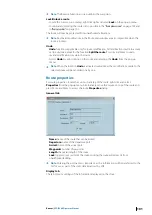
A route can be created graphically using the
New
route
tool on the toolbar or directly by
keyboard entry of the waypoint coordinates in the Route plan window.
Create a route graphically
1.
Click the
New route
tool on the toolbar and then click on the chart at the point where
the route should begin. A waypoint (WP 001) indicated by an orange circle is placed at
this point.
9
Routes
| ECDIS900 Operator Manual
97


