Ú
Note:
A list of chart areas is created for every specific type of chart. The list created for
ENC chart is valid only for this type and cannot be used with ARCS charts and vice versa.
Center on ship
To center the chart on the ship, click on the
Center on ship
icon. The chart will
automatically be centered on the ship.
Ú
Note:
Center on ship is a one-time action.
To enable automatic chart scrolling according to the ship’s movements, right click anywhere
on the chart and select
Follow the ship
from the list.
Ú
Note:
You can also press
F3
key to center the chart on the ship’s position and activate
the
Follow the ship
function.
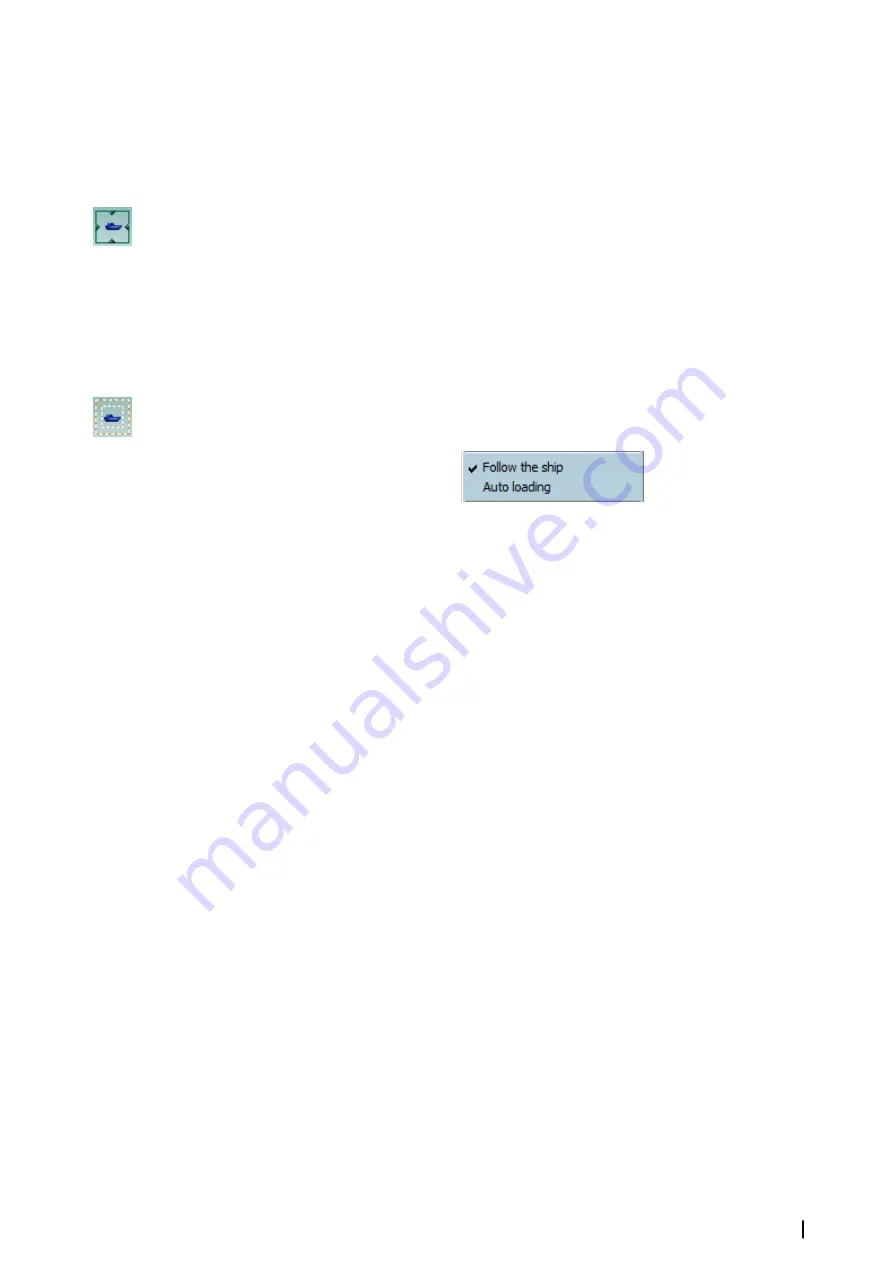
Auto centering
Click on the
Auto centering
icon to define a
centering zone
.
When the
Follow ship
option is enabled, the chart will adjust accordingly and following to
the ship's motion when it is out of the centering zone.
Centering zone can be a static or dynamic centering zones. The current type depends on the
ship’s heading.
Static centering zone
The
Autocentering
function defines the centering zone according to the ship’s heading.
For example, when a ship is heading north, you define a rectangle located at the bottom of
the window in order to display a chart area as large as possible in front of the ship. This zone
is defined by default as a rectangle located in the middle of the screen.
Dynamic centering zone
Using a dynamic centering zone guaranties that you always have the largest chart displayed
in front of the ship, even when the heading changes.
After the zone is defined, ECDIS900 dynamically sets the centering zone according to the
heading.
For example, if the ship sails North East, ECDIS900 moves the centering zone to the bottom
left of the screen and if the ship changes course to South, the zone is moved to the center
top of the screen.
Click the
Auto centering
button to display the current centering rectangle.
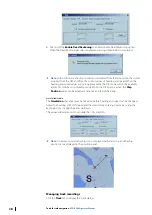
The Autocentering can be defined as follows:
•
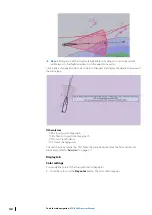
Two red dotted line rectangles are drawn on the chart: the current centering zone (the
smaller rectangle) and the rectangle defining the limits of the dynamic zones.
•
To leave the centering rectangle unchanged and to delete it, click on the
Auto centering
button again.
•
To define a new centering rectangle, locate the cursor at one corner of the desired zone
then hold and drag to draw the appropriate zone.
•
If a new rectangle meets the rectangle that defines the limits of dynamic zones, a dynamic
centering zone is defined.
Ú
Note:
After the new rectangle is defined, the Auto centering function is off. Click the
Auto centering button again to enable.
Tools for safe navigation
| ECDIS900 Operator Manual
33


